
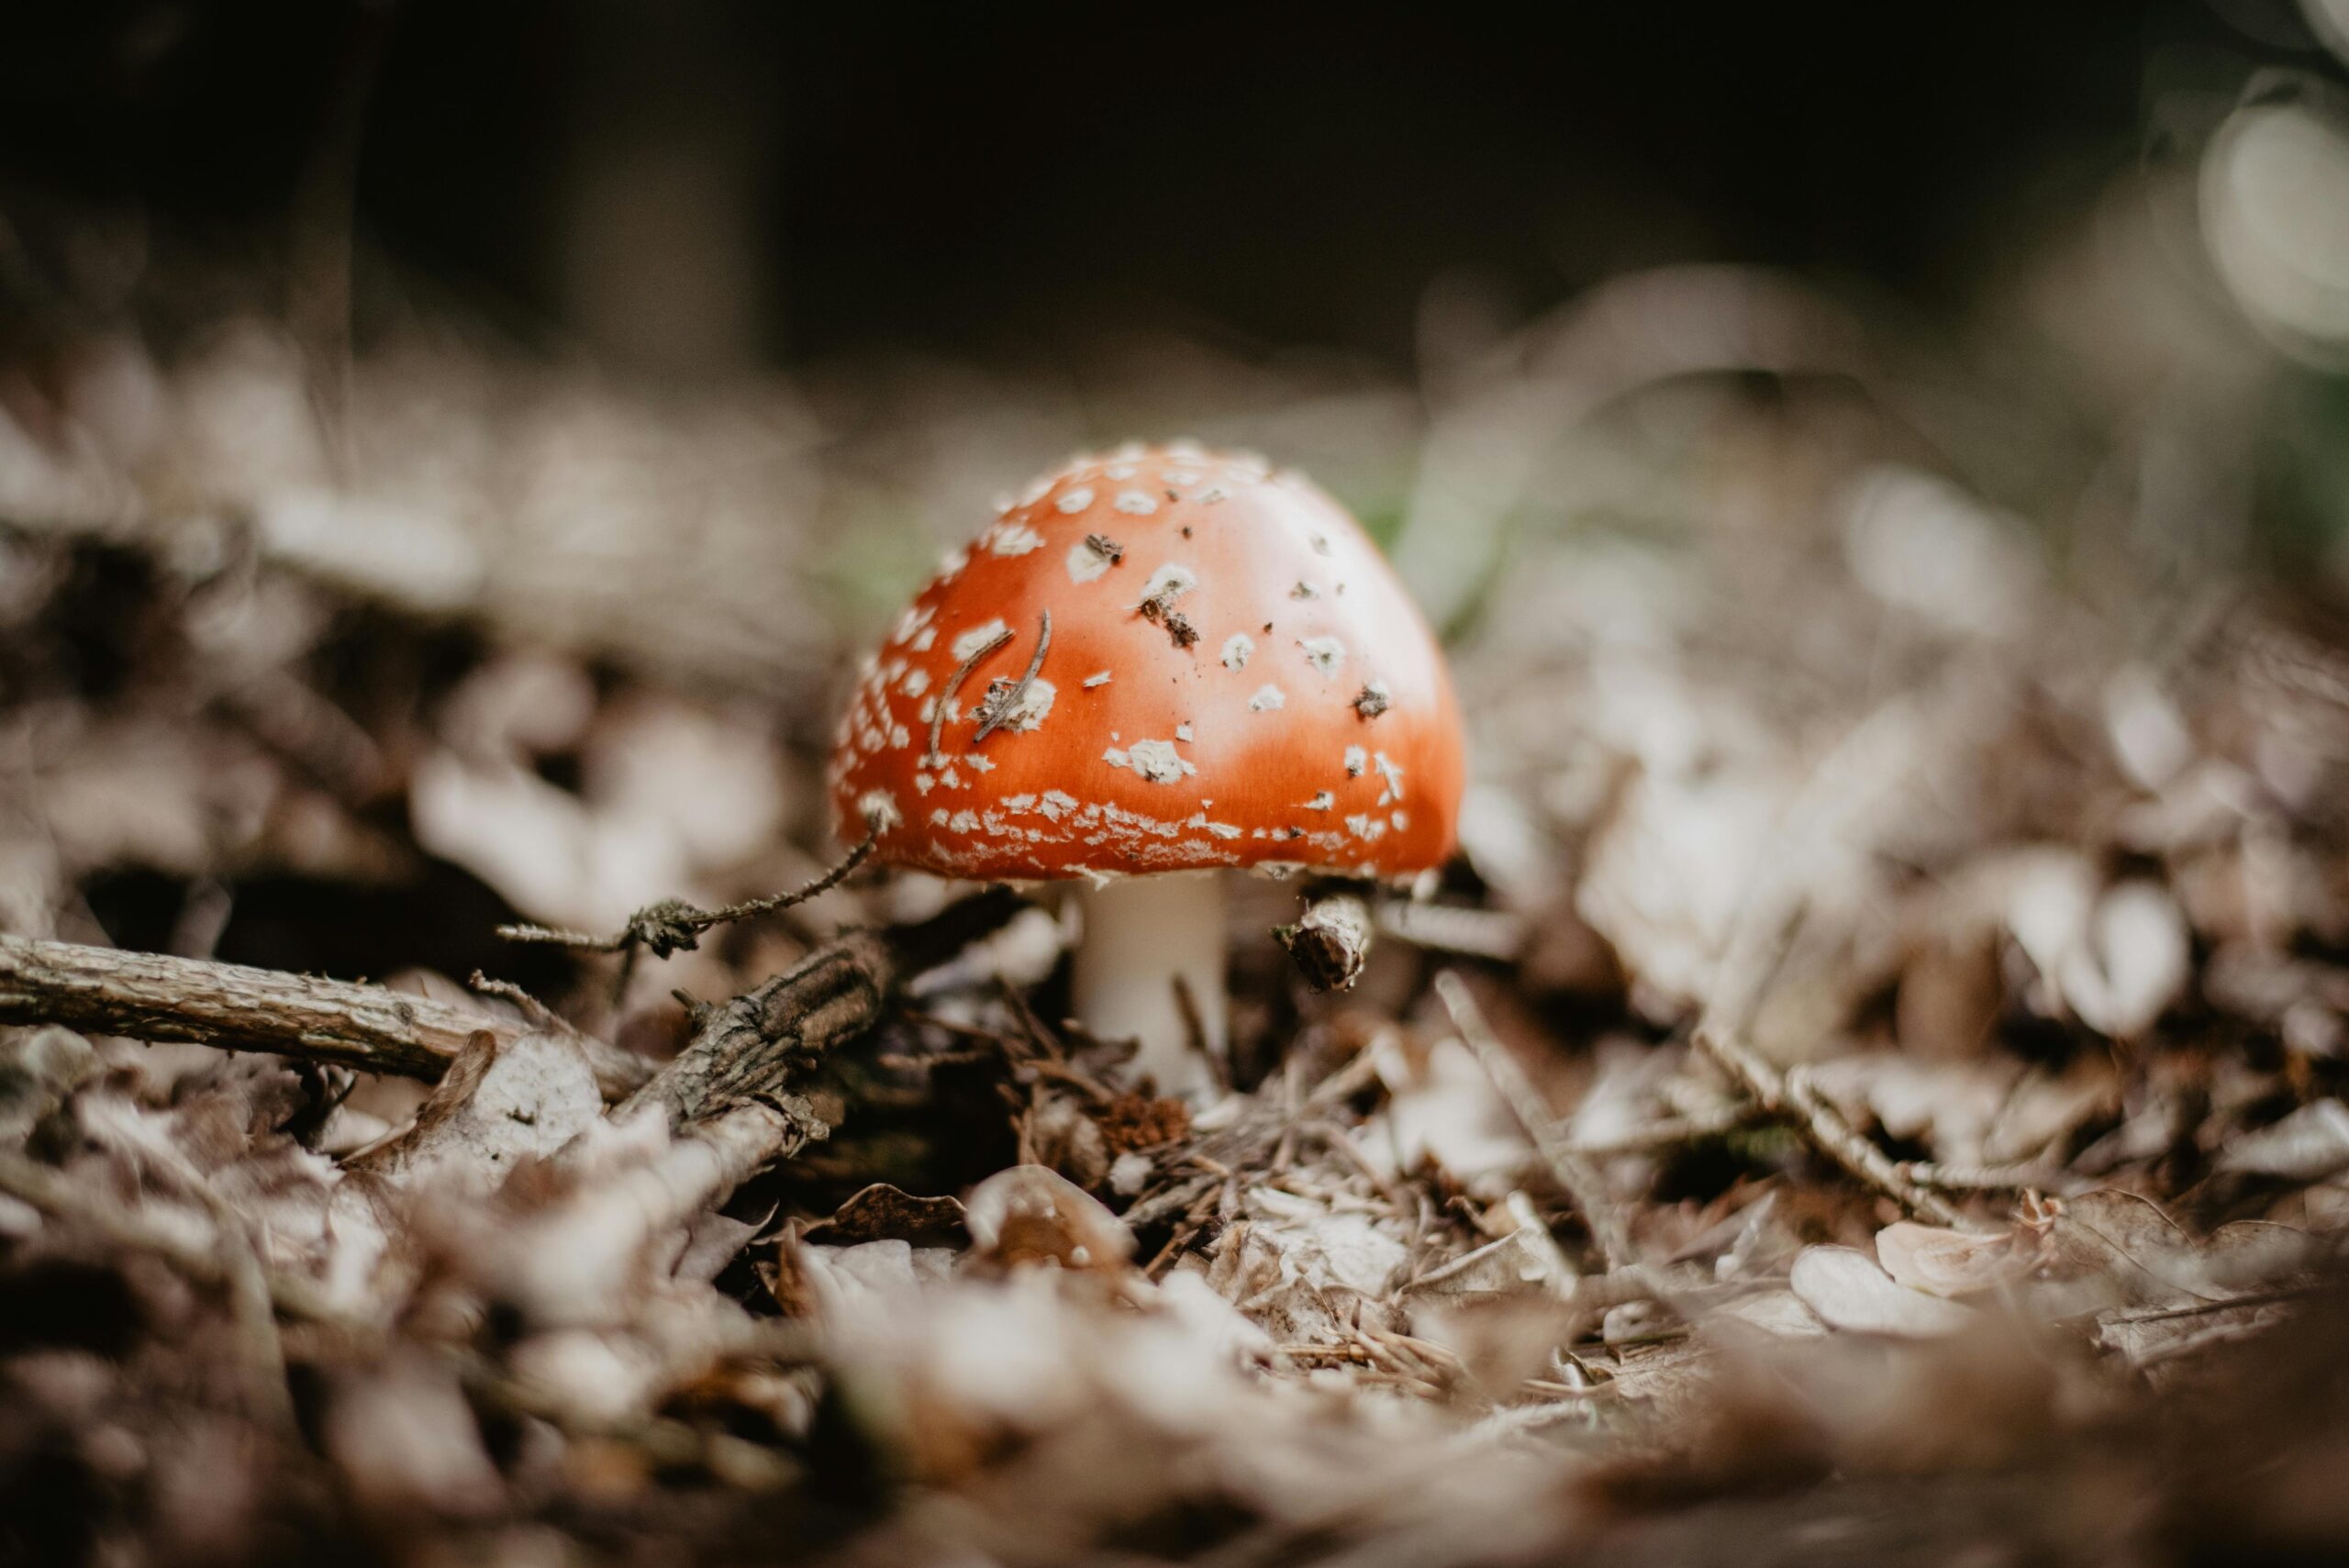
Growing mushrooms successfully starts with one critical skill: working with clean cultures. If you want reliable results, fast colonization, and contamination-free growth, learning how to make agar growth media is essential.
This guide explains everything in simple, practical terms from ingredients to pouring plates based on real cultivation practices. It avoids theory-heavy explanations and focuses on what actually works.
What Is Agar and Why It Matters in Mushroom Cultivation
Agar is a gelatin-like substance derived from seaweed. Unlike gelatin, it does not melt at room temperature, which makes it perfect for growing microorganisms, including mushroom mycelium.
In mushroom cultivation, agar is used to:
- Start cultures from spores
- Clone mushrooms
- Isolate strong genetics
- Detect and remove contamination early
Think of agar as a testing ground. Before you risk grain or bulk substrate, you verify your culture on agar.
Types of Agar Media Used for Mushrooms
Different recipes serve different purposes. The most common ones are:
1. Malt Extract Agar (MEA)
- Best for beginners
- Supports fast and healthy mycelium growth
2. Potato Dextrose Agar (PDA)
- Good for cloning and general use
- Slightly richer than MEA
3. Light Malt Yeast Agar (LMYA)
- Adds yeast nutrients
- Encourages aggressive growth
4. Water Agar
- Minimal nutrients
- Useful for isolating contamination
For most growers, MEA is the easiest and most reliable starting point.
Ingredients You Need to Make Agar Growth Media
Here’s a basic MEA recipe (per 1 liter of water):
- 20 grams agar powder
- 20 grams malt extract powder
- 1 liter distilled or clean water
Optional:
- 1 gram yeast extract (for faster growth)
Equipment Required
You don’t need a lab, but you do need basic sterile tools:
- Pressure cooker (very important)
- Glass jars or media bottles
- Petri dishes (plastic or glass)
- Measuring scale
- Stirring spoon
- Aluminum foil
- Syringe or measuring cup
Optional but helpful:
- Laminar flow hood or still air box (SAB)
Step-by-Step: How to Make Agar Growth Media
Step 1: Mix the Ingredients
Add agar powder and malt extract into water. Stir well until fully dissolved.
Tip: Use warm water to dissolve faster.
Step 2: Heat the Mixture
Heat the solution while stirring. Do not boil aggressively.
Goal: fully dissolve agar and remove clumps.
Step 3: Pour into Containers
Pour the liquid into jars or bottles. Fill only 60–70% to avoid overflow.
Cover the lid loosely or use foil.
Step 4: Sterilize in Pressure Cooker
Place containers in a pressure cooker.
- Temperature: 121°C
- Pressure: 15 PSI
- Time: 20–30 minutes
This step kills bacteria and spores.
Step 5: Cool the Agar
Let the containers cool down to about 45–50°C.
Important:
Too hot = condensation in plates
Too cold = agar solidifies before pouring
Step 6: Pour into Petri Dishes
Work in a clean environment (preferably a still air box).
- Open lid slightly
- Pour thin layer of agar
- Close immediately
Avoid talking, breathing directly, or moving too much.
Step 7: Let Plates Solidify
Leave plates undisturbed for 20–30 minutes.
Once solid:
- Seal with parafilm or tape
- Store upside down (prevents condensation drip)
Insider Tips for Better Agar Plates
1. Keep It Simple at First
Start with MEA. Avoid complex recipes until you master sterile technique.
2. Control Contamination Early
If you see:
- Green → mold
- Black → spores
- Wet/slimy → bacteria
Discard immediately.
3. Use a Still Air Box (SAB)
A simple plastic box reduces contamination drastically.
4. Label Everything
Write:
- Date
- Strain
- Recipe
This helps track performance.
5. Store Plates Properly
- Keep in fridge (2–4°C)
- Use within 1–2 months
6. Practice Transfers
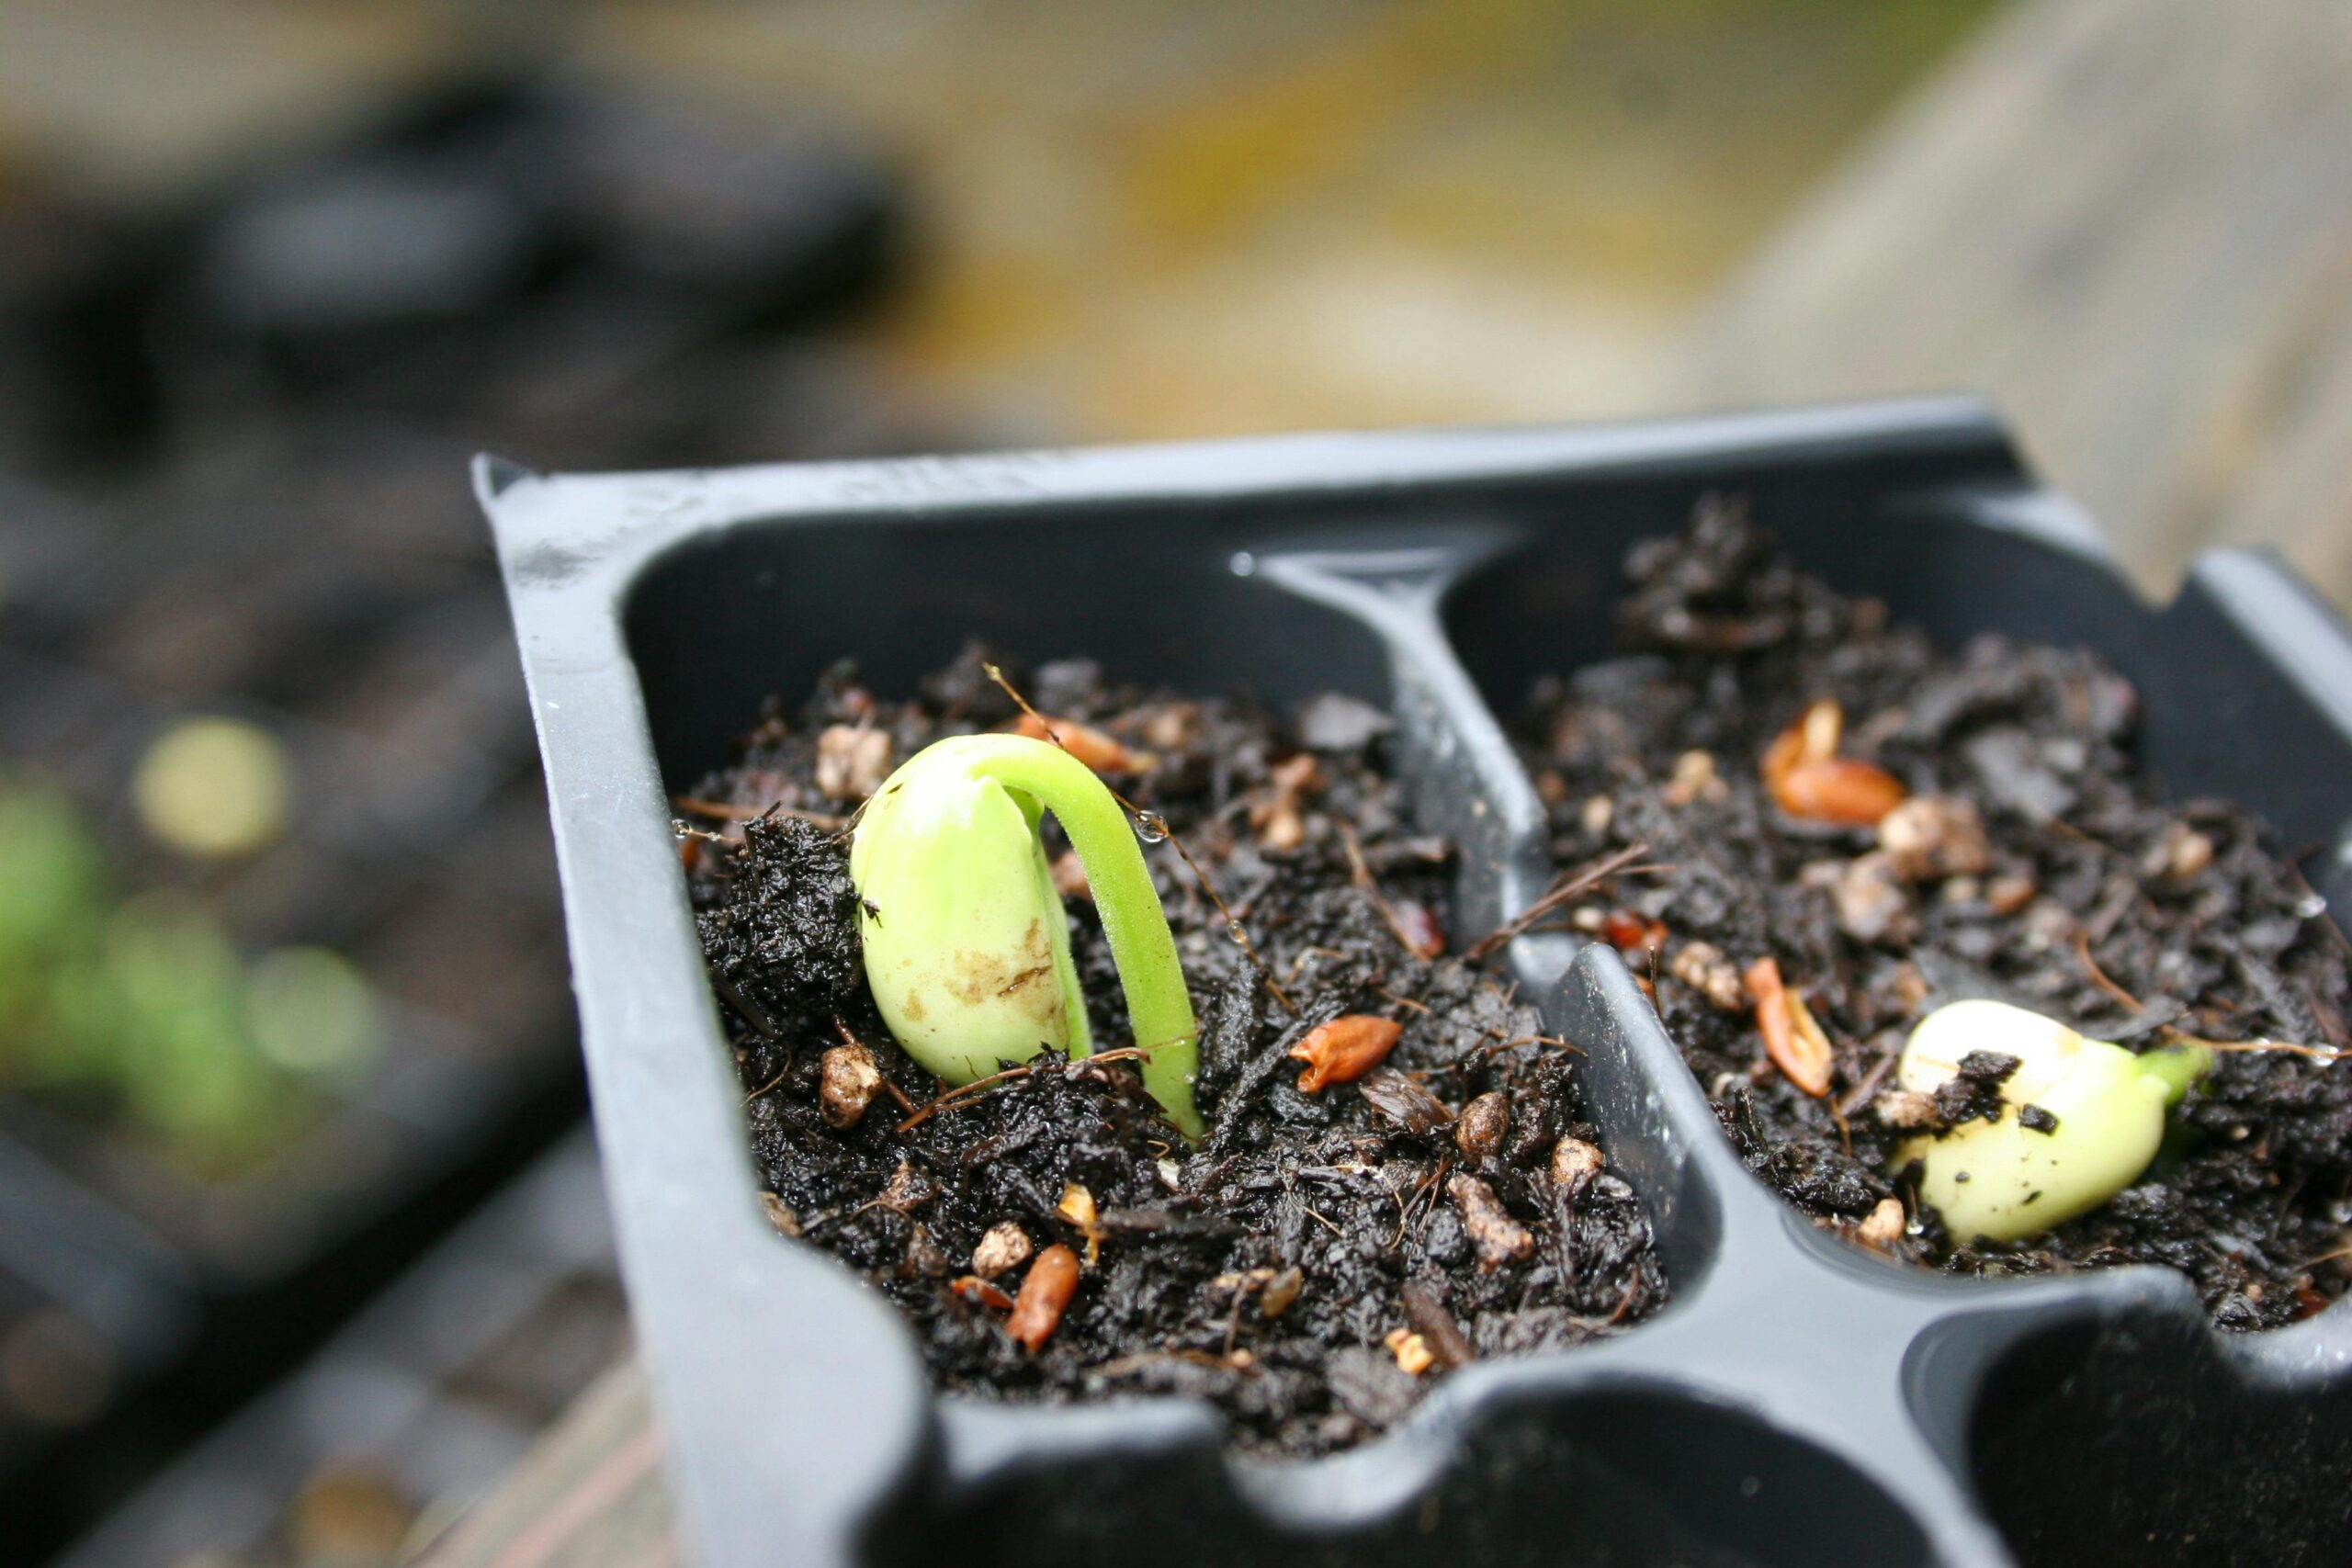
Cut clean mycelium sections and transfer to fresh plates to isolate strong growth.
Common Mistakes to Avoid
Overheating Agar
Boiling too long weakens nutrients and causes poor growth.
Pouring Too Hot
Creates water droplets inside plates, leading to contamination.
Skipping Sterilization
Even small contamination ruins the entire batch.
Thick Agar Layers
Thicker plates slow down growth and waste material.
Poor Hygiene
Open-air pouring without protection almost always leads to contamination.
How to Test Your Agar Plates
Before using spores or cultures:
- Leave 1–2 plates unused
- Store them for 3–5 days
- Check for contamination
If clean → your process is working
If contaminated → improve sterilization
Using Agar for Mushroom Growth
Once plates are ready, you can:
1. Inoculate with Spores
Use a sterile syringe and drop a small amount.
2. Clone Mushrooms
- Cut inner tissue from a fresh mushroom
- Place on agar
3. Transfer Mycelium
- Move clean growth to new plates
- Strengthen genetics
Advanced Techniques (For Better Results)
Sectoring
Identify fast-growing sections and isolate them.
Antibiotic Agar
Used to suppress bacteria (advanced use only).
Grain-to-Agar Transfer
Transfer colonized grain to agar to clean culture.
Cost Breakdown (Beginner Setup)
Approximate cost:
- Agar powder: low cost
- Malt extract: moderate
- Petri dishes: reusable or disposable
- Pressure cooker: one-time investment
Overall, agar work is cheap but high-value.
Why Agar Is Essential for Serious Growers
Without agar:
- Higher contamination risk
- Weak genetics
- Inconsistent yields
With agar:
- Clean cultures
- Strong growth
- Predictable results
This is why experienced growers rely on agar before scaling up.
Final Thoughts
Making agar growth media is not complicated, but it requires attention to detail. Once you understand sterile technique and follow a consistent process, results improve quickly.
Start simple. Focus on cleanliness. Practice regularly.
Over time, agar work becomes the foundation of successful mushroom cultivation not just an optional step.
Leave a Reply