
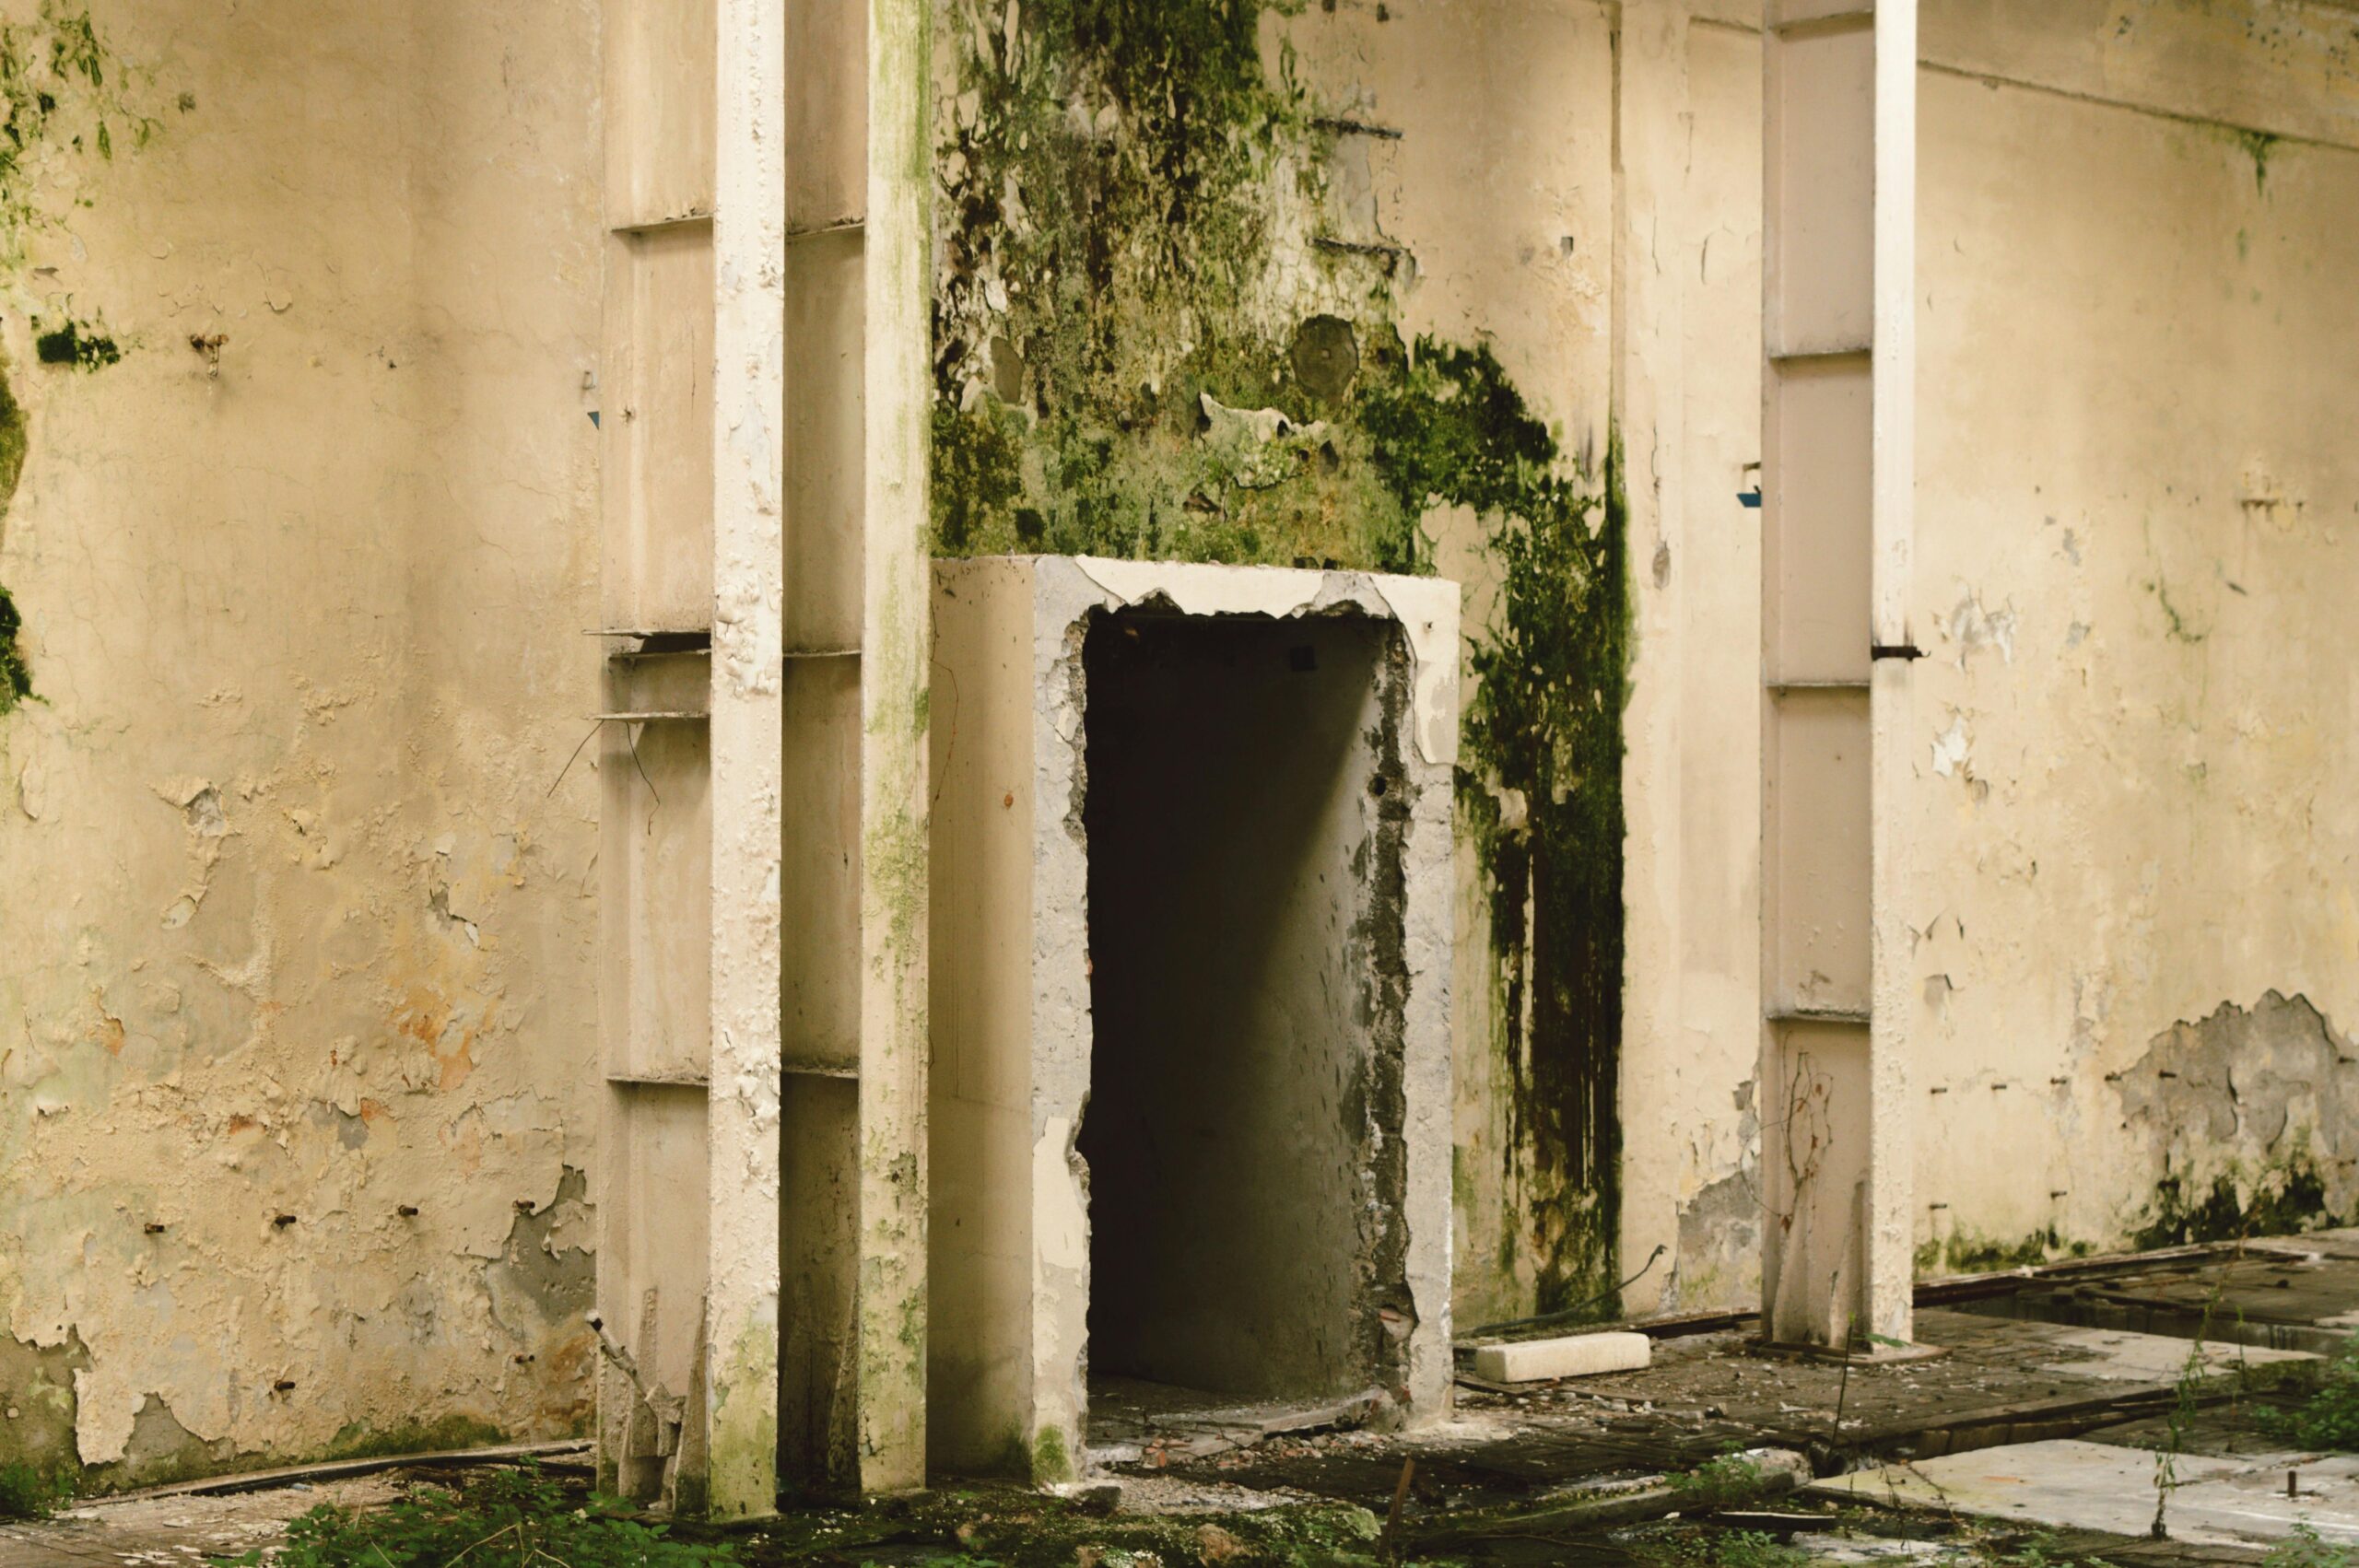
Mold is a common problem in homes, especially in damp areas like basements, crawl spaces, and bathrooms. When people discover mold, the first question is usually: Should I remove it or seal it? This is where mold encapsulation comes in.
It is a method used to seal mold-affected surfaces so that spores cannot spread into the air. It is not always a replacement for removal, but in certain situations, it is a safe and cost-effective solution.
This guide explains what mold encapsulation is, how it works, when to use it, and how to do it properly.
What Is Mold Encapsulation?
It is the process of applying a special sealant over mold-contaminated surfaces. This sealant creates a barrier that traps mold spores and prevents them from becoming airborne.
Unlike mold removal, which physically eliminates mold, encapsulation focuses on containment and control.
Key Features of Mold Encapsulation:
- Seals mold spores under a protective coating
- Prevents future spread
- Improves indoor air quality
- Works best on non-porous or semi-porous surfaces
Simple Explanation:
Encapsulation locks mold in place so it cannot affect your living space.
How Mold Encapsulation Works
Encapsulation products are designed to bond tightly with surfaces like wood, concrete, and drywall. Once applied, they form a durable coating that:
- Covers visible mold
- Blocks airflow through contaminated areas
- Reduces moisture absorption
- Prevents spores from spreading
Some advanced sealants also include antimicrobial agents that stop mold from growing again.
Mold Encapsulation vs Mold Removal
Understanding the difference helps you choose the right solution.
| Feature | Mold Encapsulation | Mold Removal |
|---|---|---|
| Purpose | Seal and contain | Completely eliminate |
| Cost | Lower | Higher |
| Time | Faster | More time-consuming |
| Best For | Light to moderate mold | Severe infestations |
| Surface Type | Solid surfaces | All surfaces |
Important:
It does not kill all mold. It only prevents it from spreading. If the underlying moisture problem is not fixed, mold can return.
When Should You Use Mold Encapsulation?
Encapsulation is useful in specific situations.
Ideal Scenarios:
- Mold growth is limited and not widespread
- The surface is structurally sound
- Mold is in hard-to-remove areas (like crawl spaces)
- Removal would damage materials unnecessarily
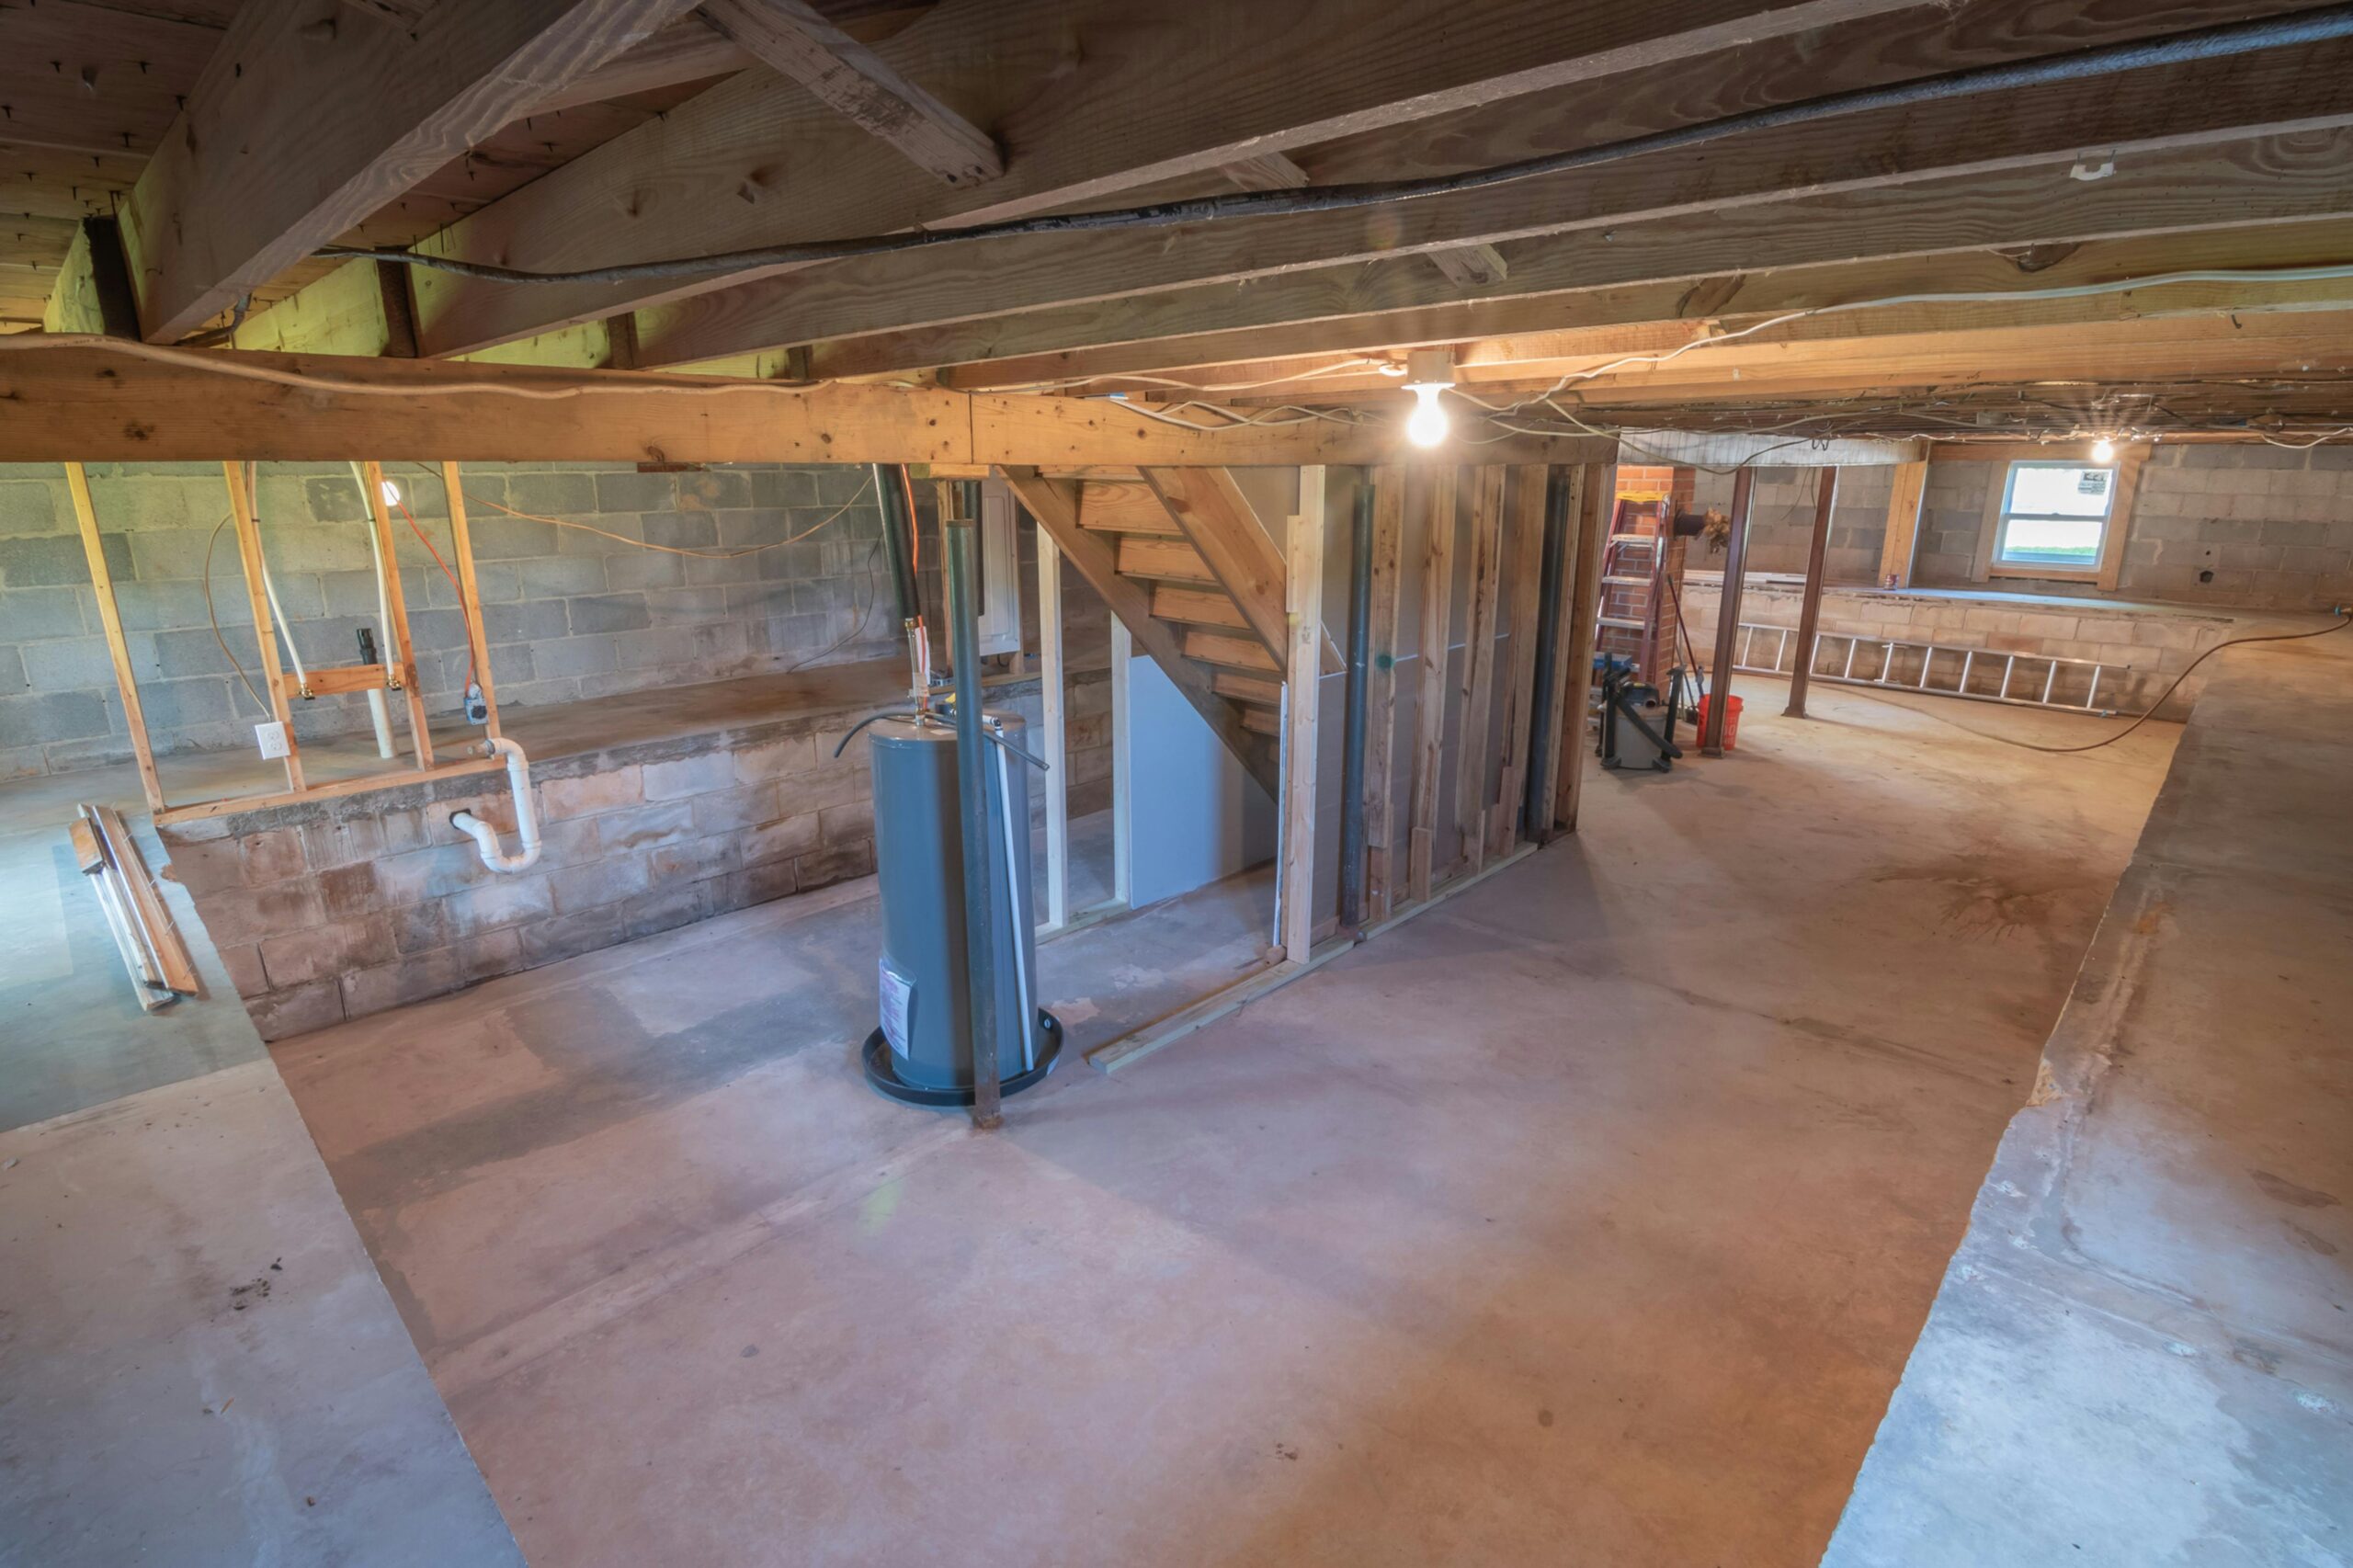
Common Areas for Encapsulation:
- Basement walls
- Crawl spaces
- Attics
- Wooden beams
- Concrete surfaces
When Mold Encapsulation Is NOT Enough
Encapsulation is not suitable for every situation.
Avoid Encapsulation If:
- Mold covers large areas
- Materials are soft or crumbling
- There is active water leakage
- Mold is inside HVAC systems
- There is a strong, persistent odor
In these cases, full mold removal is necessary.
Types of Mold Encapsulation Products
Choosing the right product matters.
1. Mold Sealers
- Create a protective barrier
- Used after cleaning the surface
2. Mold Resistant Coatings
- Prevent future growth
- Often used in basements and bathrooms
3. Vapor Barrier Coatings
- Block moisture as well as mold
- Ideal for crawl spaces
Expert Tip:
Use products specifically labeled for mold control. Regular paint is not effective.
Step-by-Step Mold Encapsulation Process
Proper application is essential for success.
Step 1: Identify the Source of Moisture
Fix leaks, improve drainage, or install ventilation. Without this step, encapsulation will fail.
Step 2: Clean the Surface
- Remove loose mold using a brush or vacuum (HEPA filter preferred)
- Use a mold cleaner or mild detergent
Step 3: Dry the Area Completely
Moisture trapped under the sealant can cause mold to return.
Step 4: Apply Encapsulation Coating
- Use a brush, roller, or sprayer
- Apply evenly across the surface
- Follow manufacturer instructions
Step 5: Allow Proper Drying Time
Most products need 24–48 hours to cure.
Step 6: Inspect the Area
Ensure full coverage and no missed spots.
Benefits of Mold Encapsulation
1. Cost-Effective
Encapsulation is often cheaper than full removal.
2. Faster Solution
Less labor and quicker application.
3. Improves Air Quality
Reduces airborne mold spores.
4. Protects Structure
Prevents further damage to materials.
Limitations of Mold Encapsulation
1. Does Not Remove Mold Completely
Spores remain under the coating.
2. Requires Moisture Control
Without fixing moisture issues, mold can return.
3. Not Suitable for Severe Cases
Large infestations need professional removal.
Health Considerations
Mold exposure can cause:
- Allergies
- Respiratory issues
- Skin irritation
Encapsulation helps reduce exposure but is not a cure for heavily contaminated environments.
Important:
If anyone in your home has health issues, consult a professional before choosing encapsulation.
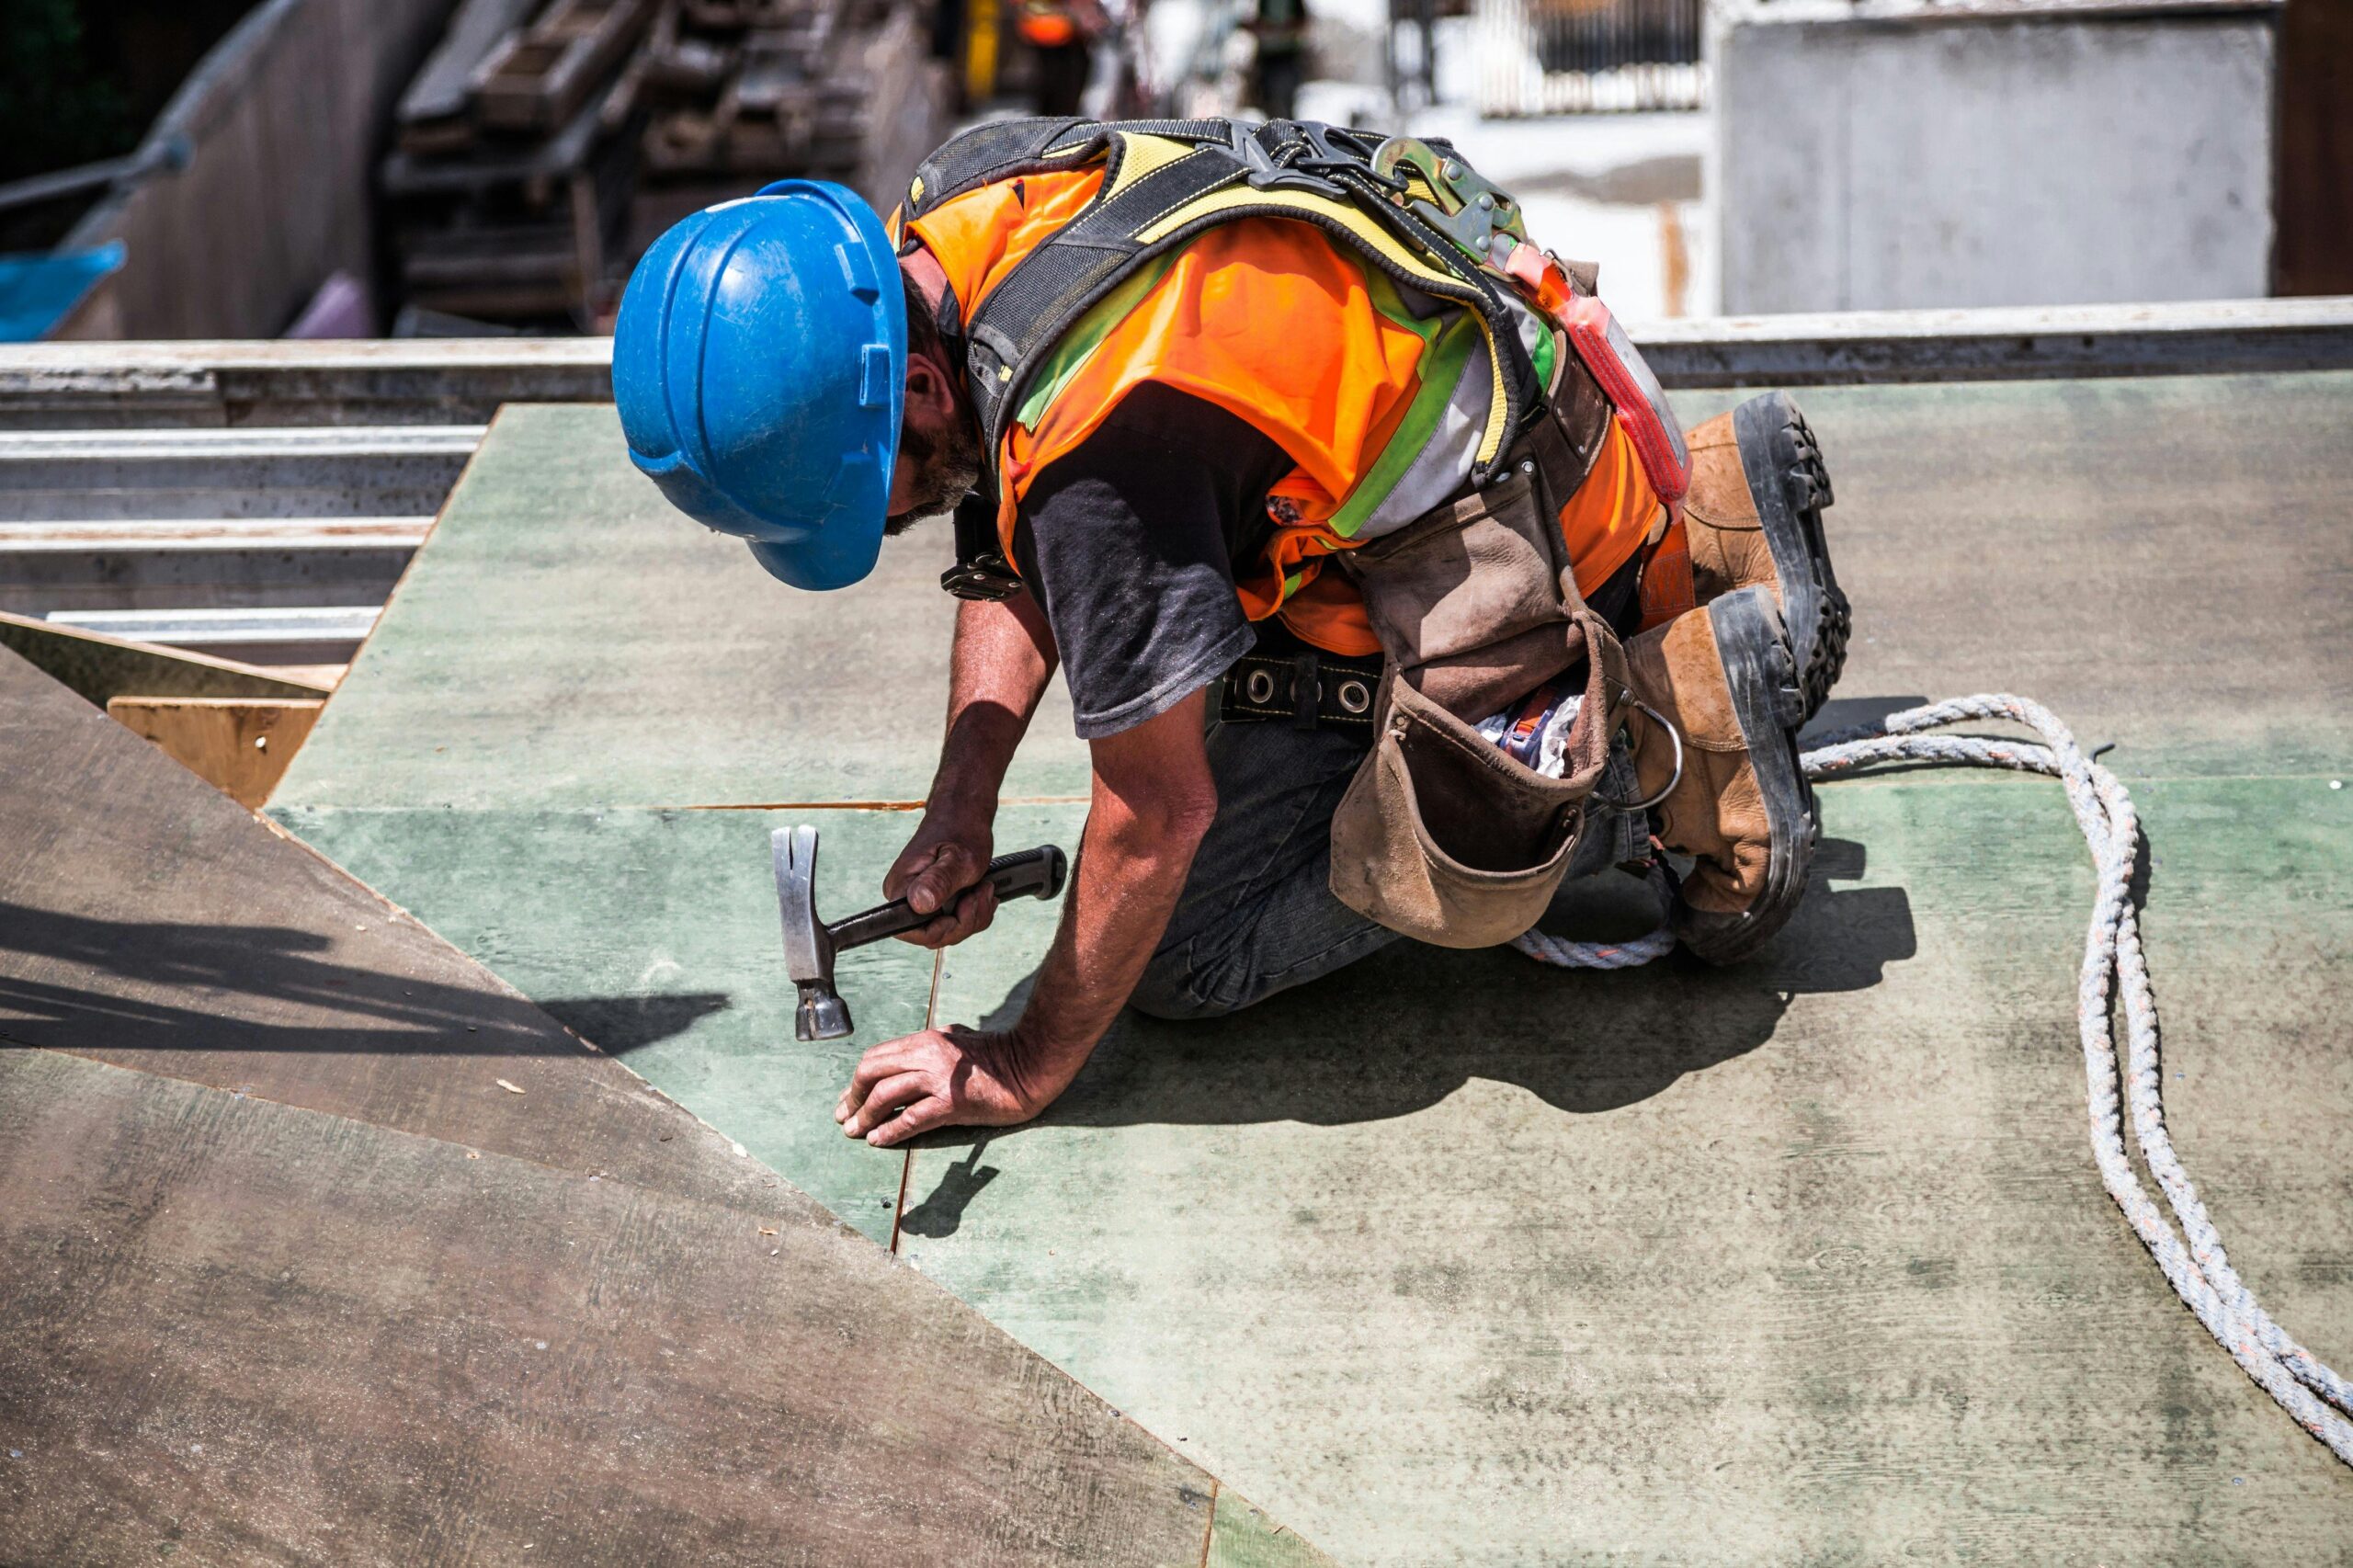
DIY vs Professional Mold Encapsulation
DIY Approach
Suitable for:
- Small areas
- Easily accessible surfaces
- Basic mold problems
Professional Services
Recommended for:
- Large areas
- Hidden mold
- Structural concerns
- Health-sensitive environments
Expert Insight:
Professionals use industrial-grade sealants and ensure complete coverage, which reduces the risk of failure.
Cost of Mold Encapsulation
Costs vary depending on area size and severity.
Average Estimates:
- DIY: Low cost (materials only)
- Professional: Moderate cost per square foot
Encapsulation is generally cheaper than full remediation but should not replace necessary repairs.
Preventing Mold After Encapsulation
Encapsulation works best when combined with prevention.
Key Steps:
- Fix leaks immediately
- Improve ventilation
- Use dehumidifiers
- Keep humidity below 50%
- Clean regularly
Common Mistakes to Avoid
1. Skipping Surface Cleaning
Encapsulation over dirt or loose mold reduces effectiveness.
2. Ignoring Moisture Issues
This is the main reason encapsulation fails.
3. Using Regular Paint
Only use mold-specific products.
4. Incomplete Coverage
Missed spots allow mold to spread again.
Long-Term Effectiveness
When done correctly, mold encapsulation can last for years. However, it is not always a permanent solution.
Regular inspections are necessary to ensure the coating remains intact and mold-free.
Expert Insights
- Encapsulation is widely used in crawl spaces and basements
- It is often part of a larger mold control strategy
- The success rate depends heavily on moisture management
- Proper preparation is more important than the coating itself
Quick Checklist
- Identify and fix moisture source
- Clean and dry the area
- Use proper encapsulation product
- Apply evenly
- Monitor regularly
Final Thoughts
Mold encapsulation is a practical solution for controlling mold in specific situations. It works best for small to moderate problems where removal is not necessary or practical.
The key to success is not just sealing the mold, but also fixing the conditions that allowed it to grow in the first place. Without moisture control, even the best encapsulation will fail.
By understanding when and how to use this method, you can protect your home, improve air quality, and avoid costly repairs in the future.


Leave a Reply