
Seed of Persimmons is not just a gardening experiment it’s a long-term investment. If done correctly, you can raise a healthy tree that produces sweet, honey-like fruit for decades. However, success depends on understanding the biology of the seed, proper preparation, and realistic expectations.
This guide walks through the full process step by step, based on real growing practices not theory so you can avoid common mistakes and get strong results.
What You Need to Know Before Starting
Before planting the seed of persimmons, it’s important to understand one key fact:
Trees grown from seed do not always produce the same fruit as the parent tree.
This happens because persimmons (especially Asian varieties like Diospyros kaki) are often cross-pollinated. The result:
- Fruit quality can vary
- Some trees may produce smaller or more astringent fruit
- It may take 5–10 years to see fruit
Insider Tip:
If your goal is guaranteed fruit quality, use grafted plants. If you enjoy the process or want rootstock, growing from seed is ideal.
Types of Persimmons You Can Grow
There are two main types of persimmons:
1. Asian Persimmon (Diospyros kaki)
- Larger, sweeter fruit
- Less cold-hardy
- Popular varieties: Fuyu, Hachiya
2. American Persimmon (Diospyros virginiana)
- Smaller fruit
- More cold-resistant
- Stronger root system
Best for beginners: American persimmon seeds are easier to germinate and more forgiving.
Step 1: Collecting Healthy Seeds
Start with ripe fruit. Overripe persimmons work best.
How to extract seeds:
- Cut open the fruit
- Remove seeds carefully
- Wash off pulp using clean water
- Dry seeds on paper towel (24 hours)
Important:
Do not let seeds dry out for too long. Persimmon seeds lose viability if completely dehydrated.
Step 2: Cold Stratification (Critical Step)
Persimmon Seeds need a cold period to break dormancy. Skipping this step is the most common reason seeds fail.
How to stratify seeds:
- Wrap seeds in moist paper towel
- Place inside a sealed plastic bag
- Store in refrigerator (not freezer)
Duration: 8–12 weeks
Temperature: 3°C to 5°C
Check every 2 weeks:
- Keep moisture slightly damp
- Remove any moldy seeds
Insider Tip:
Add a pinch of cinnamon powder it naturally prevents fungal growth.
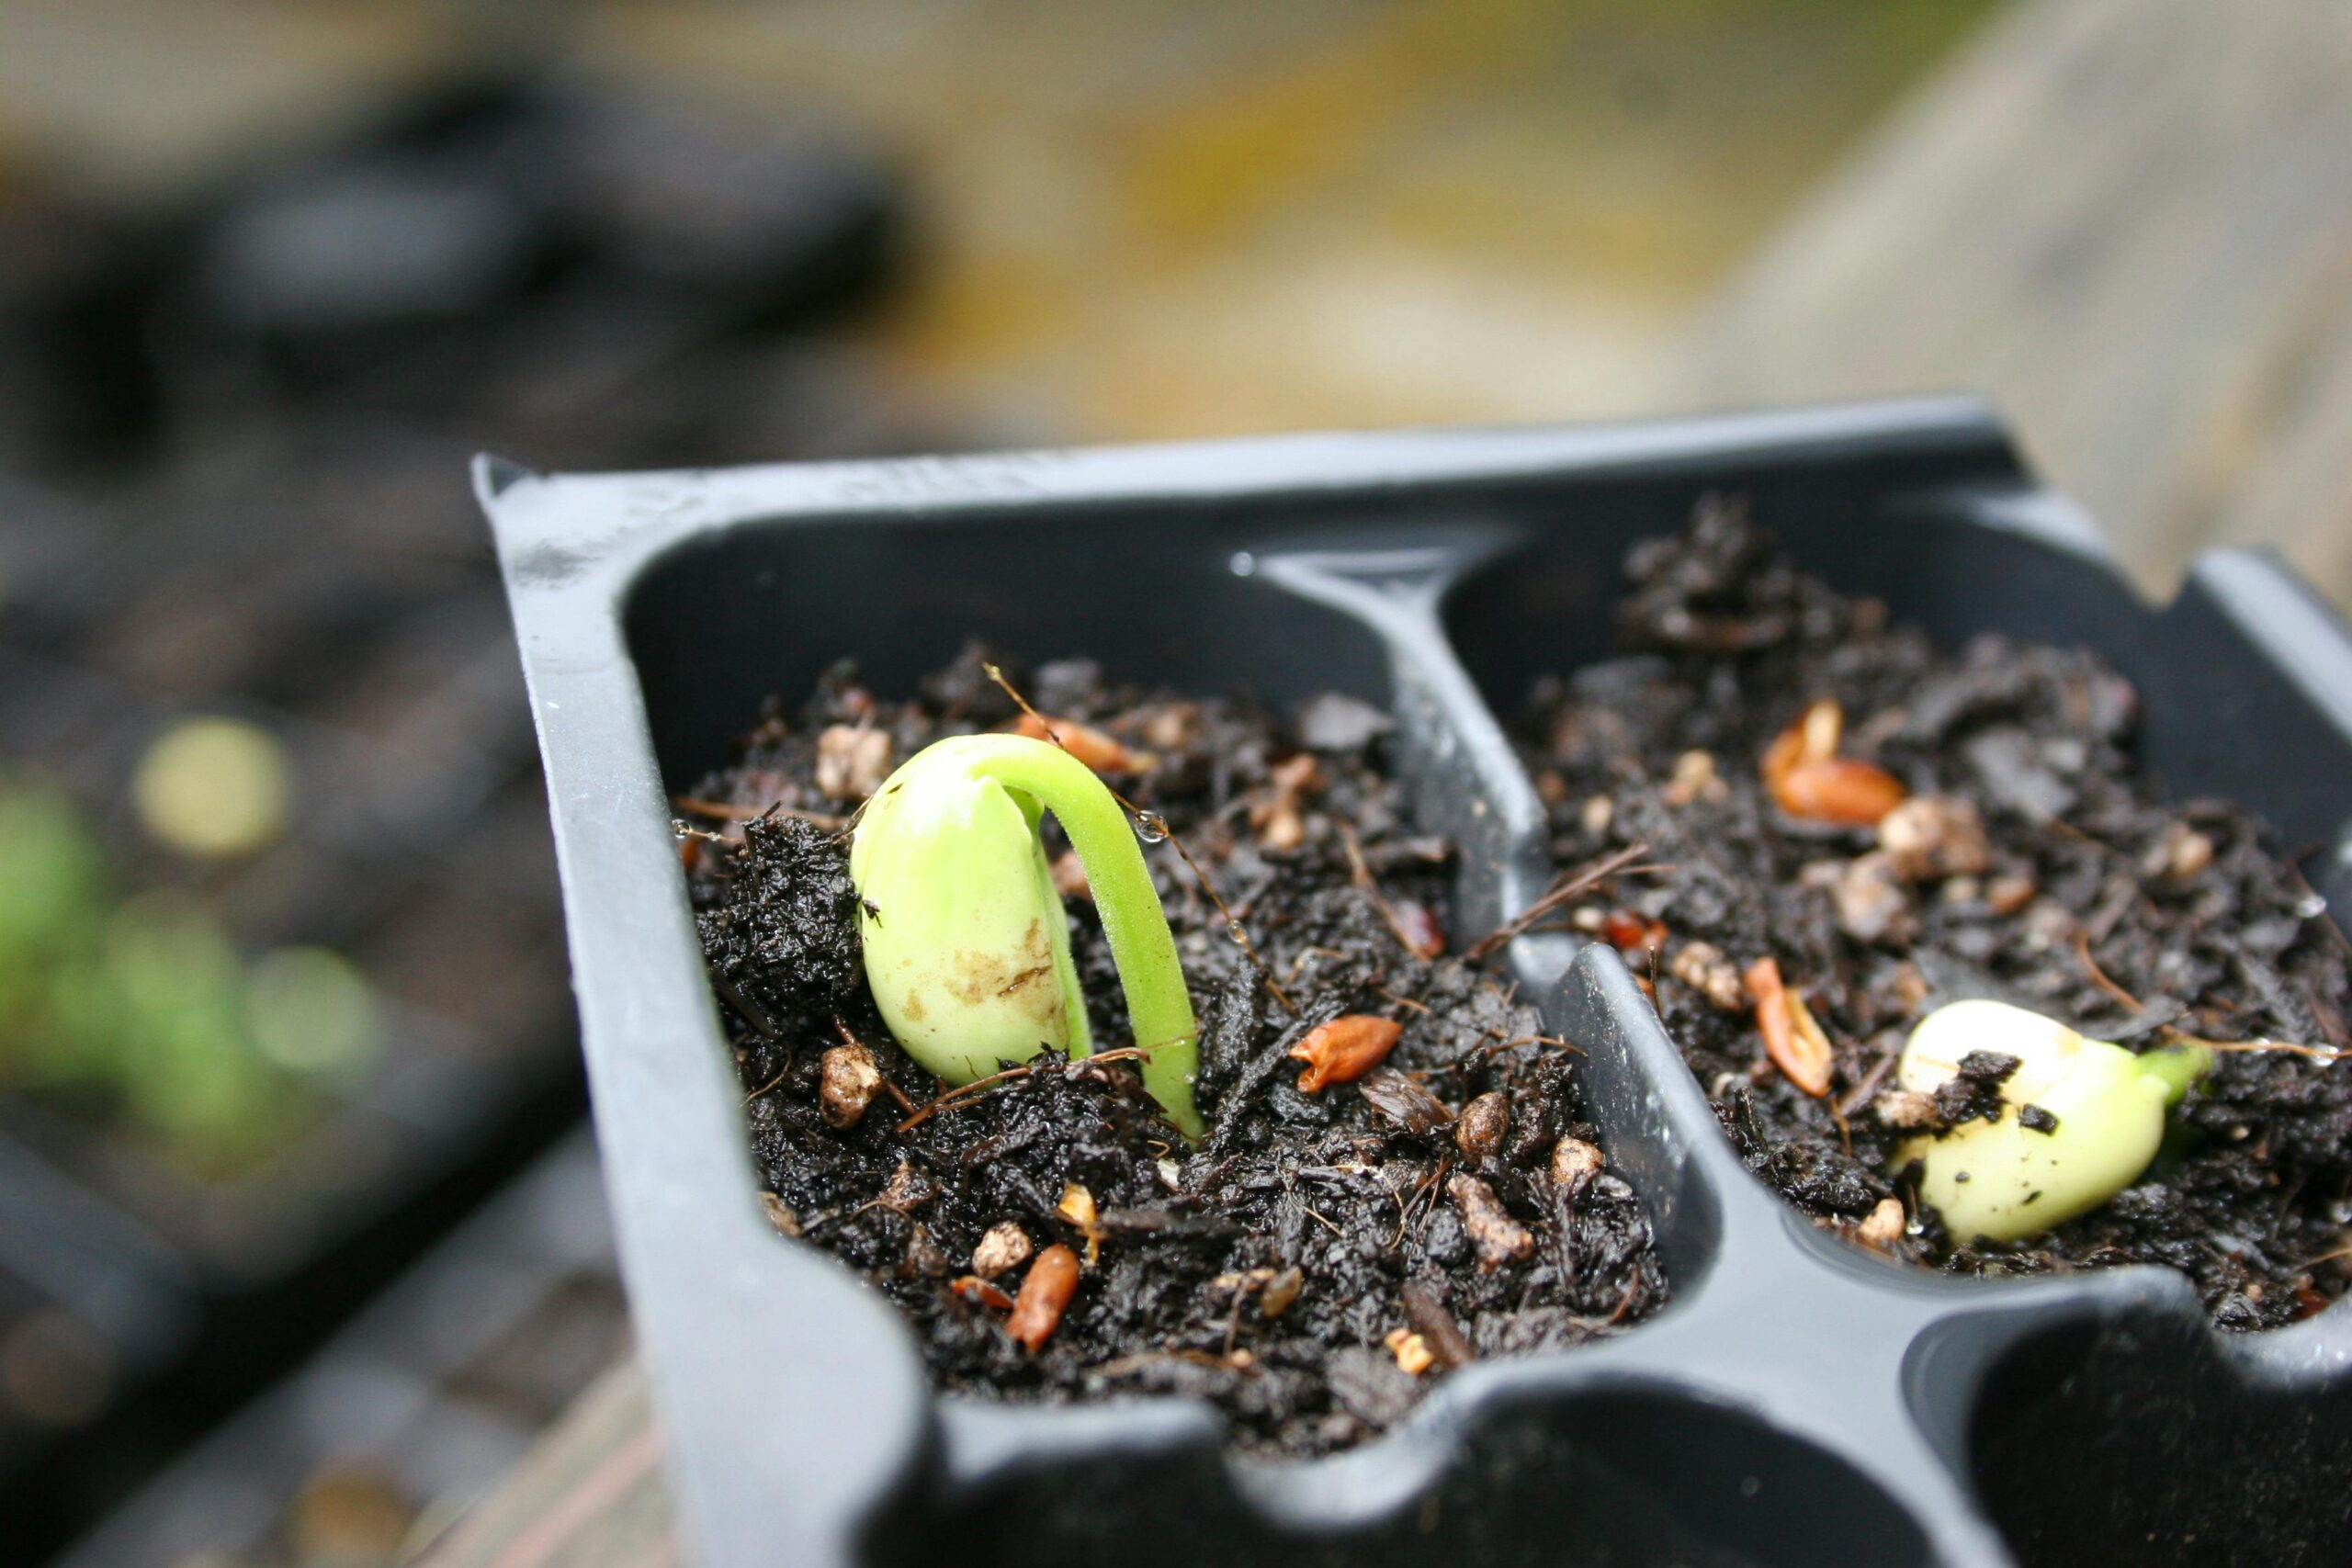
Step 3: Germinating the Seeds
After stratification, seeds are ready to sprout.
Method:
- Fill small pots with well-draining soil
- Plant seeds 1–2 inches deep
- Water lightly
- Place in a warm area (20–25°C)
Germination time:
- Usually 2–6 weeks
Important:
Do not overwater. Persimmon seeds rot easily in soggy soil.
Step 4: Choosing the Right Soil
Persimmons are not very demanding, but soil quality affects early growth.
Ideal soil mix:
- 50% garden soil
- 30% compost
- 20% sand or perlite
This mix ensures:
- Good drainage
- Nutrient supply
- Root development
Insider Tip:
Avoid heavy clay soil it slows root growth and causes root rot.
Step 5: Providing Light and Temperature
Young seedlings need consistent conditions.
Light:
- 6–8 hours of sunlight daily
- Partial shade in extreme heat
Temperature:
- Ideal range: 18°C to 28°C
If growing indoors:
- Place near a bright window
- Rotate pots weekly for even growth
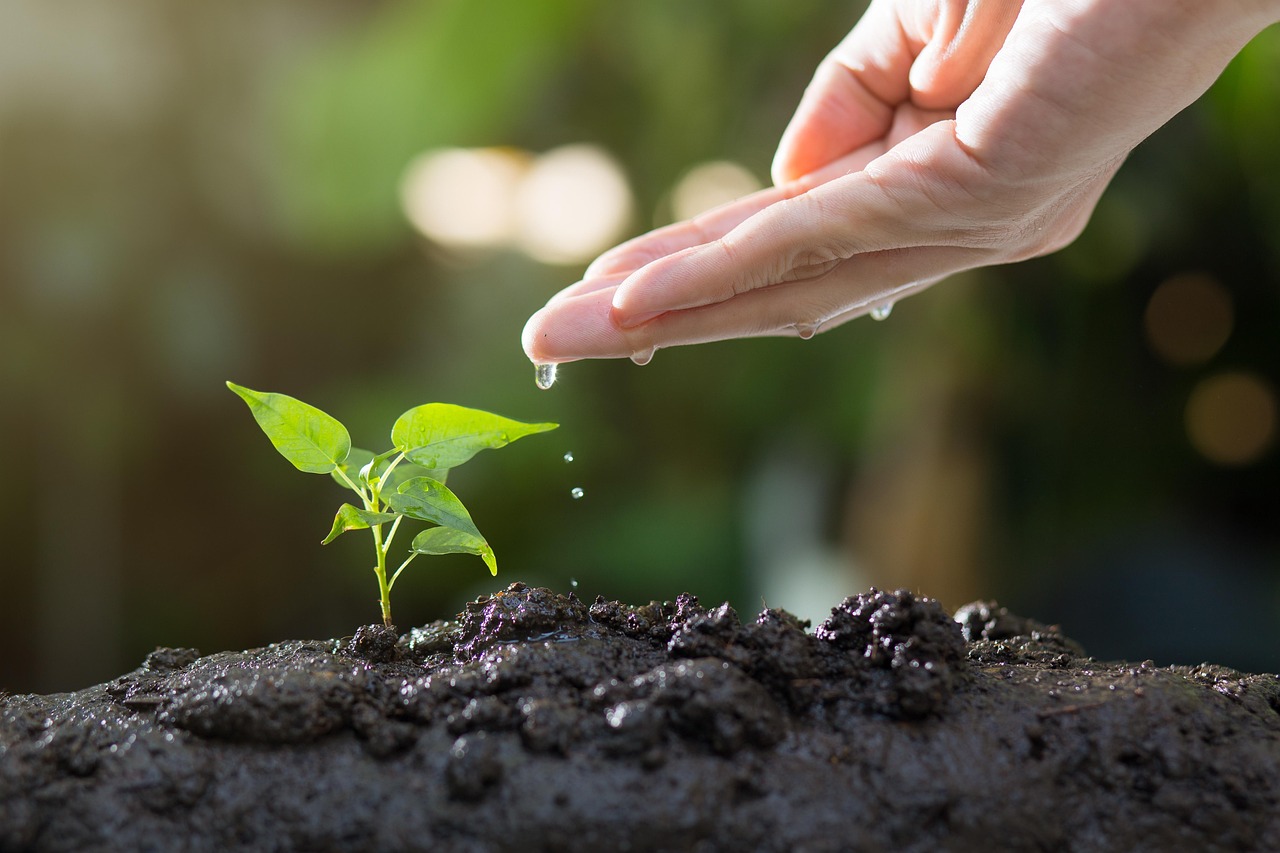
Step 6: Watering the Right Way
Overwatering is a common mistake.
Watering rule:
- Water only when top 1–2 inches of soil feels dry
Signs of overwatering:
- Yellow leaves
- Soft stem
- Fungal smell
Signs of underwatering:
- Drooping leaves
- Dry soil cracks
Balanced watering is key.
Step 7: Transplanting Seedlings
Once seedlings reach 6–10 inches tall, they are ready to move.
Transplant steps:
- Choose a larger pot or outdoor spot
- Dig a hole twice the root size
- Transfer gently without damaging roots
- Water immediately
Spacing (outdoors):
- At least 15–20 feet apart
Insider Tip:
Transplant during early morning or evening to reduce stress.
Step 8: Fertilizing for Healthy Growth
Persimmon trees do not need heavy feeding.
Recommended:
- Balanced fertilizer (10-10-10)
- Apply once in early spring
Avoid:
- Excess nitrogen (causes leafy growth but weak fruiting)
Step 9: Pruning and Training
Pruning helps shape the tree and improve airflow.
When to prune:
- Late winter (dormant season)
What to remove:
- Dead branches
- Crossing limbs
- Weak growth
Goal: Open canopy structure for sunlight penetration.
Step 10: Patience Until Fruiting
Growing from seed requires patience.
Timeline:
- Seed germination: 2–6 weeks
- Young plant stage: 1–2 years
- Fruit production: 5–10 years
Important note:
Some trees may take longer depending on:
- Climate
- Care
- Variety
Common Problems and Solutions
1. Seeds Not Germinating
Cause: No stratification
Solution: Always cold-treat seeds
2. Mold During Stratification
Cause: Excess moisture
Solution: Use slightly damp not wet paper towel
3. Weak Seedlings
Cause: Poor light or soil
Solution: Increase sunlight and improve drainage
4. No Fruit After Years
Cause: Genetic variation
Solution: Consider grafting a known variety onto your tree
Best Climate for Growing Persimmons
Persimmons adapt well, but perform best in:
- Mild winters
- Warm summers
- Low humidity during fruiting
USDA Zones:
- Asian: 7–10
- American: 4–9
Indoor vs Outdoor Growing
Indoor:
- Good for early growth
- Limited long-term success
Outdoor:
- Best for full tree development
- Necessary for fruit production
Insider Techniques for Better Results
1. Scarification Boost
Lightly crack the seed shell before stratification to speed up germination.
2. Root Development Trick
Use deep pots persimmons develop long taproots early.
3. Grafting Upgrade
Once your seed-grown tree matures, graft a high-quality variety for better fruit.
4. Companion Planting
Plant near nitrogen-fixing plants to improve soil health naturally.
Why Grow Persimmons from Seed?
Despite the long wait, there are real advantages:
- Low cost (almost free)
- Strong root system
- Adaptation to local climate
- Great for experimentation
Final Thoughts
Growing seed of Persimmons is not difficult but it demands patience and correct technique. The most critical step is cold stratification, followed by proper soil, watering, and sunlight.
If you follow the steps in this guide, you will not only grow a healthy tree but also avoid the common mistakes that stop most beginners.
The real reward comes years later when your tree produces its first fruit. At that point, every step you took early on proves its value.


Leave a Reply