I’ve been starting seeds for more than a decade, and for the first several years I did what most home gardeners do: plastic cell trays, peat pots, the occasional yogurt container. The results were fine until they weren’t. Roots circled, seedlings stalled after transplant, and every spring ended with a pile of cracked, dirt-caked plastic I felt guilty about. Then I tried soil blocking. One season of solid blocks, cleaner roots, and almost no transplant shock, and I never went back.
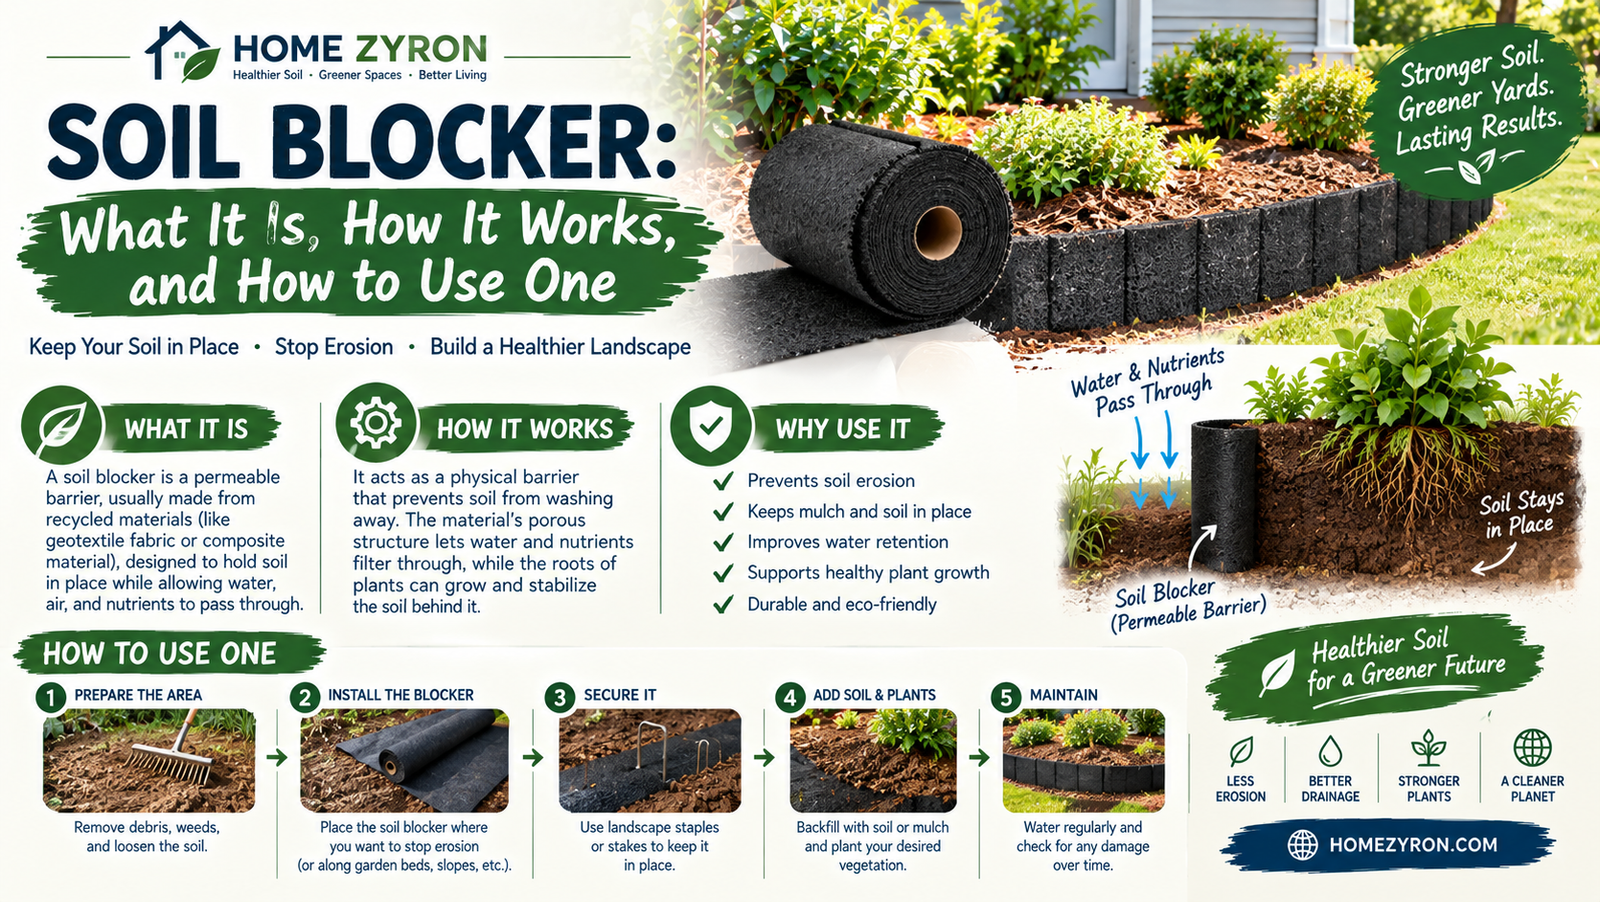
A soil blocker is a simple metal (sometimes coated) tool that compresses a specially moistened seed-starting mix into free-standing cubes. Those cubes become both the growing medium and the container. No plastic cell walls. When a root reaches the edge of the block it meets air, stops elongating in that direction, and branches instead. Growers call this air pruning. The plant builds a dense, fibrous root system that stays ready to expand the moment it touches new soil.
The modern version of the tool traces largely to Michael Ladbrooke, a British engineer, and was popularized in North America by Eliot Coleman after he saw European growers using soil blocks in the 1970s. Coleman’s books and the distribution through Johnny’s Selected Seeds brought the method to small farms and serious home gardeners. Today the best-known makers remain Ladbrooke (still family-run in England) along with newer options from Bootstrap Farmer, Johnny’s own designs, and various budget imports.
Table of Contents
What Exactly Is a Soil Blocker?
How Soil Blocking Works (and Why Roots Love It)
Choosing the Right Soil Blocker: Real Comparisons
The Mix: Getting Consistency Right
Step-by-Step: Making and Sowing Soil Blocks
Care, Watering, and Potting Up
Best Crops for Soil Blocks (and Ones to Skip)
Pros, Cons, and Honest Verdict
Common Mistakes and How to Fix Them
Future Trends and Sustainable Tweaks
FAQ
Conclusion
Author Bio
What Exactly Is a Soil Blocker?
A soil blocker is a handheld or stand-up press with multiple square chambers, spring-loaded ejectors, and small pins (dibbles) that leave a seed indentation on top of each block. You press the tool into a tub of wet mix, pack it firmly, scrape the bottom clean, then release the blocks onto a tray. The blocks stand free, touching or nearly touching their neighbors.
Sizes are standardized enough that the system nests:
Micro/Mini 20: twenty ¾-inch cubes per press — ideal for germination of tiny seeds and for maximizing space on heat mats.
Mini 4 or Mini 5: four 2-inch or five 1½-inch blocks — the workhorse size for most vegetables through transplant.
Maxi or 4-inch: single large blocks for longer indoor growth or potting up.
Commercial stand-up models (Multi 12, Multi 20, Multi 35, etc.) for high-volume growers.
The nesting feature is clever. A ¾-inch seedling can drop straight into a prepared depression in a 2-inch block, and later that 2-inch block can go into a 4-inch one. Minimal root disturbance at every stage.
How Soil Blocking Works (and Why Roots Love It)
In a plastic cell the root hits a solid wall and keeps growing in a circle. In a soil block the root tip hits air and stops. The plant responds by sending out more lateral roots inside the available volume. The result is a compact, well-branched root ball that holds the soil together and transplants with almost no check in growth.
I notice the difference most clearly with tomatoes, peppers, and brassicas. Soil-block seedlings have white, fibrous roots right to the edge instead of the brown, circling mass you sometimes pull from a cell pack. They also give you a little more flexibility on transplant timing; the roots stay in a holding pattern rather than becoming pot-bound and yellowing.
Space efficiency is another quiet advantage. A standard 1020 tray holds far more ¾-inch blocks than typical cell packs, which matters under lights or on a heat mat.
Choosing the Right Soil Blocker: Real Comparisons
I’ve used or handled several models over the years. Here’s an honest take based on build quality, ease of use, and longevity.
Ladbrooke Micro 20 (¾-inch) The classic. Stainless or now EP-coated for better corrosion resistance. Makes 20 perfect little cubes. Ejects cleanly once you dial in the mix. Nesting inserts let you pot up into larger Ladbrooke blocks. Price is higher, but these tools last decades if rinsed and dried. My personal starter recommendation for anyone serious about the method.
Ladbrooke Mini 4 (2-inch) Four solid 2-inch blocks. Ergonomic enough for repeated use. The long-handle versions reduce wrist strain. Excellent for most transplants. Compatible with the micro inserts.
Budget alternatives (Chumia, VGROW, various Amazon sets) Often powder-coated steel, sometimes including both mini and 2-inch tools in one package. They work, especially for a trial season. The coating can chip, blocks may release less cleanly, and the metal feels lighter. Fine if you’re testing the method or starting a modest number of plants; less ideal for annual high-volume use.
Johnny’s Selected Seeds and Bootstrap Farmer options Johnny’s has designed blockers that fill a 1020 tray more efficiently and claim better ergonomics. Bootstrap carries Ladbrooke and their own solid mid-range tools. Stand-up commercial models exist for growers doing hundreds or thousands of blocks; they save the back but cost several hundred dollars.
My current setup and verdict I keep a Ladbrooke Micro 20 and Mini 4. For the volume I grow, the quality and nesting system justify the cost. If budget is tight, start with a decent 2-inch four-cell tool and see whether the method clicks before investing in the full nesting set. Avoid the cheapest plastic molds; metal releases far more cleanly.
The Mix: Getting Consistency Right
This is where most beginners struggle, and where experience pays off. The mix must be wetter than ordinary seed-starting mix — closer to thick brownie batter or wet sand that holds a shape when squeezed yet doesn’t drip excessively.
A reliable base recipe many of us adapt:
3–4 parts coco coir or peat (moisture retention and structure)
2 parts compost (nutrients and binding)
1–2 parts perlite or fine pumice (aeration)
Small amounts of worm castings, greensand, rock phosphate, or a balanced organic fertilizer
Optional agricultural lime if using peat to balance pH
Hydrate the mix thoroughly and let it sit at least 30–60 minutes (overnight is better). Squeeze a handful: it should hold together and leave only a little moisture on your palm. Too dry = crumbling blocks. Too wet = sticky, misshapen blocks that won’t eject cleanly. Adjust with small additions of dry mix or water.
I prefer coir over peat for sustainability reasons, though peat still binds a bit more reliably for some people. Screen everything so no large chunks jam the chambers.
Step-by-Step: Making and Sowing Soil Blocks
Fill a wide, shallow tub with the prepared mix, about 1–2 inches deeper than the height of your blocker.
Press the blocker firmly into the mix with a slight twisting or rocking motion. Hand-pack the corners if needed so there are no air pockets.
Scrape the bottom clean against the tub edge or with a knife so the blocks have flat bases.
Position over your tray (a solid or mesh-bottom 1020 works well) and press the spring-loaded handle to eject. Lift smoothly.
Repeat, rinsing the tool occasionally if mix starts to stick.
Sow one or two seeds into each dimple (more for things like scallions or beets). Cover lightly with a pinch of mix or vermiculite if needed.
Bottom-water or mist gently. Heavy top watering can erode the blocks.
Place the tray under lights or in a warm spot. Germination often looks the same as in cells, but the subsequent root development is cleaner.
Care, Watering, and Potting Up
Soil blocks dry faster than enclosed cells because more surface is exposed. Check daily. Bottom watering (pouring water into the tray and letting the blocks wick it up) is gentlest and most effective. Avoid overhead streams once seedlings are up.
When true leaves appear and roots start showing at the edges, pot up into a larger block size if you’re using the nesting system, or transplant outdoors if conditions allow. The move is nearly seamless: the whole block goes into the new hole or the ground.
Best Crops for Soil Blocks (and Ones to Skip)
Excellent: tomatoes, peppers, eggplant, brassicas (broccoli, cabbage, kale), lettuce, basil, most annual flowers, onions (in mini blocks), cucumbers and squash for short indoor periods.
Workable with care: larger-seeded crops and those that resent root disturbance (some flowers).
Less ideal: very long-season plants that outgrow even 4-inch blocks before outdoor conditions are ready, or crops you prefer to direct-sow (beans, peas, many root vegetables). Blocks can also be trickier for extremely tiny seeds that need surface sowing and high humidity if you don’t manage moisture carefully.
Pros, Cons, and Honest Verdict
Pros
Superior root architecture via air pruning
Dramatically less plastic waste
Flexible transplant timing
Space-efficient under lights
Durable tools that last years
Seedlings establish quickly outdoors
Cons
Learning curve on mix moisture
Blocks dry out faster — more attentive watering
Upfront tool cost
Slightly more time and physical effort than filling cell trays
Peat concerns if your mix relies on it
Honest verdict: For anyone who starts more than a few dozen plants and cares about root health and plastic reduction, soil blocking is worth the effort. The first couple of sessions feel awkward; by the third tray it becomes rhythmic. The quality of the transplants is noticeably better in my experience, and the reduction in plastic is real and satisfying.
Common Mistakes and How to Fix Them
Crumbling blocks → mix too dry or not packed firmly enough.
Blocks stick in the tool → mix too wet or tool not rinsed.
Seedlings drying out → more frequent bottom watering or a humidity dome for the first days.
Roots growing into neighboring blocks → separate slightly earlier or transplant sooner.
Poor germination → check seed depth, temperature, and that the dimple isn’t too deep or dry.
Future Trends and Sustainable Tweaks
More growers are experimenting with fully peat-free mixes using coir, compost, and biochar. Tool makers are improving coatings for corrosion resistance. Commercial stand-up blockers and even some automated presses are appearing for larger operations. Paperpot systems offer another plastic-reducing alternative, though they involve ongoing consumable costs. Air-prune trays sit somewhere in between: reusable plastic with air-pruning benefits but still plastic.
I expect soil blocking to keep growing among home gardeners and market farmers who prioritize both plant performance and lower material waste.
FAQ
Do I need special trays? Any tray that holds water for bottom watering works. Mesh bottoms help with air circulation.
Can I reuse the mix? Yes, after a crop. Break up old blocks, refresh with compost and fertilizer, and re-wet.
How long do the tools last? Quality metal ones can last decades with basic care — rinse, dry, store indoors.
Is it cheaper long-term? Yes once the tool is paid for, because you stop buying disposable cells and many peat pots.
Will it work in a small apartment? Absolutely. The micro blocker is perfect for limited space under a single grow light.
Conclusion
Soil blocking isn’t a gimmick. It’s a practical, root-focused way of starting plants that happens to eliminate a lot of single-use plastic. The technique rewards attention to detail — especially mix moisture — but once the rhythm is there, it becomes one of the more satisfying parts of the seed-starting season. Healthier roots, cleaner transplants, and fewer plastic trays in the recycling bin (or landfill) are hard to argue with.
If you’ve been frustrated by circling roots or the annual plastic pile, try a single blocker and a small batch of tomatoes or peppers this season. The difference shows up in the garden, not just on the seed-starting shelf.
Author Bio
Alex Rivera is a longtime market gardener and independent researcher focused on low-waste seed-starting systems and soil health. After years of conventional plastic trays, Rivera switched fully to soil blocking and has refined mix recipes and techniques across multiple climate zones. Work has appeared in regional farming publications and practical guides for home and small-scale growers. When not in the greenhouse or writing, Rivera tests tools and shares field notes from a working market garden.



1 Comment