I’ve grown calendula for over a decade in my garden, and saving its seeds has become one of my favorite end-of-season rituals. These bright, cheerful flowers not only fill beds with color but also give you free plants year after year. Proper seed saving cuts costs, lets you select the strongest performers, and keeps beloved varieties true to type.
In this guide, I share exactly how I harvest, dry, and store calendula seeds so they stay viable. You’ll find practical steps, common pitfalls to dodge, and insider tips I’ve picked up through trial and error. Whether you’re a beginner or seasoned gardener, these methods help you build a reliable seed supply.
Why Save Your Own Calendula Seeds?
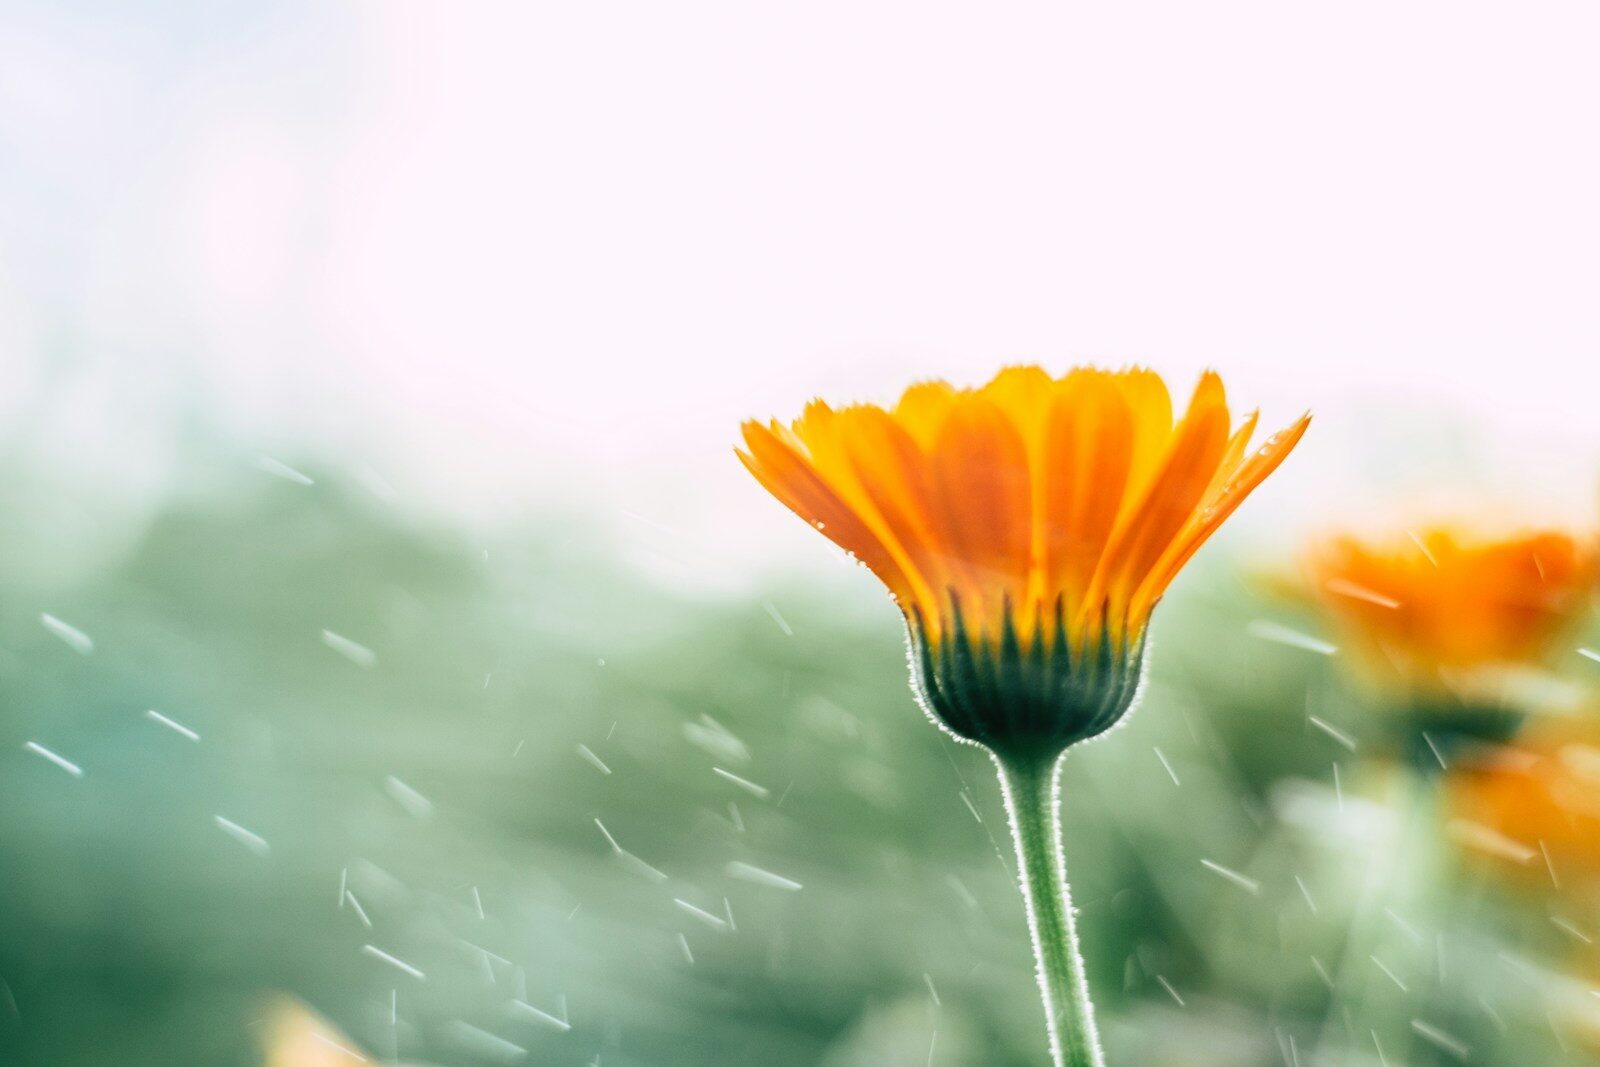
Calendula (Calendula officinalis), often called pot marigold, is an easy annual that rewards gardeners who save seeds. One plant produces dozens of blooms, each yielding 6 to 10 or more seeds. That means a handful of plants can supply hundreds for next season.
Saving seeds saves money. Store-bought packets cost money every year, while home-saved seeds cost nothing after the first purchase. You also gain control over quality. I always mark my healthiest, most vibrant plants and save from them. Over time, this selects for traits like better disease resistance or longer bloom periods suited to my local conditions in Islamabad’s climate.
Open-pollinated varieties stay true. Avoid hybrids if you want consistent results year after year. Home-saved seeds let you experiment and share extras with friends or neighbors.
Insider tip: Calendula self-seeds readily if you let it. But intentional saving gives cleaner seeds and prevents unwanted volunteers in pathways or veggie beds.
Understanding Calendula Seed Development
Knowing how seeds form helps you time things right. Calendula flowers are composite heads with ray petals around a center packed with seeds. As the bloom fades, petals drop or dry, and the center matures.
Seeds start light green and plump. Mature ones turn darker brown, tan, or deep green and firm up. They look a bit like tiny curved boats or squids, which makes them easy to handle.
The protective base of the flower curls around developing seeds. Nature designed this well, but you need to wait for the right moment.
In warmer areas like mine, plants bloom from spring through fall. I let early or mid-season blooms go to seed while continuing to pick later ones for tea, salves, or cut flowers. This balances harvest and seed production.
When to Harvest Calendula Seeds: Timing Is Everything
Harvest too early and seeds stay immature with poor germination. Wait too long and they drop or weather damages them.
Look for these signs:
- Flower heads turn brown and papery.
- Seeds shift from light green to darker tones.
- Seeds release easily when you rub the head—no tugging needed.
I check plants every few days in late season. A dry day after morning dew burns off works best. Avoid harvesting right after rain or heavy dew, as extra moisture complicates drying.
Insider tip: In humid or rainy climates, harvest slightly earlier when seeds feel firm but before heavy rains hit. Bring heads indoors to finish drying. In drier spots, leave them longer on the plant.
Choose the best plants. I skip any that struggled with powdery mildew or looked weak. Strong parent plants pass on better genetics.
Step-by-Step Guide to Harvesting Seeds
- Gather tools: Sharp scissors or pruners, paper bags or bowls, gloves (optional—some find the resin sticky).
- Select heads: Pick fully dried, brown ones. Leave a few on each plant if you want volunteers.
- Cut or pull: Snip the stem below the head or gently pull the whole dried bloom.
- Collect in the field: Hold a paper bag underneath and rub the head. Seeds drop right out.
Work in batches. One afternoon session often yields more than enough for my needs plus sharing.
Pro move: Harvest in the afternoon on a sunny, dry day. Lower humidity means less moisture to deal with later.
Cleaning Calendula Seeds
Freshly harvested seeds often mix with chaff bits of dried petals, stems, or flower parts. Cleaning improves storage and germination.
Rub heads gently over a screen or bowl. Larger debris falls away easily. For finer cleaning, use winnowing: pour seeds from one container to another in a light breeze or with a fan on low. Chaff blows away while heavier seeds drop.
Don’t stress about perfect cleanliness. A little chaff rarely harms storage if seeds stay dry.
I sort out any damaged or oddly colored seeds. Healthy ones feel firm and look plump.
How to Dry Calendula Seeds Thoroughly
Drying stands as the most critical step. Even tiny moisture leads to mold or poor germination later.
Spread seeds in a single layer on paper towels, coffee filters, or fine screens. Place them in a warm, dry, well-ventilated spot out of direct sun. A shaded room or closet works great.
Let them dry 3 to 7 days or longer in humid conditions. Stir or shake daily for even drying.
Test for dryness: A seed should snap cleanly when you bend it, not bend or feel soft. If it crushes with moisture or feels rubbery, dry longer.
Insider tip: Use a small fan on low for air circulation in sticky weather. In very dry climates, 2-3 days often suffices. I once rushed this step and lost a batch to mold—lesson learned.
Avoid ovens or dehydrators. Gentle room drying preserves viability best.
Storing Calendula Seeds for Maximum Viability
Proper storage keeps seeds viable for 4-6 years or more. Calendula seeds last well compared to many flowers.
Key rules:
- Cool temperatures
- Low humidity
- Darkness
- Consistent conditions
Use paper envelopes, glass jars, or plastic containers. Paper allows slight moisture escape; airtight works if seeds are bone-dry. Label everything with variety, harvest date, and notes.
I store mine in a cool, dark cabinet. For longer life, the fridge or freezer works after sealing in airtight bags or jars (let them warm to room temperature before opening to avoid condensation).
Keep away from heat sources, direct light, and fluctuating garage or attic conditions.
Insider tip: Add a small silica gel packet (from shoe boxes or electronics) in storage containers for extra moisture protection in humid areas. Replace or dry packets periodically.
Common Mistakes to Avoid
- Harvesting green or immature seeds → Low germination.
- Storing damp seeds → Mold city.
- Forgetting labels → Mystery seeds next spring.
- Saving from weak or hybrid plants → Disappointing results.
- Overcrowding drying trays → Uneven drying.
I learned many of these the hard way. Starting small helps you build confidence.
Troubleshooting Seed Saving Issues
Seeds won’t release? Not ready yet. Wait a few more days.
Mold or musty smell? Too much moisture. Discard affected ones and dry the rest longer next time.
Poor germination next year? Check storage conditions and test a few seeds indoors before planting out.
Too many volunteers? Deadhead most blooms and save seeds selectively from designated plants.
Planting Your Saved Calendula Seeds
Success with saved seeds starts at planting. Sow indoors 6-8 weeks before last frost or directly in garden after frost risk passes. Cover lightly with 1/4 inch soil—they need darkness to sprout.
Keep soil moist but not soggy. Germination takes 7-14 days in warm soil.
Space plants 12-18 inches apart for good air flow. Full sun and well-drained soil suit them best. Water at the base to avoid wetting leaves.
Insider tip: Direct sow in fall in mild winters for earlier spring blooms. Or start in pots for better control.
Benefits Beyond the Garden
Calendula offers more than pretty flowers. The petals make healing salves, teas, and edible garnishes. Saving seeds ensures a steady supply for both beauty and medicine.
Healthy plants attract pollinators and beneficial insects. They also serve as a companion plant in veggie gardens, potentially deterring some pests.
Scaling Up: Saving Seeds for a Bigger Garden or Sharing
Once comfortable, dedicate a few plants entirely to seed production. One vigorous plant easily gives 100+ seeds. Share with community gardens or seed swaps to build connections and preserve diversity.
Track varieties if you grow different ones (Pacific Beauty, Alpha, etc.). Note bloom color, size, or disease resistance for future reference.
Seasonal Calendar for Calendula Seed Saving
- Spring: Sow seeds.
- Summer: Deadhead for blooms, let select heads mature.
- Late Summer/Fall: Harvest mature heads.
- Fall/Winter: Dry, clean, store.
- Next Spring: Plant and repeat.
Adjust for your local climate. In Islamabad’s region, watch monsoon timing for drying.
Final Thoughts on Building Your Seed Saving Habit
Saving calendula seeds feels rewarding and practical. It connects you deeper to your garden’s cycle and cuts reliance on commercial sources. Start with a few plants this season, follow these steps, and you’ll quickly see results.
The key points boil down to patience in timing, thorough drying, and cool dry storage. With practice, you’ll develop your own tweaks that fit your space and schedule.