


I spent an entire spring years ago fighting a losing battle with a lawn that kept invading my perennial bed, one runner of couch grass at a time. I’d cut a crisp line with a spade in April, and by June the border had gone soft and fuzzy again, grass creeping in from underneath where I couldn’t see it. What finally fixed it wasn’t more effort — it was understanding that edging is a system, not a single decorative line, and that the material you choose has to match the actual problem you’re solving, not just the look you want.
That’s really what this guide is about. Not just “here are some pretty borders,” but which edge actually solves which problem, what it costs to do properly, and where people — myself included — waste money getting it wrong the first time.
Table of Contents
- Why Edging Matters More Than People Think
- The “Wild Center, Crisp Edge” Principle
- Types of Garden Edging Materials Compared
- Metal Edging Deep Dive: Steel vs. Aluminum vs. Corten
- The Mowing Strip Trick That Saves Hours of Trimming
- The Free DIY Edge: The Spade-Cut Method
- What Garden Edging Actually Costs in 2026
- The Root Barrier Problem Nobody Warns You About
- Getting Clean Curves and Corners
- Edging Ideas by Garden Style
- Maintenance: Keeping Edges Sharp Year-Round
- My Honest Verdict
- FAQs
- Final Thoughts
Why Edging Matters More Than People Think
Edging gets treated as a purely cosmetic afterthought, which undersells what it’s actually doing. A properly installed edge does four separate jobs at once: it stops grass rhizomes and stolons from creeping into beds, it keeps mulch and soil from washing or blowing onto the lawn, it gives your mower or trimmer a clean line to follow instead of guessing, and — only after all of that — it makes the whole yard read as intentional rather than half-finished.
That last point matters more than gardeners tend to give it credit for. A wildly overgrown flower bed with a crisp, clean edge looks like a deliberate cottage garden. The exact same planting with a fuzzy, undefined edge just looks neglected. The edge is doing almost all of the visual work.
The “Wild Center, Crisp Edge” Principle
If there’s one idea worth taking from current garden design thinking, it’s this one, and it’s more useful than any specific material choice. As naturalistic and pollinator-friendly planting has become the dominant style in contemporary garden design, designers have converged on the same observation: a defined, crisp edge is what allows looser, wilder planting inside it to read as intentional rather than unkempt. Landscape designer Adam Millhouse put it plainly in a recent Southern Living roundup of 2026 trends — well-defined borders keep edges straight and crisp even as the planting inside them gets looser and more naturalistic.
This is genuinely the single most useful piece of design advice in this whole guide: if you’re leaning into wildflower drifts, ornamental grasses, or a deliberately loose pollinator planting, don’t skip the edge thinking it’ll look more “natural” without one. It’ll just look messy. The wilder your planting gets, the more your border needs to hold a firm, legible line — the contrast is what makes the wildness look like a choice.
Types of Garden Edging Materials Compared
| Material | Look | Best For | Lifespan | DIY Difficulty |
|---|---|---|---|---|
| Plastic/composite strip | Low-key, nearly invisible once grown over | Budget projects, straight or gently curved beds | 5–10 years | Easy |
| Steel edging | Crisp, thin, architectural line | Modern gardens, long straight or sweeping curved runs | 15–25 years | Moderate |
| Aluminum edging | Similar to steel, won’t rust | Coastal or humid climates, tight curves | 20–30 years | Moderate |
| Corten (weathering) steel | Rusted, warm patina that deepens over time | Naturalistic and contemporary planting schemes | 25+ years | Moderate |
| Brick | Traditional, textured, classic | Cottage gardens, period properties, walkways | 20–30+ years | Moderate–hard |
| Natural stone | Rustic, organic, high-end feel | Rock gardens, Mediterranean or informal borders | 30+ years | Hard, or hire a pro |
| Poured concrete curbing | Smooth, seamless, highly customizable | Modern and formal layouts wanting continuous lines | 20–30 years | Usually professional |
| Timber/log roll | Warm, rustic, informal | Vegetable gardens, raised beds, woodland-style plots | 5–15 years (rot-prone) | Easy |
| Living edge (clipped hedge) | Soft but structured, classic formal look | Formal gardens, boxwood-style parterres | Indefinite with clipping | Slow to establish, low skill |
| Woven wattle (willow/hazel) | Rustic, handmade cottage charm | Herb beds, kitchen gardens, raised beds | 3–7 years | Easy, genuinely fun |
The honest summary: there’s no single “best” edging material, only the best one for the specific problem you’re solving. If your issue is aggressive lawn grass invading a bed, you need something rigid and continuous, not a decorative strip. If your issue is purely visual definition around already well-behaved planting, almost anything on this list will do the job.
Metal Edging Deep Dive: Steel vs. Aluminum vs. Corten
Metal is worth its own section because it’s become the default choice for anyone wanting a genuinely crisp, thin, architectural line, and the differences between the main products matter more than most buyers realize. A recent side-by-side comparison of the three major systems — Col-Met galvanized steel, Permaloc extruded aluminum, and EverEdge flexible steel — lays out the real trade-offs clearly:
- Galvanized steel (Col-Met and similar) is rigid, heavy-duty, and holds a straight line exceptionally well, but it’s less forgiving on tight curves and needs a rubber mallet or driving cap during installation to avoid denting the top edge.
- Extruded aluminum (Permaloc and similar) is lighter, ships in longer sections with fewer joints, and bends to much tighter radii without kinking — genuinely useful for flowing, organic bed shapes. Permaloc itself notes that aluminum won’t rust, dissipates heat better than steel (reducing plant stress along hot edges), and has a higher strength-to-weight ratio, though it dents more easily if struck with a hard hammer rather than a rubber mallet.
- Flexible steel systems (EverEdge and similar) are purpose-built for intricate curves, tree rings, and winding shapes that neither standard steel nor aluminum handles as gracefully.
- Corten (weathering) steel has become the standout material trend at recent flower shows — Chelsea 2026 featured corten steel repeatedly across edging, raised beds, and sculptural elements, prized for developing a warm rust patina that deepens with age rather than needing to be hidden or replaced.
My honest take, having installed both: aluminum is the better choice for anyone doing their own curved bed lines, since the forgiving bend radius genuinely makes DIY installation easier. Steel — especially corten — wins on pure visual impact and is worth the extra installation care if you’re going for a strong architectural statement rather than a subtle, disappearing line.
The Mowing Strip Trick That Saves Hours of Trimming
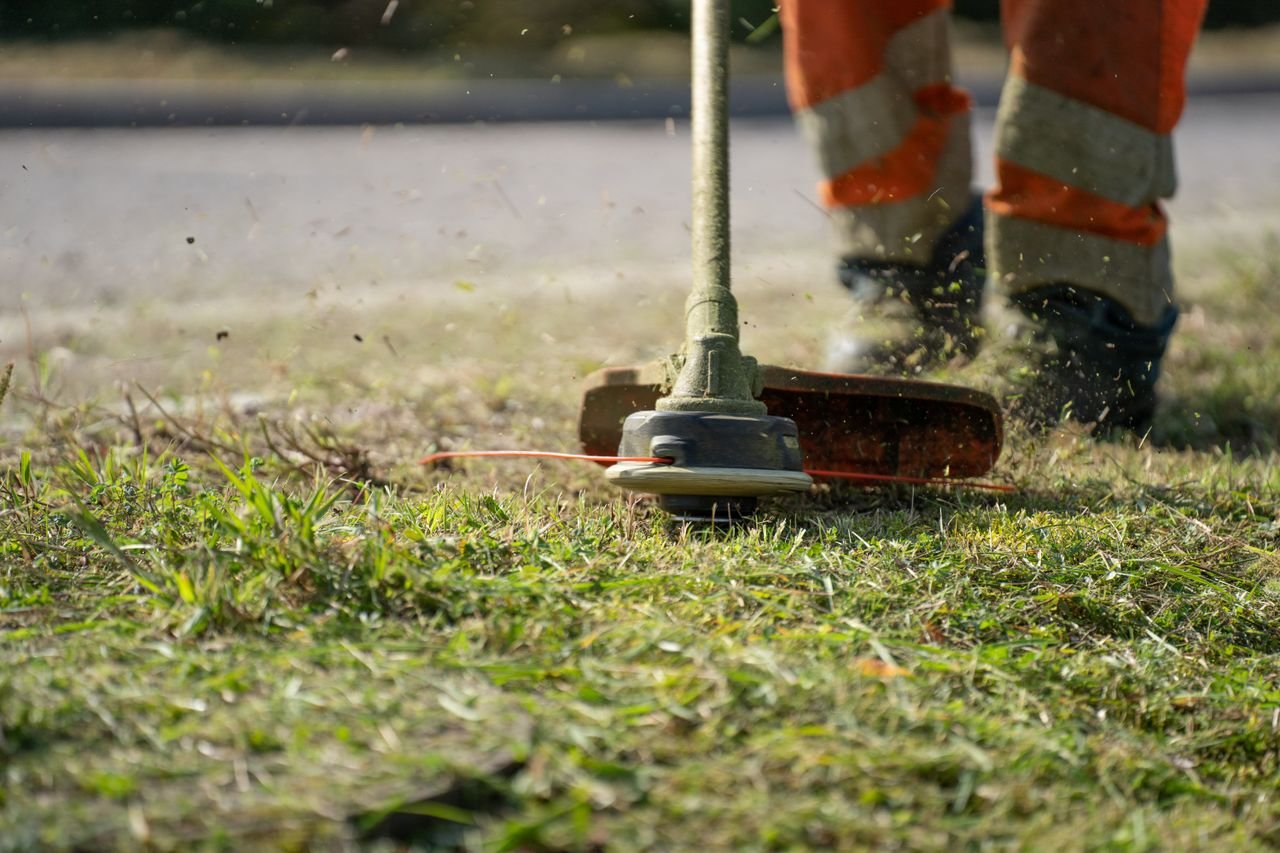
If there’s a single upgrade that pays for itself in saved time rather than just looking nice, it’s the mowing strip. The idea is simple: install a strip of pavers, brick, or flat edging set exactly flush with the surrounding lawn height, so a mower wheel can run directly along the top of it. Done correctly, this lets the mower blade cut grass right up to the border in one pass, eliminating the need to follow up with a string trimmer every single time you mow.
The installation detail that actually matters here: the top of the strip needs to sit level with the surrounding turf, not proud of it and not sunken below it. Edging that’s too high excludes the mower blade from cutting cleanly right to the line, while edging installed too low gets buried and lost under the grass. Get that level line right, and you genuinely never touch a string trimmer along that stretch again — which, if you’ve ever hated edging with a trimmer as much as I have, is worth the weekend it takes to install properly.
The Free DIY Edge: The Spade-Cut Method
Using a half-moon edging tool or a flat spade, you cut a clean vertical trench along the border line, angling the blade slightly to create a narrow gap between the lawn and the bed. There’s no material involved — the “edge” is simply the trench itself, re-cut once or twice a season as grass creeps back in.
This is genuinely underrated. It works well for gardens where you don’t mind a bit of seasonal upkeep, costs nothing, and looks completely natural — no plastic strip or metal line visible anywhere. The trade-off is honest: it needs re-cutting every few months to stay crisp, and it does nothing to stop aggressive spreading roots, which brings us to the next section.
What Garden Edging Actually Costs in 2026
Based on current pricing data across multiple 2026 landscaping cost guides, here’s a realistic range by material:
| Material | Material Cost (per linear ft) | Installed Cost (per linear ft) |
|---|---|---|
| Plastic/composite | $0.50–$3.25 | $5–$12 |
| Steel/aluminum | $2–$6.50 | $7–$16 |
| Timber | $4–$9 | $8–$18 |
| Brick (soldier course) | $6–$14 | $18–$38 |
| Natural stone | $3–$18 | $12–$40 |
| Poured concrete curbing | Included in labor | $5–$18 |
These figures line up closely across HomeGuide’s 2026 landscape curbing breakdown, LawnStarter’s 2026 pricing guide, and current brick installation cost data. For a typical 100–180 linear foot residential project, that translates to roughly $90–$600 for a basic plastic or metal DIY job, and anywhere from $1,800 to well over $4,000 for a professionally installed brick or natural stone border on the same run. The spade-cut method, worth repeating, costs essentially nothing beyond a decent edging tool.
The Root Barrier Problem Nobody Warns You About
Here’s the thing most garden edging articles skip entirely, and it’s genuinely important: a standard 4–6 inch decorative edging strip does almost nothing to stop an aggressively spreading plant. Running bamboo, mint, and certain lawn grass species spread via underground rhizomes that travel far deeper than any surface-level border.
If you’re containing running bamboo specifically, the generally recommended root barrier depth is around 24 inches, standing a few inches proud of the soil surface, since rhizomes typically don’t travel deeper than 16–20 inches but can occasionally push past shallower barriers. The same basic principle applies to invasive mint, just at roughly half the depth — mint is famously capable of escaping a standard garden bed edge within a single growing season if it isn’t contained below ground.
The practical implication: if your edging project is purely about visual definition between well-behaved perennials and lawn, a shallow decorative edge is genuinely fine. If you’re trying to contain bamboo, mint, or any rhizomatous spreader, you need a dedicated root barrier product installed well below the surface — the pretty metal strip on top is doing essentially nothing against a plant determined to get past it underground.
Getting Clean Curves and Corners
A few practical details that separate an amateur install from a professional-looking one:
- Lay out curves before you dig. A garden hose or a length of rope laid on the ground lets you actually walk the line and adjust it visually before committing to a trench — far easier than trying to eyeball a curve mid-dig.
- Cut the trench slightly wider than the edging material itself, giving room to backfill and tamp soil firmly against both sides for stability.
- Use a hand tamper to compact the trench base before setting any rigid material like brick, stone, or concrete — skipping this step is the most common reason edging shifts or settles unevenly within a year or two.
- For metal edging on curves, choose the material based on the tightness of the radius — standard steel handles broad sweeping curves fine, but genuinely tight curves or circular tree rings need a flexible steel or aluminum product designed for it.
- At corners, overlap sections generously rather than butting them edge to edge, since a tight butt joint is the first place weeds find a gap and the first place the line visually breaks.
Edging Ideas by Garden Style
Cottage garden: Brick laid at an angle (soldier or sawtooth style), scalloped concrete edging stones, or woven willow wattle around herb and kitchen beds. Leans into texture and handmade charm over precision.
Modern/minimalist: Thin steel or aluminum edging, kept as close to invisible as possible, paired with sharp, geometric bed shapes rather than curves. The goal is a line so clean it almost disappears.
Naturalistic/pollinator garden: This is where the “wild center, crisp edge” principle matters most — corten steel or a simple mowing strip works well here, giving loose, drifting perennial and grass planting a firm boundary that reads as designed rather than abandoned.
Xeriscape/drought-tolerant: Natural stone, boulders, or gravel-filled steel edging pairs naturally with drought-tolerant planting, since the hard materials echo the arid palette rather than fighting it.
Vegetable/kitchen garden: Timber edging or raised bed boards are the practical default here, since they double as low retaining walls for improved soil depth, and timber’s relatively short lifespan matters less in a bed you’re likely to rework every few seasons anyway.
Maintenance: Keeping Edges Sharp Year-Round
- Check metal and plastic edging for frost heave each spring, particularly in climates with hard freezes, and reset any sections that have worked their way upward.
- Top up mulch or gravel inside edged beds annually, since settling and rain runoff gradually lower bed material below the top of rigid edging.
- Trim living edges (boxwood or similar) at least twice a season to keep a formal hedge edge looking intentional rather than shaggy.
- Pull any grass runners that have breached a shallow edge promptly, rather than waiting — a single missed runner reroots and multiplies within weeks.
My Honest Verdict
For most home gardens, I’d point people toward one of two options depending on the actual problem: a simple mowing strip using flush-set pavers or brick if the goal is eliminating string-trimmer maintenance around lawn edges, or aluminum edging if the priority is a clean, nearly invisible line around curved perennial beds that won’t rust or need replacing for decades. Both are genuinely worth the upfront cost.
Where I’d push back on the trend-driven advice: don’t install a decorative edge and assume it’s solving a root-spread problem it was never designed for, and don’t skip the edge entirely just because naturalistic, wilder planting is having a design moment — the crisp line is precisely what makes the wildness look deliberate rather than neglected.
FAQs
What’s the cheapest way to edge a garden bed? The spade-cut method costs nothing beyond a half-moon edging tool and some labor, re-cut a couple of times per season. For a permanent material option, plastic or composite strip edging is the least expensive at roughly $0.50–$3.25 per linear foot for materials.
Does garden edging actually stop grass from spreading into beds? Yes, for typical lawn grass, provided the edging extends a few inches below the soil surface where most grass roots and stolons travel. It will not stop aggressively rhizomatous plants like running bamboo or mint, which need a dedicated, much deeper root barrier.
How deep does garden edging need to be buried? For standard weed and grass containment, 3–6 inches below grade is usually sufficient. For genuinely invasive spreaders like running bamboo, expect to need a root barrier around 24 inches deep, not standard decorative edging.
Is metal or plastic edging better? Metal lasts significantly longer — often 15–30 years versus 5–10 for plastic — and holds a straighter, crisper line. Plastic is cheaper upfront and easier for a first-time DIYer to install, making it a reasonable choice for a starter project or a bed you might redesign in a few years.
Can I install garden edging myself, or do I need a professional? Plastic, timber, and most metal edging are genuinely DIY-friendly with basic tools.
What edging works best for curved flower beds? Aluminum or flexible steel edging handles tight curves without kinking far better than standard rigid steel. For a completely natural look with no visible material, the spade-cut method also follows curves easily since there’s no rigid product to bend.
Final Thoughts
Garden edging is one of those upgrades that’s genuinely easy to underestimate until you’ve lived with a bed that doesn’t have it — grass creeping in, mulch migrating onto the lawn, and a border that never quite looks finished no matter how well the planting inside it is doing.
About the Author
Author Bio: This guide was researched and written by a landscape design writer and hands-on home gardener with over a decade of experience planning, installing, and maintaining residential garden borders across a range of climates and soil types. Their work combines practical installation experience — trenching, metal and masonry edging, root barrier systems, and mowing strip construction — with ongoing research into current landscape design trends, materials science, and horticultural best practice.