By Daniel Okafor — Landscape Architecture Researcher & Aquatic Design Consultant | June 2026 | ~2,600 words| Drawing Pool Spa Plan
1. Why the Drawing Comes Before the Digging
Every pool project I’ve ever seen go sideways had one thing in common: someone started making decisions on-site without a plan. The excavator showed up, the homeowner pointed to a general area of the yard, and everyone improvised from there. By the time the shell was poured and the equipment was placed, something was wrong — the spa ended up too far from the house, the equipment pad blocked the garden view, the pool consumed all the usable lawn space, or the coping extended past the property setback by eight inches.
None of those problems are unsolvable before the ground is broken. They are extremely expensive to fix after.
A pool spa plan is not a formality. It’s the document that lets every person involved in the project — excavator, plumber, electrician, mason, landscape contractor — understand exactly what’s happening and where, without a phone call to ask. It prevents misunderstandings, satisfies permit requirements, establishes change-order accountability, and most importantly, it forces you to think through all the decisions while they’re still free to make.
This guide is about how to create that document yourself, from a blank sheet of paper or an empty screen, without a landscape architecture degree. I’ll walk through every decision in sequence, explain the reasoning behind each, and tell you where most residential plans go wrong.
2. Understanding What a Pool Spa Plan Actually Contains
Before you draw anything, it helps to understand what a complete pool spa plan actually consists of. Many homeowners think of it as a simple overhead sketch — pool shape here, spa here, done. A plan that will satisfy a building department, communicate clearly to contractors, and actually guide construction contains more than that.
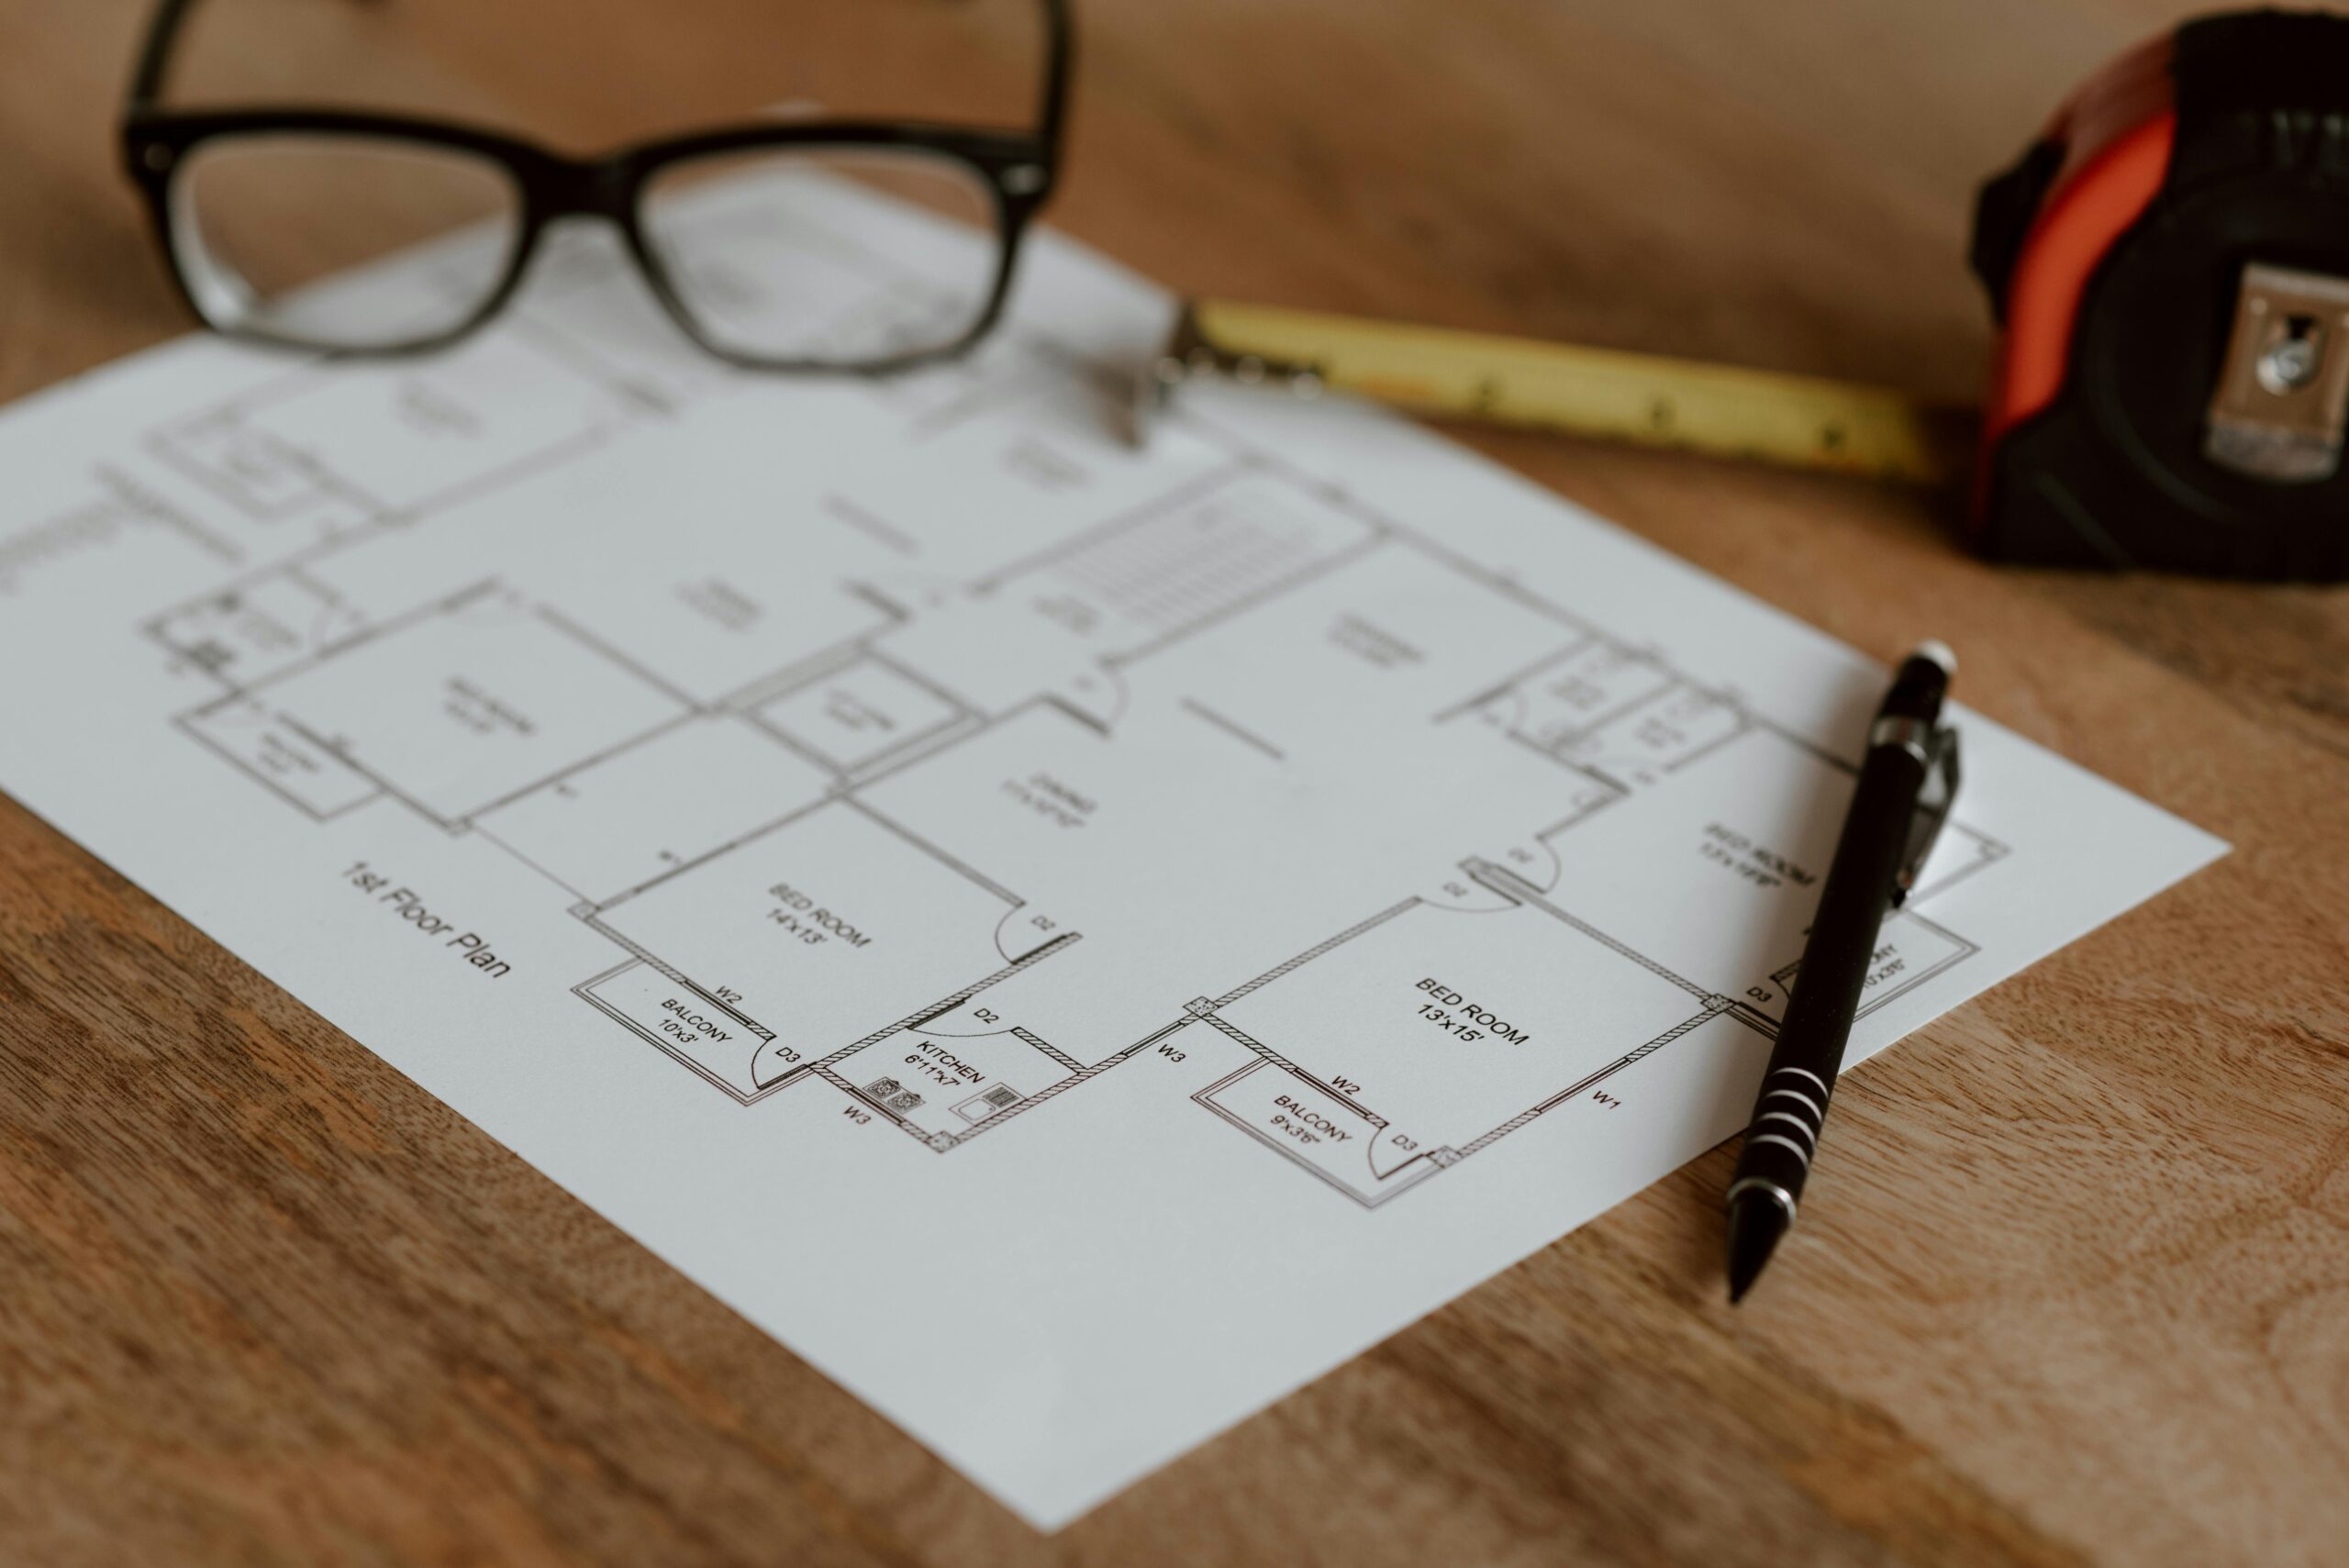
Site plan (overhead view): The foundational drawing showing the property boundary, existing structures, the pool and spa footprint, setback dimensions, equipment location, decking, fencing, and any significant landscaping elements. This is drawn to scale and is the primary permit document.
Pool cross-section: A vertical slice through the pool showing depth transitions — shallow end, slope, deep end, bench or tanning ledge dimensions, and spa depth. Without this, the excavator doesn’t know how deep to dig where.
Equipment layout: The location of the pump, filter, heater, automation panel, and any water features, showing approximate distances from the pool and access clearances.
Utility notations: Where the electrical service enters, gas line routing (for a gas heater), water fill line, drain, and any lighting conduit runs.
Planting and hardscape plan: Not always required for permits, but essential for the finished result — showing where decking materials change, where planting beds are, fencing, gates, and any shade structures.
Not every residential pool plan needs all of these as separate drawings. For a simple pool on a straightforward lot, you may be able to combine most of this onto two or three sheets. For a complex project with water features, an attached spa, multiple elevation changes, and significant landscaping, you’ll want them separated.
3. Site Analysis: Reading Your Yard Before You Draw Anything
I always tell homeowners who want to design their own pool plan: spend a week watching the yard before you pick up a pencil. This sounds like an exaggeration. It isn’t.
Sun patterns matter enormously.
A pool that’s in full sun from 10am to 6pm is a different experience — and a different operational cost — than one that’s partially shaded by the house in the afternoon. In hot climates, afternoon shade on the pool can actually be welcome. In temperate climates, every hour of direct sun extends your swimming season and reduces heating costs. Walk your yard at 9am, noon, and 3pm on a clear day. Note where shadows fall and where they don’t.
Drainage is the variable most people overlook.
During heavy rain, where does water flow? Yard drainage determines where you should not put a pool — and specifically where the excavated spoils should not be piled during construction. A pool positioned in a natural low point of the yard will fight drainage forever. Look for the high points and the flow patterns. Your pool should be on higher ground relative to the surrounding landscape, or graded and drained to handle any water that flows toward it.
Soil type affects everything structural.
Sandy soil and rock-heavy soil require different excavation approaches and affect the type of pool shell that’s appropriate. Clay-heavy soil expands and contracts seasonally, which can affect shell integrity over time. You don’t need to commission a geotechnical report for most residential pools, but you should talk to a local contractor about what the soil in your area typically requires. This affects budget more than most homeowners realize.
Existing utilities need to be located before you draw anything. Call 811 (in the US) or your country’s equivalent utility-locate service before you plan a pool. Underground gas, electric, water, and sewer lines may be anywhere in your yard, and their location will constrain where the pool can go. This is not a step to do after you’ve fallen in love with a particular placement.
Property boundaries and easements. Locate your property survey. Not the online parcel map — the actual recorded survey with dimensions. Easements along property boundaries, utility easements across the yard, and drainage easements all affect where a pool can be placed. These show up in title documents and should be reviewed before any planning begins.
4. Tools for Drawing Your Plan — Manual vs. Digital
You have a meaningful choice here, and the right answer depends on your comfort with software and how precise you need the final document to be.
Manual drafting (graph paper and drafting tools)
There’s still a legitimate case for drawing by hand, particularly for homeowners who want to get a plan together quickly for initial contractor conversations. Graph paper at a scale of 1 inch = 10 feet works well for most residential lots. You’ll need a ruler, a compass for curved pool shapes, and a template for drawing standard shapes at scale if you want it to look professional.
The honest limitation: hand-drawn plans are harder to revise when the pool shape changes, dimensions are harder to verify with precision, and permit departments increasingly prefer digital submissions. For a preliminary design you’re using to communicate ideas to contractors, hand-drafting is fine. For a permit submission document, digital is more practical.
AutoCAD and CAD-based software
AutoCAD is the professional standard for construction documents. If you have any background in technical drawing and can navigate CAD software, it produces the most precise, professional output. AutoCAD LT (the simplified version) costs around $500/year as of 2026. Free alternatives like LibreCAD or QCAD offer similar precision if you’re willing to learn a less intuitive interface.
Verdict: Powerful and professional, but has a steep learning curve if you’re starting from scratch. Not the right tool for a homeowner who has never used drafting software.
SketchUp Free
SketchUp’s free tier allows 2D and 3D drawing in a browser-based environment. It’s far more intuitive than CAD software and is widely used by architects and landscape designers for conceptual work. For pool planning, SketchUp lets you model the pool in 3D alongside the house and surrounding landscape, which helps enormously with visualizing how everything fits. The free version has limitations on exporting and detail, but for planning purposes it does the job.
Verdict: The best option for homeowners who want digital tools without CAD experience. The learning curve is manageable in a weekend.
Pool-specific design software
Tools like Pool Studio, Structure Studios, and PoolDraw are designed specifically for pool and landscape design. They include shape libraries, automatic depth calculations, 3D rendering, and some include permit-ready output formatting. Pricing ranges from $500 to $2,000+ for professional versions. Some pool contractors use these tools and will share the renderings with you; it’s worth asking.
Verdict: Excellent results, significant cost, and more features than most residential DIY planners need. Worth it if you’re doing multiple projects or want presentation-quality renderings.
Recommendation for most homeowners: SketchUp Free for exploring layout options, combined with a carefully measured hand-drawn or printed-to-scale site plan for permit submission. Use a satellite image of your property from Google Maps or your county’s GIS mapping system as an underlay in SketchUp to get accurate property proportions.
5. Step-by-Step: How to Draw a Pool Spa Plan
Here’s the process I follow when developing a residential pool plan from scratch.
Step 1: Establish the base map.
Start with an accurate representation of your property. Measure the house footprint, noting all door and window locations on the pool-facing elevations. Measure from the house to property lines on all relevant sides. Include any existing structures — sheds, fences, garden walls, trees with significant canopies. Transfer these measurements to your drawing surface at a consistent scale. Every measurement should be field-verified, not estimated.
Step 2: Mark the constraints.
Before you draw the pool, draw everything that constrains where it can go. Property lines with setback boundaries marked (typically 5–10 feet for pools, but verify locally). Utility line locations. Any easements. Tree protection zones if relevant. What you’re left with after marking all constraints is your buildable envelope — the area where the pool can actually go.
Step 3: Define the pool shape and size.
Work within the buildable envelope to establish the pool footprint. Standard residential pools range from 12×24 feet for a modest exercise pool to 20×40 feet for a family pool. Freeform pools are defined by curves and may be described by their overall envelope dimensions. Mark the pool shape to scale, then check: how much decking space remains around it? Can you walk around the entire pool on deck? Is there usable lawn or living space remaining outside the deck area? Adjust until the proportions feel right.
Step 4: Establish the depth profile.
On a separate cross-section view (looking from the side), draw the pool depth profile. A standard residential pool is 3–3.5 feet in the shallow end, transitioning over the middle third to a deep end of 5–6 feet. Tanning ledges are typically 6–12 inches deep and 6–8 feet wide, integrated into the shallow end. Mark the transitions with dimensions — the excavator needs these numbers.
Step 5: Place the spa.
Spa placement is covered in its own section below, but in the plan drawing, the spa is typically shown as a circle (6–8 feet diameter for a standard round spa) or as a geometric shape attached or adjacent to the pool. Show the spillway connection if the spa is elevated to spill into the pool.
Step 6: Design the deck.
Deck layout is as important as the pool itself. Show the deck boundary — typically 4–6 feet wide around pool edges, widening to 10–12 feet in entertaining areas. Mark the entry/exit point from the house to the deck, any steps or level changes, and the approximate location of outdoor furniture zones.
Step 7: Place the equipment zone.
Equipment needs to be within 25–50 feet of the pool for efficiency, accessible for maintenance, and out of primary sightlines if aesthetics matter to you. Mark the equipment pad location, note clearances, and indicate how the plumbing and electrical routes back to the pool.
Step 8: Add dimensions and notes.
Dimensioned plans — with explicit measurements for all major elements — are required for permit submissions. At minimum: pool overall dimensions, setback distances from all property lines, equipment pad location and size, and decking extents.
6. Spa Placement Within the Pool Design
The relationship between the pool and spa in a residential design is one of the most consequential decisions in the whole plan, and it’s also one of the most commonly rushed.
Attached elevated spa (the classic):
The spa is built adjacent to the pool at a raised elevation — typically 18–24 inches higher — and designed to spill over into the pool through a weir or spillway. This configuration allows the spa and pool to share a filtration system, saving equipment cost. The visual effect of the water cascading from spa to pool is attractive, and the spa acts as a visual anchor in the design. The limitation is placement flexibility — an elevated spa creates a fixed architectural feature that defines the design from that point on.
In-pool spa (negative-edge or flush):
The spa is positioned within the pool footprint, often at one end, at the same water level or with a subtle visual separation. This is common in smaller yards where a separate elevated spa would dominate too much. It looks seamless and contemporary but can create circulation dead zones in the pool if not engineered carefully.
Detached spa:
The spa is placed independently from the pool, sometimes with its own equipment. This allows maximum placement flexibility — the spa can be closer to the house, under a pergola, or oriented to a different view. The cost is separate equipment (or significantly more complex plumbing to connect the two), and the design can feel disjointed if the spa and pool aren’t related by a unifying hardscape language.
For most residential projects on lots under half an acre, the attached elevated spa is the most versatile and cost-effective choice. It creates a design focal point, allows equipment sharing, and gives the overall composition a clear hierarchy — the spa as the feature, the pool as the expanse.
7. Equipment Zones, Utilities, and the Details Most Plans Miss
This is the section that separates plans that survive contact with a contractor from plans that fall apart at the first site meeting.
Equipment pad sizing:
Most residential pool equipment pads are 4×8 feet minimum, housing the pump, filter, and heater. If you’re adding automation controls, a salt system, UV or ozone sanitizer, or a heat pump (which is larger than a gas heater), the pad needs to be larger — typically 4×12 or 5×10 feet. Always err larger. Equipment gets added over a pool’s lifetime, and a pad that’s too small forces compromises.
Electrical service:
A pool requires a dedicated 240V circuit for the pump, a separate circuit for the heater or heat pump, and additional circuits for lighting, automation, and any water features. Mark the path from the main electrical panel to the equipment zone on your plan. The electrician needs to know this route and any conduit that needs to be buried under hardscape before concrete is poured. Once the deck is down, trenching for conduit becomes destructive and expensive.
Gas line routing:
If you’re using a gas heater (still the fastest option for heating a pool), the gas line routing from the meter to the equipment pad needs to be shown on the plan. If you’re in an area without natural gas, show the propane tank location — typically minimum 10 feet from the pool equipment and any ignition sources.
Backwash and drainage: Your filter needs to backwash periodically, and that water needs somewhere to go. Show the backwash line routing on the plan. Most municipalities do not allow pool backwash to discharge directly to storm drains. The typical solution is a dry well or a sanitary sewer connection, both of which require planning before the deck is poured.
Water fill line: A garden hose works in a pinch, but a dedicated auto-fill line with a float valve is the professional solution — it maintains water level automatically and protects the equipment from running dry. Show its connection point in the plan.
8. Working With Codes, Setbacks, and Permit Requirements
Permit requirements for residential pools vary by municipality, but certain requirements are consistent enough to plan around universally.
Setbacks: Most residential jurisdictions require pools to be set back a minimum distance from property lines — commonly 5 feet from the side and rear property lines. Some jurisdictions require 10–15 feet. Front yard pools are prohibited in many municipalities. Check your local zoning ordinance before you finalize any placement decision.
Barrier and fencing requirements: The International Residential Code requires a fence or barrier at least 48 inches high enclosing the pool area, with self-closing, self-latching gates. Many jurisdictions have adopted stricter versions of this requirement. Your plan needs to show the fence location, gate locations, and gate swing direction.
Electrical bonding: Pool electrical systems require a bonding grid — a continuous copper conductor connecting all metal components of the pool (light niches, ladders, handrails, water features) to prevent stray current. This is not optional and is typically inspected. Make a note on the plan that bonding is required and will be installed per code.
Permit submission packages: Most residential pool permits require a site plan, a cross-section, structural drawings (typically provided by the pool company for their shell system), electrical diagrams, and a plot plan showing setbacks from property lines. Some jurisdictions now require hydraulic calculations showing the system is designed within safe flow velocity parameters.
HOA rules: In addition to municipal permits, many residential communities have HOA architectural review requirements for pools. These may restrict pool shapes, fence materials, equipment visibility, and lighting. Review HOA covenants before finalizing your design — they can be more restrictive than local code.
9. How to Communicate Your Plan to Contractors
A plan is only as useful as your ability to convey what it means to the people building from it. A few principles from experience:
Don’t hand a contractor a drawing and ask them to interpret it. Walk every contractor through the plan in person, pointing to the elements and explaining your priorities and any constraints. What seems self-evident on paper is often ambiguous in the field.
Specify materials in the plan notes. “Coping” is not a specification. “6-inch tumbled travertine coping” is a specification. The more specific your plan, the fewer opportunities for a contractor to substitute a cheaper or different material without your awareness.
Note what’s not in scope. If the pool contractor is responsible for the pool shell and equipment but a separate landscape contractor is doing the decking, note this clearly on the plan. Gaps in scope are where expensive problems get created.
Get the plan stamped if required. Some jurisdictions require a licensed engineer or landscape architect stamp on pool plans for permit submission. Know whether this applies in your area before you invest significant time in a drawing that may not be acceptable to the building department.
10. Common Planning Mistakes and How to Avoid Them
Making the pool too large for the yard. A pool that consumes 60% of the usable yard leaves no room for anything else — no lawn for kids to play on, no planting to soften the hardscape, no outdoor dining separated from the pool deck. As a rough guideline, the pool and deck combined should occupy no more than 40–50% of the total rear yard area. This feels conservative when you’re planning, but right when you’re living in the space.
Underestimating deck area. A pool with a 2-foot deck around it is a pool that nobody enjoys sitting next to. Minimum functional deck width is 4 feet; 6 feet is comfortable; 8–10 feet in entertaining areas is genuinely nice. Most first-time planners allocate too little deck.
Placing the equipment where it’s convenient, not where it’s logical. Equipment hidden behind a wall at the back of the property might be quieter, but if it’s 80 feet from the pool, plumbing runs get expensive and friction losses reduce system efficiency. Equipment within 25–30 feet of the pool, screened by a low wall or dense planting, is the practical solution.
Ignoring drainage. Surface water management around a pool is non-trivial. Deck drains need to be specified and located in the plan. The deck should slope away from the pool — typically 1/4 inch per foot minimum — to prevent water accumulating against the pool bond beam. None of this happens automatically; it has to be designed.
Not planning for the view from the house. Walk to every door and window that faces the pool area and consider what you’ll be looking at. Equipment pads, mechanical rooms, and pool fencing can all become visual elements from inside the house. Design the plan with the interior views in mind, not just the plan view from above.
11. 2025–2026 Trends in Residential Pool Spa Design
Residential pool design is evolving quickly, driven by shifts in lifestyle, technology, and environmental awareness.
Plunge pools and cocktail pools
Have moved from a niche choice to a mainstream option for smaller urban lots. A plunge pool — typically 10×20 feet or smaller, with greater depth — allows the experience of a pool without requiring the yard space of a traditional residential pool. They’re less expensive to build, significantly less expensive to heat, and faster to get in and out of. The planning process is identical to a larger pool, just at reduced scale.
Heat pump water heating
Is rapidly replacing gas heaters as the primary pool heating choice. Modern variable-speed heat pumps can heat a pool at one-third the energy cost of a gas heater when air temperatures are above 50°F. They’re larger than gas heaters and require more consideration in equipment pad sizing. In states with aggressive electrification policies, some municipalities are no longer permitting new gas pool heaters.
Automation and app control
Has become a standard expectation rather than a premium feature. Systems from Pentair, Hayward, and Jandy allow remote control of pump speed, temperature, lighting, water features, and chemical dosing from a smartphone. These systems require proper electrical planning in the original design.
Natural pools and biologically filtered pools are a growing interest in environmentally conscious residential landscapes. These designs use plant-based filtration systems instead of chemical treatment, typically with a separate regeneration zone adjacent to the swimming zone. They require different planning considerations and significantly more yard area, but the aesthetic and environmental appeal is real for the right homeowner.
The spa-forward backyard — where the spa is the primary feature and the pool is secondary or absent — reflects a shift in how people are actually using their outdoor spaces. For homeowners over 45, daily spa use is more realistic than frequent pool swimming. A beautifully designed spa with surrounding landscaping, lighting, and hardscape can be a more satisfying investment than a large pool that gets used six times a year.
12. Frequently Asked Questions
Do I need a professional to draw a pool plan for a permit?
It depends on your jurisdiction. Many municipalities accept homeowner-drawn plans for residential pools if they contain the required information and meet minimum drawing standards. Some require a licensed engineer’s stamp on the structural drawings (typically provided by the pool company) or a landscape architect’s signature on the site plan. Call your local building department before investing time in a drawing — ask specifically what they require for a residential pool permit submission.
How accurate does my site plan need to be?
For permit submission, dimensions should be accurate to within 6 inches. The building inspector needs to verify that setback requirements are met, and if your dimensions are significantly off, the permit could be rejected or a field correction required. Use a measuring tape, not pacing. For preliminary design conversations with contractors, approximate accuracy is fine.
What scale should I use for a residential pool plan?
For lots up to half an acre, 1 inch equals 10 feet works well on a standard 24×36-inch sheet. Larger lots may require 1 inch equals 20 feet. The key is that the drawing fits on a standard sheet size that a permit office can handle and that details are still legible at the chosen scale.
Can I design a pool without a spa?
Of course — a pool without a spa is a simpler design in many ways. The reason spas appear in so many residential pool plans is that adding a spa to a pool during original construction costs a fraction of what it costs to add one later. If there’s any possibility you’ll want a spa in the future, consider roughing in the plumbing connections and equipment pad space during original construction even if you don’t build the spa immediately.
How do I handle elevation changes in the yard? Sloped lots require additional information in the plan — specifically, contour lines or spot elevations showing how the grade changes across the yard. The excavation and retaining wall work on a sloped lot is a significant budget item, and contractors need to understand the extent of the grade change to price accurately. A simple cross-section through the pool location, showing existing grade and proposed finished grade, is typically sufficient for residential plans.
How long does it take to get a pool permit approved? Permit timelines vary enormously by jurisdiction — from two weeks in a small municipality to four to six months in some California counties. Ask your local building department for their current processing time before you plan a construction start date. Some jurisdictions offer expedited review for an additional fee.
Conclusion
There’s a reason I always come back to the same piece of advice when someone tells me they’re planning a pool: draw it before you discuss it with anyone. Not a rough sketch on a napkin, but an actual measured plan that shows where things go, how much space they take, and how everything relates to each other.
That drawing process does something that conversations can’t — it forces you to resolve conflicts before they cost money. The spa that seemed obviously placed in your imagination might reveal itself to block the view from the kitchen window when you draw it to scale. The equipment pad that seemed like it would fit easily behind the garage might land on top of a gas line when you locate the utilities. The pool size that felt right in your head might consume all the usable lawn when you draw it against the actual property dimensions.
Every hour spent drawing is several hours of expensive field correction avoided. More than that, a clear, well-considered plan is the document that protects you throughout construction. It’s the reference point when a contractor proposes a substitution, the baseline for evaluating a change order, and the evidence of what was agreed upon if something goes wrong.
Pool and spa projects are among the most significant investments a homeowner makes in their property. They reshape how you use outdoor space, how the house relates to the yard, and in certain climates, how you live for five or six months of the year. That kind of investment deserves more than a general idea and a contractor’s verbal assurances. It deserves a plan.
About the Author
Daniel Okafor is a landscape architecture researcher and aquatic design consultant who has spent 18 years studying the intersection of residential site design, water feature engineering, and construction documentation. His research focus has been on how planning decisions made at the drawing stage affect project outcomes — financially, aesthetically, and structurally — over the lifetime of a residential landscape installation. He has worked alongside pool contractors, civil engineers, landscape architects, and municipal building departments across the United States and internationally to understand the full lifecycle of a pool project from permit to long-term maintenance. He’s writes for homeowners who want to understand the field well enough to make genuinely informed decisions, rather than simply trusting that the contractor knows best. He is based in Austin, Texas, where swimming pools are less a luxury than a fundamental feature of outdoor living.