
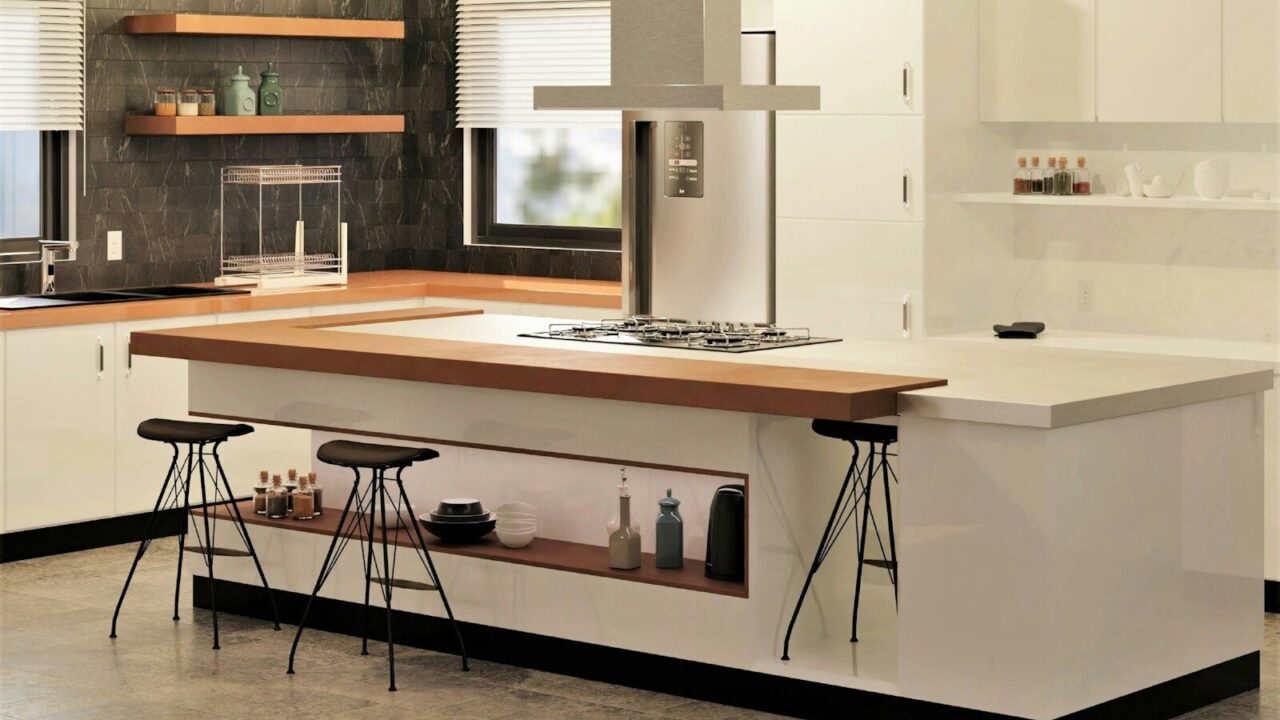



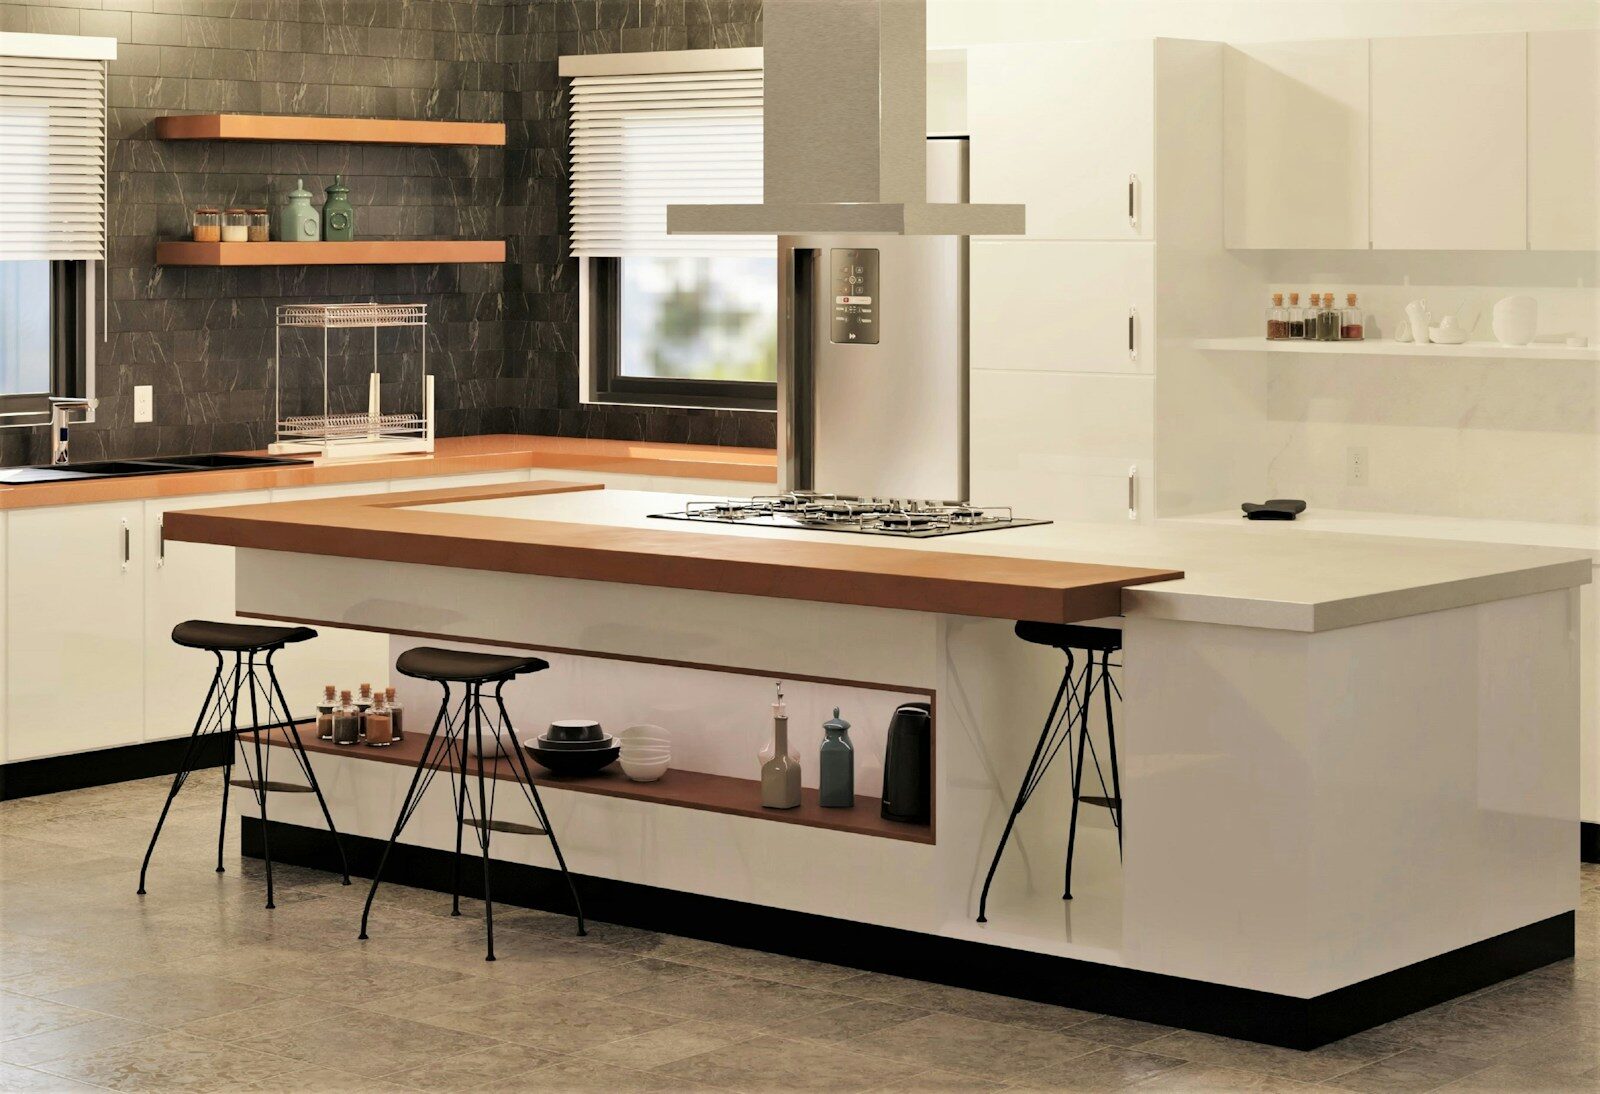
I still remember the first time a client asked me for “that thick countertop look” and then balked the moment I quoted her for a full 8cm slab across her entire kitchen. The weight alone would have needed reinforced cabinetry, and the material cost was nearly double what she’d budgeted. So I showed her a sample of a mitered edge instead — a standard 3cm slab folded at the front edge to look every bit as substantial as the thick stone she’d been drooling over on Pinterest, at a fraction of the weight and cost. She ran her hand along the seam three times looking for it before she believed me it was there at all. That reaction is basically the entire appeal of mitered edges in one moment.
If you’ve been researching countertop options and keep running into the term “mitered edge” without a clear explanation of what it actually involves, this guide covers it properly — how it’s made, where it shines, where it can go wrong, and what it should actually cost you.
Table of Contents
- What Is a Mitered Edge Countertop, Exactly?
- How Mitered Edges Are Actually Fabricated
- The Real Benefits, Beyond “It Looks Nice”
- The Trade-Offs Nobody Mentions Upfront
- Edge Profile Comparison
- Best Materials for Mitered Edges
- What It Actually Costs
- Design Styles and Thickness Options
- Structural Support Options Compared
- The Installation Process, Step by Step
- Common Installation Mistakes
- How to Spot a Bad Miter Joint
- Maintenance and Long-Term Care
- Where Countertop Edge Design Is Headed
- FAQs
- Final Thoughts
What Is a Mitered Edge Countertop, Exactly?
A mitered edge countertop is a standard-thickness slab — usually 2cm or 3cm — that’s been fabricated to look like a much thicker piece of stone, typically 6cm to 8cm, by joining two pieces of the same material at a precise 45-degree angle along the front edge. The visible result is a countertop that reads as one solid, substantial slab, even though only the top surface and a folded-down front strip are actually there; underneath, the counter is hollow at that edge.
It’s the same core technique used to create waterfall islands, where the countertop appears to flow continuously down the side of the island to the floor in one unbroken surface — that “waterfall” is a mitered joint disguised as a single bent piece of stone.
How Mitered Edges Are Actually Fabricated
This isn’t something you can approximate with a router at home, and understanding the process is honestly the best way to judge whether a fabricator is going to do it well.
The fabricator cuts the underside of the main countertop slab at a 45-degree angle along the front edge, and cuts a matching strip of the same slab at the complementary 45-degree angle. Whenever possible, that strip is cut from directly beneath where the main piece was cut, so the veining and color continue almost seamlessly around the corner — this is called bookmatching, and it’s the single biggest factor in whether the finished seam disappears or stands out.
The two angled faces are bonded together with a color-matched epoxy adhesive, clamped, and left to cure. Once cured, the seam is ground down and polished by hand until it’s flush and, ideally, nearly invisible to both the eye and the touch. Only after that does the fabricator apply the final edge profile — square, bullnose, ogee, or whatever style was chosen — to the now-thicker-looking front face.
The Real Benefits, Beyond “It Looks Nice”
The aesthetic payoff is obvious, but there are practical reasons this technique has become a default request in higher-end kitchen design.
Weight savings are significant. A true 8cm slab across an entire kitchen is heavy enough that it sometimes requires reinforced cabinet boxes.
Material cost savings follow the same logic — you’re paying for a thick appearance only along the visible edges rather than paying for genuine extra thickness across square footage you’ll never actually see from the side.
Design flexibility is real too. Mitered edges work with nearly any edge profile applied afterward, and they’re essentially mandatory if you want a waterfall island, since there’s no other practical way to make a single slab appear to flow around a 90-degree corner.
The Trade-Offs Nobody Mentions Upfront
I’d rather tell a client the downsides before they’ve signed a contract, not after.
Skill dependency is high. This is not a job for a fabricator’s first month on the tools. A poorly executed miter shows a visible line, an uneven ridge you can feel with your fingertip, or a color mismatch that’s obvious in daylight even if it looked fine under showroom lighting.
Natural stone is harder to match than engineered stone. Granite and marble have irregular, often dramatic veining, which makes bookmatching genuinely difficult — sometimes the veining simply won’t line up perfectly no matter how skilled the fabricator is, because of how the slab was originally cut at the quarry.
The joint is a structural weak point, not just a cosmetic one. Corners and overhangs at a mitered edge are more vulnerable to chipping or stress cracking than a solid piece of stone, especially if someone leans on an unsupported waterfall edge or if the installer skipped proper backing.
It adds fabrication time. Between the precision cutting, bonding, curing, and hand-polishing, a mitered edge simply takes longer to produce than a standard single-thickness edge, and that time shows up in your invoice.
Edge Profile Comparison
The mitered technique determines the thickness look; the edge profile determines the shape of that thick front face. Here’s how the common options compare once you’ve gone mitered.
| Edge Profile | Look | Relative Cost | Best For |
|---|---|---|---|
| Square/Eased mitered | Clean, modern, sharp lines with just a slight softening on the top corner | Baseline mitered cost | Contemporary and minimalist kitchens |
| Bullnose mitered | Fully rounded front face, softer and more traditional | Slightly above baseline | Family kitchens, transitional styles, safety-conscious households with kids |
| Ogee mitered | Decorative S-curve profile, more ornate | Noticeably higher | Traditional or formal kitchen designs |
| Bevel mitered | Angled, faceted edge rather than curved | Slightly above baseline | Modern kitchens wanting texture without full curvature |
| Waterfall (no visible front edge) | Countertop appears to flow continuously to the floor at the island end | Highest — full-height mitered panel | Statement kitchen islands, open-concept spaces |
Best Materials for Mitered Edges
Not every countertop material behaves the same way once you introduce a bonded joint.
| Material | Seam Visibility | Durability at Joint | Relative Cost | Verdict |
|---|---|---|---|---|
| Engineered quartz | Excellent — uniform pattern makes matching easy | Very good, consistent density | Mid-range | My default recommendation for most homeowners. Consistent color and pattern make an invisible seam far more achievable than with natural stone. |
| Granite | Good to fair, depends heavily on the specific slab’s pattern | Good | Mid to high | Works well with fabricators experienced in bookmatching; riskier with heavily patterned or busy granite where veining is hard to continue convincingly. |
| Marble | Fair — dramatic veining is beautiful but genuinely hard to match perfectly | Fair — marble is softer and more prone to chipping at a stressed edge | High | Stunning when done by a skilled fabricator, but this is the material where I’d scrutinize the fabricator’s portfolio hardest before committing. |
| Quartzite | Good | Very good — quartzite is notably hard and durable | High | A strong pick if you want the natural-stone look with better durability than marble at the joint. |
| Solid surface (e.g., Corian-type materials) | Excellent — can sometimes be seamed nearly invisibly using thermoformed techniques rather than a traditional miter | Good | Lower to mid | Underrated option specifically for seamless-looking edges, though it lacks the premium feel of natural or engineered stone to some buyers. |
What It Actually Costs
Pricing varies a lot by region and fabricator, but the general pattern holds fairly consistently: a mitered edge typically adds a noticeable per-linear-foot premium over a standard single-thickness edge, on top of your base material and installation cost — often somewhere in the range of an extra $40 to $100+ per linear foot depending on material and edge complexity, with waterfall islands landing at the higher end because of the additional panel and support work involved.
The honest way to think about it: a mitered edge will almost always cost less than a genuine full-thickness slab across the same footprint, but more than a standard edge on a standard-thickness slab. It’s a middle-ground upgrade, not a budget option and not the most expensive one either.
Design Styles and Thickness Options
The two most common “look” targets are a faux 4cm edge (made from a single folded 2cm slab) and a faux 6cm to 8cm edge (made from folded 3cm material, sometimes double-mitered for an even bolder look). Thicker mitered edges read as more dramatic and higher-end, but they also draw more attention to the seam if the fabrication isn’t precise, simply because there’s more surface area at the joint to scrutinize.
Waterfall islands are the boldest expression of this technique and have become close to a signature look in modern kitchen design over the past several years — but they demand the most skill, the most material for bookmatching, and the most structural planning underneath.
Structural Support Options Compared
An overhanging mitered or waterfall edge isn’t just resting there decoratively — it needs real support underneath, and how that’s handled matters more than most homeowners realize until something goes wrong.
| Support Method | How It Works | Best For | Honest Verdict |
|---|---|---|---|
| Plywood substrate backing | A plywood panel is bonded to the underside of the overhang for added rigidity | Moderate overhangs on quartz or engineered stone | Solid, cost-effective baseline for most standard mitered edges — I’d consider this close to non-negotiable on any real overhang. |
| Concealed steel L-brackets or corbels | Metal brackets anchored into the cabinet structure support the overhang from beneath, often hidden from view | Larger overhangs, breakfast bars, heavier natural stone | Worth the extra cost anytime the overhang exceeds what the material manufacturer rates as safely self-supporting — don’t skip this to save money on a bar-height overhang. |
| Internal steel rod reinforcement | Threaded steel rods embedded within the slab itself for extra tensile strength | Waterfall islands and long spans | The gold standard for waterfall installations specifically; I’ve seen far fewer stress cracks in waterfall islands built this way versus those relying on backing alone. |
The Installation Process, Step by Step
- Precise templating of the cabinet layout, including exact overhang and waterfall dimensions.
- Slab selection and layout planning, choosing where the miter cuts fall to maximize bookmatching, especially critical for natural stone.
- Cutting the two angled pieces, ideally on CNC-guided equipment for the most consistent, precise 45-degree angles.
- Bonding with color-matched epoxy and clamping for the full recommended cure time — rushing this step is one of the most common sources of a visible or weak seam.
- Grinding and hand-polishing the seam until it’s flush to both eye and touch.
- Applying the final edge profile to the now-completed thick-look front face.
- Installing structural support into the cabinetry before the countertop goes in, not as an afterthought.
- Setting the countertop, leveling it precisely, and sealing natural stone materials as a final step.
Common Installation Mistakes
The mistakes I see most often trace back to rushing one of the steps above. Mismatched veining or color across the seam happens when the fabricator doesn’t bookmatch carefully, or uses material from a different slab batch entirely. Corner miters on L-shaped islands not aligning cleanly is a sign of imprecise templating or cutting at the outset.
How to Spot a Bad Miter Joint
Before signing off on a finished installation, run your fingers slowly along the full length of the seam — you shouldn’t feel any ridge, dip, or texture change. Look at the seam from multiple angles and lighting conditions, including raking light from the side, which reveals ridges that look invisible under direct overhead light. Check color and pattern continuity closely at the corner itself, not just from a few feet back. And place a straightedge across the joint to confirm the two pieces are perfectly flush, with no lippage.
Maintenance and Long-Term Care
Mitered edges themselves don’t require special daily maintenance beyond what the base material already needs — sealing natural stone on the recommended schedule (often annually for granite, more frequently for more porous marble), and avoiding harsh acidic cleaners on marble specifically, since they etch the surface over time.
The one added consideration is load: avoid sitting, standing, or placing unusually heavy or concentrated weight directly on an unsupported waterfall or mitered overhang edge, since that’s exactly the stress point most likely to reveal a weak joint years down the line. Periodically re-check the seam the same way you did at installation — if a ridge or gap develops that wasn’t there before, that’s worth having a fabricator inspect before it worsens.
Where Countertop Edge Design Is Headed
CNC precision continues to push seam quality upward. As digital templating and robotic cutting become more standard even among mid-tier fabricators, the gap between a mediocre miter and an excellent one is narrowing, which is good news for anyone budgeting for this feature.
Sustainability-driven engineered materials are entering the space, with recycled-content quartz and other engineered options increasingly marketed specifically for their consistency in bookmatched and mitered applications, since uniform, factory-controlled patterns make invisible seams far more achievable than with natural stone’s inherent unpredictability.
FAQs
Does a mitered edge always need extra structural support? Standard mitered edges on shorter overhangs are often fine with plywood backing alone, but anything approaching a full waterfall or a long bar-height overhang genuinely needs brackets or internal reinforcement — don’t let a fabricator skip this to save on cost.
Will the seam always be somewhat visible? With a skilled fabricator and a material like engineered quartz, the seam can become genuinely difficult to spot even up close. With busier natural stone patterns, some visibility is more likely, though still often minimal.
Is a mitered edge only used for waterfall islands? No — it’s just as commonly used to give a standard-thickness countertop the appearance of a thicker, more substantial slab along any front edge, independent of the waterfall island look.
How much longer does mitered fabrication take compared to a standard edge? Expect meaningfully more fabrication time due to the precision cutting, bonding, curing, and hand-polishing involved — ask your fabricator for their specific timeline rather than assuming it matches a standard edge quote.
Can a cracked or damaged miter joint be repaired? Often yes, particularly for chips or minor seam separation, though repairs are more visible in natural stone with distinct veining than in uniform engineered quartz.
Final Thoughts
A mitered edge is one of those details that quietly separates a countertop that reads as “nice” from one that reads as genuinely custom but it lives or dies entirely on fabrication quality, not on the concept itself. The technique is forgiving of nothing: rushed bonding, careless bookmatching, or skipped structural support all show up eventually, sometimes not until years later when a stress crack finally reveals a shortcut someone took during installation.
My client, by the way, still has that countertop.
About the Author
Andrew Castillo is a certified stone fabricator and kitchen design consultant with over fifteen years of experience in countertop fabrication and installation, specializing in natural stone and engineered surfaces. His work has focused heavily on mitered and waterfall edge techniques, and he regularly consults with homeowners and designers on material selection, structural planning, and fabrication quality control. He writes to help homeowners ask sharper questions before hiring a fabricator, based on years of both flawless installations and hard-earned lessons from the ones that weren’t.