



I still remember the summer my backyard felt like a furnace. The deck baked in full sun from noon onward, the patio furniture was too hot to sit on, and every outdoor meal ended with someone complaining about the glare. That was the year I built my first trellis roof. Not a solid patio cover that turned the space into a dark cave, and not a flimsy pergola that left us squinting. A proper open lattice roof—something that filtered light, invited vines, and still let the breeze through.
Fifteen years and three different versions later, I can tell you exactly what works, what fails, and why a well-designed trellis roof remains one of the smartest upgrades you can make to an outdoor living space. This guide comes from the projects I’ve built, the ones I’ve helped neighbors finish, and the mistakes that taught me more than any brochure ever did.
Table of Contents
- What a trellis roof actually is (and how it differs from a pergola or solid cover)
- Real benefits beyond “it looks nice”
- Design ideas that work in real yards
- Material comparisons: wood, aluminum, steel, and vinyl with honest verdicts
- Planning, permits, and structural basics
- Step-by-step installation tips from someone who’s done it
- Choosing and training climbing plants
- Maintenance that keeps it looking good for years
- Common problems and how to avoid them
- FAQs
- Where trellis roofs are headed
- Final thoughts
What a trellis roof actually is (and how it differs from a pergola or solid cover)
People throw around the words trellis, pergola, and arbor interchangeably, but they are not the same. A classic trellis is usually a flat vertical lattice panel for training vines against a wall or fence. A trellis roof takes that open lattice idea and turns it horizontal (or slightly pitched) to create a ceiling of sorts over a patio, deck, or walkway.
It sits between a fully open pergola (widely spaced rafters that cast minimal shade) and a solid patio roof (which blocks rain and most light). The lattice or closely spaced beams create dappled shade while still allowing air movement and filtered sunlight. Many of the best versions support climbing plants that eventually thicken the canopy.
When I explain it to clients, I say: a solid roof gives you a room outdoors. A trellis roof gives you a living room that still feels connected to the sky.
Real benefits beyond “it looks nice”
The practical advantages show up the first summer you have one.
Shade without the greenhouse effect is the biggest. Solid roofs can trap heat. A well-spaced trellis roof drops the temperature underneath by several degrees while still letting hot air rise and escape. On my current deck, the difference between sitting under the trellis versus ten feet away in open sun is dramatic—enough that we actually use the space in July and August.
It improves how the house feels from inside. Looking out through a framed lattice softens the transition between indoor and outdoor rooms. Evening light filters through in a way solid covers never manage.
Climbing plants turn the structure into a seasonal feature. Wisteria, grapevines, or climbing roses change the character of the space from spring through fall. In winter the bare lattice still provides architectural interest instead of looking empty.
There’s also a subtle privacy benefit. Even without side panels, the overhead structure creates a sense of enclosure that makes the patio feel more like an outdoor room. Add a couple of hanging plants or a simple curtain track and the effect multiplies.
Finally, a good trellis roof can increase the usable hours of your outdoor space without the expense and visual weight of a full addition. In many neighborhoods it also photographs better for resale than a plain deck.
Design ideas that work in real yards
The most successful trellis roofs I’ve seen (and built) share a few traits: they feel intentional rather than tacked on, they match the scale of the house, and they solve a specific problem—too much sun, lack of definition, or a boring transition zone.
Attached lean-to style
This is the most common and usually the most practical. One side bolts to the house under the eaves or to a ledger board, the other rests on posts. A gentle pitch sheds water and debris. I prefer the lattice to run perpendicular to the house so the lines pull the eye outward. Works especially well over dining areas.
Freestanding pavilion
Useful when you want the structure farther into the yard or over a free-standing deck. Four or six posts, a simple rectangular or square footprint, and a slightly higher roof so the space doesn’t feel closed in. Great for creating a destination seating area.
Partial coverage with solid sections
Some of my favorite hybrids place solid roofing over the main seating or outdoor kitchen zone and transition into open lattice toward the garden edge. You get weather protection where you need it and the airy feel everywhere else.
Modern geometric lattice
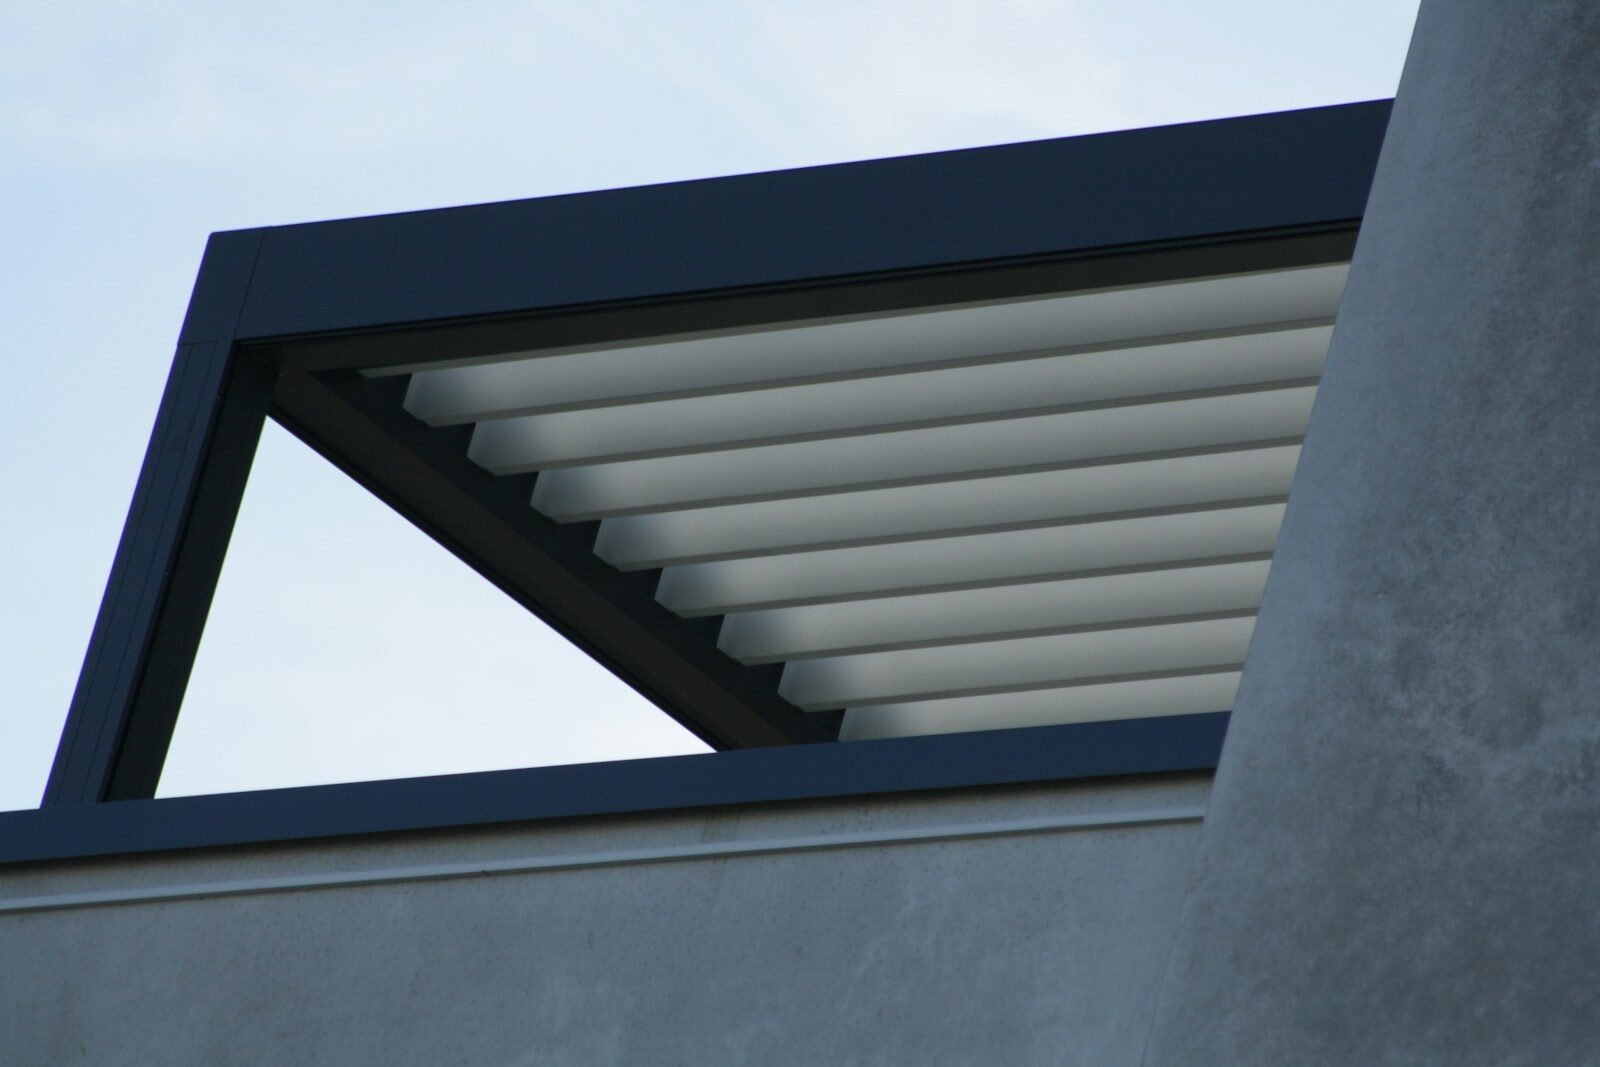
Instead of traditional criss-cross, use parallel beams of varying widths or a grid of square openings. Pair with clean metal posts or stained black wood for a contemporary look. This style photographs especially well and ages gracefully.
Vine-heavy cottage style
Thicker beams, closer spacing, and intentional planting pockets or wires for vigorous climbers. Within three years the structure can nearly disappear under foliage. Best in milder climates where winter dieback is limited.
Scale matters more than style. A trellis roof that is too low feels oppressive. Aim for at least 8 feet clear under the lowest beam, preferably 9 or 10 if the space is large. Post spacing of 8–12 feet usually looks balanced and keeps the structure from needing intermediate supports.
Material comparisons: wood, aluminum, steel, and vinyl with honest verdicts
I’ve worked with all of the common options. Here’s the unvarnished comparison based on real performance, not brochure claims.
Wood (cedar, redwood, or pressure-treated pine)
Still the most beautiful when done well. Cedar and redwood resist rot naturally and take stain or weathering beautifully. Douglas fir is strong and cost-effective if you accept more maintenance.
Pros: Warm appearance, easy to customize on site, excellent structural feel.
Cons: Requires periodic sealing or staining, can check and crack, heavier to install.
Verdict: My personal first choice for most residential projects. The thermal comfort and repairability beat everything else for long-term living spaces. A well-built timber trellis roof can last decades with reasonable care. Sources like Western Timber Frame make a strong case for heavy timber over lighter alternatives in most climates.
Aluminum
Powder-coated aluminum systems have improved dramatically. They are light, resist rust, and many come as kits with clean modern lines.
Pros: Low maintenance, consistent finish, lighter posts possible.
Cons: Can feel colder and less substantial, limited ability to field-modify, some cheaper systems look thin.
Verdict: Excellent when you want zero upkeep or live in a very wet or coastal climate. Functionally superior in durability metrics for many people, but I still prefer the feel of wood underfoot and overhead.
Steel (usually galvanized or powder-coated)
Strong and can span farther with thinner members. Popular for industrial or modern designs.
Pros: High strength-to-weight, long spans, contemporary aesthetic.
Cons: Can conduct heat and cold, potential for rust if coatings fail, harder for DIYers to work with.
Verdict: Great for large commercial-style or high-wind applications. Overkill and sometimes too industrial for most residential patios.
Vinyl or composite
Marketed as maintenance-free. Some products wrap a wood core; others are solid.
Pros: No painting or sealing, consistent color.
Cons: Can look plastic, limited structural capacity in pure vinyl versions, potential for expansion/contraction issues in extreme temperatures.
Verdict: Acceptable for small decorative structures or budget projects where longevity is secondary. I rarely recommend it for primary outdoor living roofs.
Hybrid approaches—wood beams on aluminum posts, or aluminum lattice on timber frames—often give the best of both worlds. Cost varies widely by region and finish level, but expect a quality wood or aluminum trellis roof over a standard patio to run significantly more than a basic pergola kit and less than a solid insulated roof.
Planning, permits, and structural basics
Before you buy a single board, check local codes. Many jurisdictions treat an attached trellis roof as a structure that requires a permit, especially if it exceeds a certain size or attaches to the house. Wind and snow loads matter. A lattice roof is lighter than a solid one, but the posts and connections still need to handle uplift and lateral forces.
Key structural points I never skip:
- Proper footings below frost line (or frost-protected designs in milder areas)
- Adequate post size—usually 6×6 for wood on residential spans
- Solid ledger attachment with flashing if connected to the house
- Beam and rafter sizing appropriate for the span and load (including future vine weight)
- Diagonal bracing or knee braces for stability
If the structure will support heavy vines or hanging furniture, design for the extra load from day one. I’ve seen too many pretty lattices that sagged once the wisteria matured.
Step-by-step installation tips from someone who’s done it
This assumes a typical attached wood trellis roof. Adjust for kits or metal systems.
- Layout and footings
Mark post locations carefully. Dig or auger holes, set posts in concrete with the tops level and square to the house. Use temporary bracing until the concrete cures. - Ledger board
Install a pressure-treated ledger against the house with proper flashing and lag screws or structural screws into the rim joist or wall framing. This is not the place to cut corners. - Beams
Set the main support beams on the posts (or hang them with appropriate hardware). Ensure they are level and the overhangs are consistent. - Rafters or lattice framework
Space the primary rafters according to your design (often 16–24 inches on center for a denser trellis effect). Then add the cross members or lattice strips. For a classic look, run the top layer perpendicular to the lower one. - Fastening
Use exterior-rated structural screws or bolts rather than nails wherever possible. Pre-drill to reduce splitting in cedar or redwood. - Finishing
Sand any rough edges, apply a high-quality exterior stain or sealer, and install any decorative elements or vine supports while access is easy.
Work with a helper for the heavier lifts. Measure twice, especially the ledger height relative to doors and windows. A laser level earns its keep on these projects.
For metal systems, follow the manufacturer’s torque specifications and use the supplied hardware. Field modifications are harder, so precise layout is even more critical.
Choosing and training climbing plants
Not every vine is a good neighbor to a trellis roof. Aggressive species can overwhelm the structure or damage shingles if they reach the house.
Reliable performers I’ve used:
- Climbing roses (choose disease-resistant varieties)
- Clematis (especially the larger-flowered hybrids)
- Grapevines (for edible interest and good fall color)
- Wisteria (beautiful but needs strong support and regular pruning)
- Trumpet vine or honeysuckle in the right climates
Plant at the base of posts or along the outer edges. Train new growth onto the lattice in the first two seasons using soft ties. Once established, most vines need annual pruning to keep the canopy from becoming a dense thatch that blocks too much light or traps moisture against the wood.
Maintenance that keeps it looking good for years
Wood needs the most attention—inspect annually for soft spots, reapply finish every 2–4 years depending on climate and exposure. Clear debris from the lattice so water doesn’t sit. Check connections and tighten hardware as wood moves with seasonal moisture changes.
Aluminum and steel mainly need occasional washing and inspection of coatings. Keep an eye on any points where dissimilar metals meet to avoid galvanic corrosion.
In all cases, watch for vines that try to grow between the lattice and the house siding—they can trap moisture.
Common problems and how to avoid them
Sagging lattice usually means undersized members or insufficient support for the eventual plant load. Design conservatively.
Water staining on the house under an attached roof is almost always a flashing failure. Detail the ledger carefully.
Posts that shift or lean point to inadequate footings or missing bracing. Don’t skip the concrete or the knee braces.
A space that feels too dark usually has overly dense lattice or vines that were never pruned. Start with more open spacing; you can always add members later.
FAQs
How much does a trellis roof cost?
Wide range. A modest DIY wood version over a small patio can be done for a few thousand dollars in materials. Professionally built custom versions run much higher. Aluminum kits sit in the middle for many homeowners.
Will it block rain?
Only partially. Expect drips. If you need dry space, combine lattice sections with solid roofing or use retractable canopy systems underneath.
Can I install one myself?
Capable DIYers with basic carpentry skills and a helper can handle a straightforward attached design. Larger freestanding or complex projects benefit from professional help, especially for the structural connections.
How long do they last?
A well-built and maintained wood trellis roof often exceeds 20–30 years. Quality aluminum systems can last longer with almost no upkeep.
Where trellis roofs are headed
I’m seeing more hybrid systems that combine the warmth of wood with the durability of metal connectors and posts. Motorized louvers that can shift from open lattice to nearly solid shade are becoming more accessible, though they move the project into a different price category. Plant-integrated designs—structures intentionally engineered for specific vine loads and growth habits—are also gaining attention among landscape architects.
The best trend, in my view, is simply better proportion and detailing. Homeowners are moving away from undersized kit pergolas toward properly scaled, site-specific trellis roofs that feel like architecture rather than accessories.
Final thoughts
A trellis roof does something few other outdoor structures manage: it improves both the function and the feeling of a space without closing it off from the weather and the seasons. When the light filters through the lattice on a late afternoon, or when the first roses climb into the beams, the whole yard feels more considered and more livable.
Start with clear goals—shade where you sit, a frame for vines, a stronger connection between house and garden—and let those drive the design. Choose materials that match how much maintenance you’re willing to do. Build it strong enough for the plants and the weather. Then give it a couple of seasons to settle in.
The best trellis roofs don’t shout. They simply make being outside better, day after day, year after year. That’s the real measure of success.
Author Bio
Marcus Hale is a residential outdoor structure designer and builder with nearly two decades of hands-on experience creating patios, decks, and garden architecture across varied climates. His work focuses on structures that balance beauty, durability, and everyday usability. He has consulted on dozens of trellis and pergola projects, taught practical workshops for homeowners, and continues to refine methods through his own evolving backyard laboratory.