



I’ve spent the better part of two decades building, installing, and renovating kitchens across the Midwest and Southeast. Some of the most reliable cabinets I’ve ever put in were face-frame units. They’re the workhorses of traditional American cabinetry—solid, forgiving, and still the default choice for a huge percentage of homes. If you’re planning a kitchen update or building from scratch, understanding face-frame construction can save you money, headaches, and regret later.
This guide covers what face-frame cabinets actually are, why they still matter, the styles that work best, how they stack up against frameless options, practical buying advice, installation realities, and the trends I’m seeing right now. I’ll share specific experiences, tool preferences, and honest trade-offs along the way.
Table of Contents
- What Face Frame Cabinets Really Are
- Key Benefits I’ve Seen in Real Homes
- Face Frame vs. Frameless: A Straight Comparison
- Popular Styles and Door Profiles
- Materials, Construction Quality, and What Holds Up
- Buying Tips: Measuring, Budgeting, and Choosing Wisely
- Tools That Make Installation Easier (and Which Ones I Actually Use)
- Common Installation Pitfalls and How to Avoid Them
- Cost Expectations in 2026
- Future Trends Worth Watching
- Frequently Asked Questions
- Final Thoughts
- About the Author
What Face Frame Cabinets Really Are
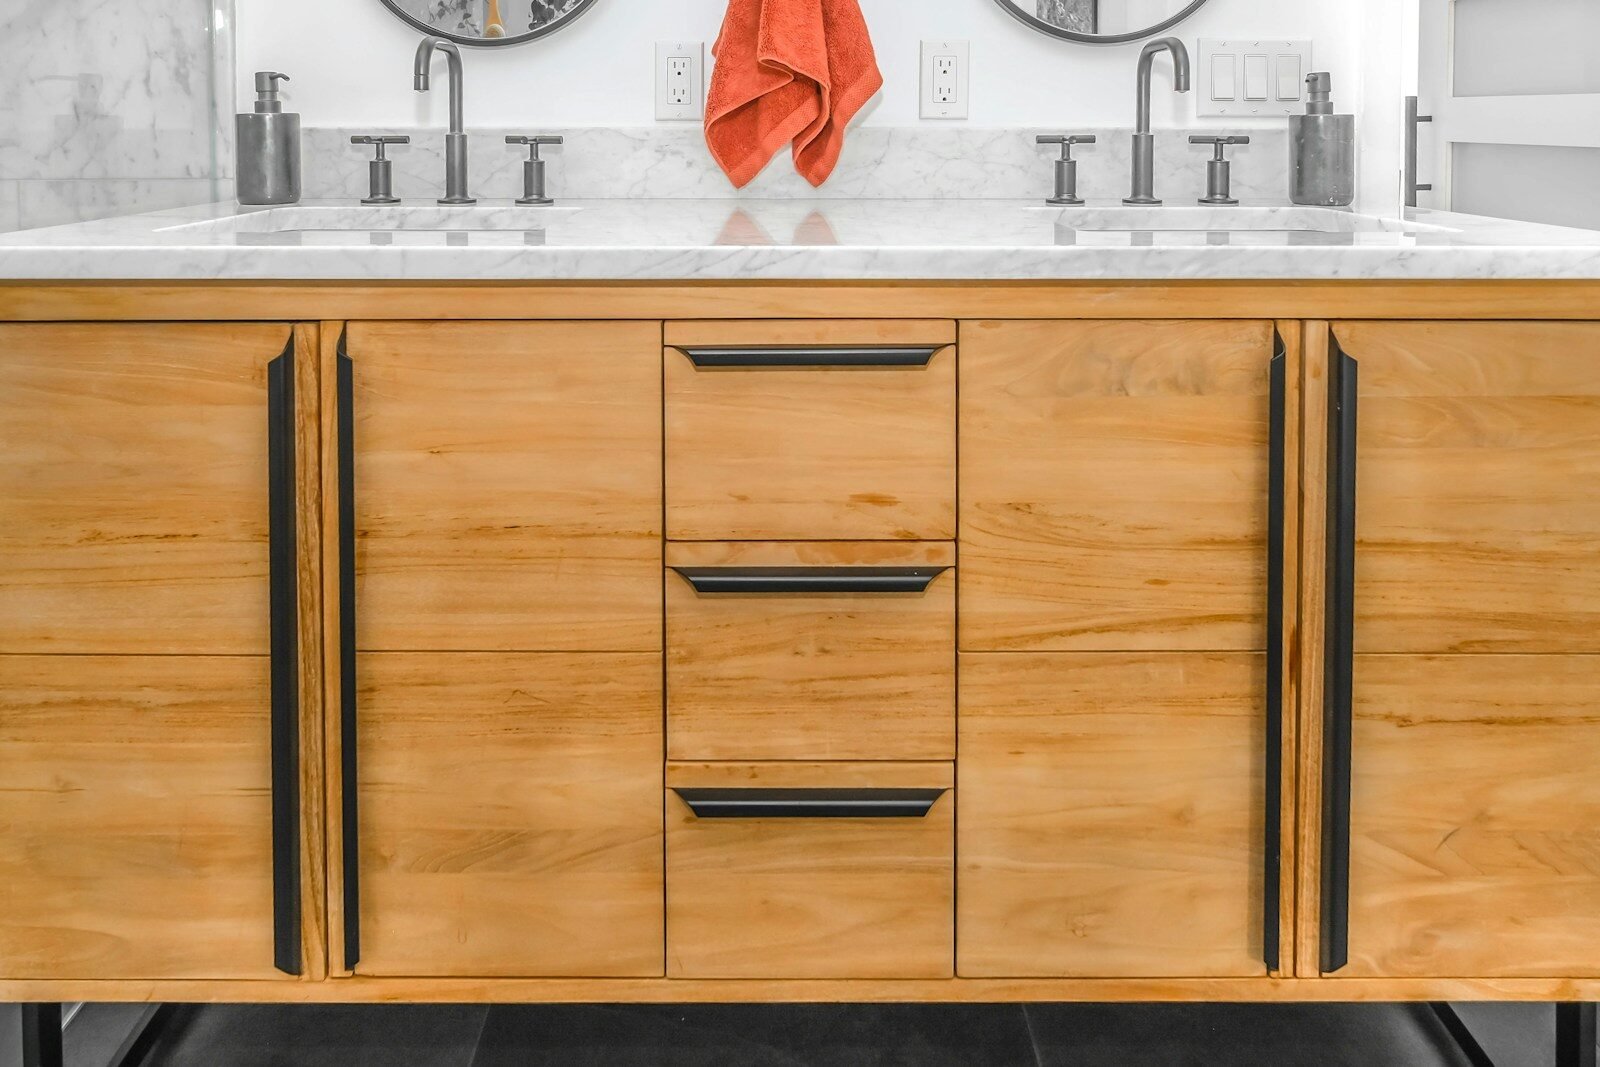
A face-frame cabinet starts with a box—usually plywood or particleboard sides, bottom, top, and back. Then a solid-wood frame gets attached to the front opening. That frame is made of vertical pieces called stiles and horizontal pieces called rails. The doors and drawers mount to this frame, not directly to the box edges.
Typical face-frame stock runs about 1½ to 2 inches wide. The frame hides the raw edges of the plywood, adds rigidity, and gives you a surface for hinges and drawer slides. It’s the system most American cabinet shops grew up with, and it remains the standard for stock and semi-custom lines at big-box stores and many regional manufacturers.
In my own shop years ago, we built face frames almost exclusively with pocket-hole joinery because it was fast, strong, and adjustable. Clients rarely noticed the joinery once the doors were hung, but they did notice how square the cabinets stayed after a couple of years of heavy use.
Key Benefits I’ve Seen in Real Homes
The biggest practical advantage is structural stability. That front frame acts like a rigid collar. In older houses with slightly uneven floors or walls that aren’t perfectly plumb, face-frame cabinets tolerate small imperfections better than frameless ones. I’ve installed them in farmhouses where the floor dropped a full inch over eight feet; the frames helped keep doors aligned with far less fussing.
Installation is generally more forgiving. You can scribe the sides, shim the frames, and clamp adjacent cabinets together by screwing through the stiles. Many contractors I know prefer them for remodel work exactly because of this adjustability.
They also offer a traditional look that still sells houses. In markets where buyers expect classic or transitional kitchens, the visible frame and the way doors overlay it create a familiar, substantial appearance. Overlays can be partial or full, and inset doors (where the door sits flush inside the frame) deliver a high-end furniture feel without requiring the precision of European frameless construction.
Modification is easier too. Need a custom width or an odd filler? Face-frame cabinets handle field changes more readily. I’ve cut down boxes and rebuilt frames on site more times than I can count when a homeowner decided late in the game to add a wine fridge or change the sink base.
One real-world example: a 1990s suburban kitchen I renovated in 2022. The original face-frame cabinets had held up for nearly thirty years with only minor hinge adjustments. We kept the boxes, rebuilt the frames and doors in a modern Shaker style, and the client still uses them daily. That kind of longevity is hard to beat on a mid-range budget.
Face Frame vs. Frameless: A Straight Comparison
Frameless (sometimes called European or full-access) cabinets skip the front frame. Doors and drawers mount directly to the box sides, giving a cleaner, more continuous look and roughly 10–15% more usable interior volume. Drawers can be wider, and there’s no stile blocking access in the middle of a double cabinet.
Here’s the honest trade-off table based on projects I’ve completed and specs from major manufacturers:
| Feature | Face Frame | Frameless |
|---|---|---|
| Look | Traditional, substantial | Sleek, minimal, modern |
| Storage | Slightly less (frame lip) | More usable volume |
| Durability | Excellent rigidity from frame | Relies on thicker box material & hardware |
| Installation | More forgiving of imperfect walls | Demands precise leveling |
| Cost (typical) | Generally lower | 10–20% higher on average |
| Door adjustment | Easy via hinge screws on frame | Requires careful European hinge setup |
| Customization | High flexibility in field | Better done in factory |
I still specify face frame for most traditional and transitional kitchens, and frameless when the design is contemporary and the client prioritizes every cubic inch of storage. Neither is universally “better.” It depends on the house and the people living in it.
For deeper reading on the construction differences, see this clear side-by-side from Cabinets.com and the practical guide at Kitchen Cabinet Kings.
Popular Styles and Door Profiles
Face-frame cabinets shine with classic door styles. The frame itself becomes part of the design language.
Shaker remains the most requested. Clean square stiles and rails with a flat center panel. It works with both partial and full overlay. I’ve used 2¼-inch wide Shaker frames on dozens of projects; they look crisp without feeling heavy. Beaded Shaker variations add a subtle groove that softens the lines and pairs beautifully with painted finishes.
Raised panel doors give more depth and formality. The center panel is profiled so it appears to rise toward the middle. These look especially good on larger cabinets where the frame can balance the visual weight. Traditional versions with ogee or cove profiles feel formal; simpler raised panels lean transitional.
Beadboard or tongue-and-groove panels bring a cottage or coastal feel. Vertical beads catch light nicely and hide minor imperfections in painted finishes. I used beadboard center panels on a beach house renovation last year; the texture held up better than flat panels in a high-humidity environment.
Inset doors are the premium option. The door sits inside the frame opening with a small reveal (usually ⅛ inch or less). This requires precise hinge hardware and careful installation, but the furniture-like result is worth it for clients who want heirloom quality. Full overlay is more common and forgiving for stock cabinets.
Other options include glass-front frames for upper cabinets, mullion doors, and even mixed styles within the same kitchen (solid lowers, glass uppers). The face frame gives you a consistent reference plane so these combinations still look intentional.
Materials, Construction Quality, and What Holds Up
The box is usually ½-inch or ¾-inch plywood (preferred) or particleboard/MDF for budget lines. Plywood sides resist sagging better over time, especially with heavy granite countertops. Face frames are almost always solid hardwood—maple, oak, cherry, alder, or poplar for paint-grade.
Joinery matters. Pocket screws are fast and strong when done correctly. Mortise-and-tenon or dowel joints appear on higher-end custom work and feel more traditional. Avoid cabinets where the frame is simply stapled or glued with minimal mechanical fastening.
Drawer boxes should be solid wood or high-quality plywood with dovetail or lock-rabbet joints. Soft-close slides are now standard even on mid-range lines. Hinges are usually cup-style European hinges mounted to the face frame; they allow six-way adjustment, which is a lifesaver during install.
I’ve seen cheap particleboard boxes with thin veneers delaminate after five years in a humid climate. Spending a bit more on plywood construction pays off.
Buying Tips: Measuring, Budgeting, and Choosing Wisely
Start with accurate measurements. Measure wall to wall, note locations of windows, doors, plumbing, and electrical. For face-frame cabinets, the overall width includes the frame, so account for that when planning runs. Leave ⅛ to ¼ inch for fillers at the ends of runs so you can scribe to imperfect walls.
Decide early between stock, semi-custom, and full custom. Stock face-frame cabinets from big-box retailers or RTA (ready-to-assemble) suppliers are the most affordable and still perfectly serviceable for many kitchens. Semi-custom lets you choose door styles, finishes, and some dimensions. Full custom is for unusual layouts or specific wood species.
Check the thickness of the face frame and the quality of the overlay. Ask about the warranty on finish and hardware. Look at the interior—are the shelves adjustable? Are the drawer sides fully finished?
When comparing brands, focus less on marketing names and more on construction details: plywood vs. particleboard, solid wood frames vs. veneered, soft-close standard or upgrade. Regional manufacturers often deliver better value than national big names because shipping costs are lower and they can accommodate local preferences.
If you’re buying online or RTA, confirm the assembly instructions are clear and that all hardware is included. I’ve assembled enough RTA cabinets to know that missing cam locks or poorly labeled parts can turn a weekend project into a week of frustration.
Tools That Make Installation Easier (and Which Ones I Actually Use)
You don’t need a full shop, but a few tools make the difference between a frustrating install and a clean one.
A good laser level or a long spirit level is non-negotiable. I still prefer a combination of a rotary laser for long runs and a 4-foot level for individual cabinets. For clamping frames together, parallel-jaw clamps or specialized cabinet clamps work better than standard bar clamps because they apply even pressure without marring the wood.
Pocket-hole jigs (Kreg is the brand most people know) are excellent for building or repairing face frames on site. I’ve used both the basic K4 and the more recent K5 systems; the K5’s auto-adjust feature saves time when switching between material thicknesses. A quality brad nailer or pin nailer helps tack frames in place before final screwing. A flush-trim router bit is useful if you need to clean up slight overhangs.
For comparison: a basic Kreg jig kit runs under $150 and handles most face-frame work. Higher-end Festool or specialized cabinetry jigs cost several times more and are overkill unless you’re building dozens of cabinets a year. My honest verdict after years of use is that the mid-range Kreg system plus good clamps and a reliable drill/driver covers 95% of residential installs without drama.
A cabinet jack or pair of support stands is also worth owning if you install uppers regularly. They hold the cabinet at the correct height while you fasten it to the wall.
Common Installation Pitfalls and How to Avoid Them
Uneven floors are the classic enemy. Always start with a level line at the highest point of the floor and build up from there with shims. Never force a cabinet to sit flat if the floor isn’t. Screw adjacent face frames together through the stiles after the boxes are roughly positioned; this creates a continuous, rigid unit that resists racking.
Watch the reveal between doors and drawers. Inconsistent gaps look cheap. Use the hinge adjustment screws liberally. For inset doors, take extra time with the gaps—⅛ inch all around is the usual target, but some prefer tighter.
Don’t forget to account for the face-frame thickness when locating plumbing cutouts or electrical boxes. I’ve had to notch frames more than once because the plumber marked the box without the frame in place.
Finally, protect the finish. Even “durable” factory finishes can scratch during install. Keep cardboard or moving blankets handy.
Cost Expectations in 2026
National averages put framed cabinets in a typical 10×10 kitchen somewhere between $5,000 and $20,000 for the cabinets themselves, depending on materials and customization level. Stock or RTA face-frame lines can come in under $100–$300 per linear foot. Semi-custom often lands in the $200–$600 range. Full custom can exceed $800–$1,200 per linear foot installed.
Frameless usually costs 10–20% more for comparable quality. Installation labor adds another $50–$150 per linear foot depending on region and complexity. Always get multiple quotes and ask for a detailed breakdown of box material, frame material, hardware, and finish.
Future Trends Worth Watching
I’m seeing more hybrid approaches: face-frame boxes with thinner, more modern door profiles and mixed materials (painted frames with wood-tone doors, for example). Soft-close and touch-to-open hardware is becoming expected rather than optional. Sustainability is also creeping in—more FSC-certified plywood and water-based finishes.
Inset face-frame work is having a quiet resurgence among higher-end clients who want the look of furniture without the full custom price of pure frameless. Meanwhile, RTA face-frame options keep improving in quality, making solid construction accessible to more DIYers and budget-conscious renovators.
Frequently Asked Questions
Are face-frame cabinets outdated?
No. They remain the majority of cabinets sold in the U.S. for traditional and transitional designs. Style is driven by the doors and finish more than the presence of a frame.
Do they really have less storage?
Yes, modestly—often an inch or so less usable width on drawers and openings. For most kitchens the difference is noticeable only if you measure carefully.
Can I convert frameless to face frame or vice versa?
Technically possible but rarely practical. Better to choose the right system from the start.
What’s the best wood for painted face frames?
Poplar or maple. Both take paint smoothly and stay stable.
How long should good face-frame cabinets last?
With decent materials and normal use, 20–40 years is realistic. I’ve seen original 1970s face-frame kitchens still functioning.
Final Thoughts
Face-frame cabinets aren’t the flashiest option, but they’re honest, durable, and adaptable. In a world of rapidly changing design trends, that reliability has real value. I’ve watched trendy frameless kitchens look dated after a decade while well-built face-frame kitchens simply keep working and can be refreshed with new doors and hardware.
If your house has character, imperfect walls, or a design that leans classic or transitional, face-frame construction is still one of the smartest choices you can make. Take the time to understand the construction details, measure carefully, and invest in decent hardware. The cabinets will reward you every time you open a door.
About the Author
Marcus Hale is a kitchen designer and independent cabinetmaker with more than twenty years of hands-on experience building and installing residential cabinetry across multiple regions of the United States. He has worked on everything from modest RTA installs to full custom face-frame and frameless kitchens, and he continues to consult on renovation projects while writing about practical woodworking and design decisions that actually hold up in daily life.