


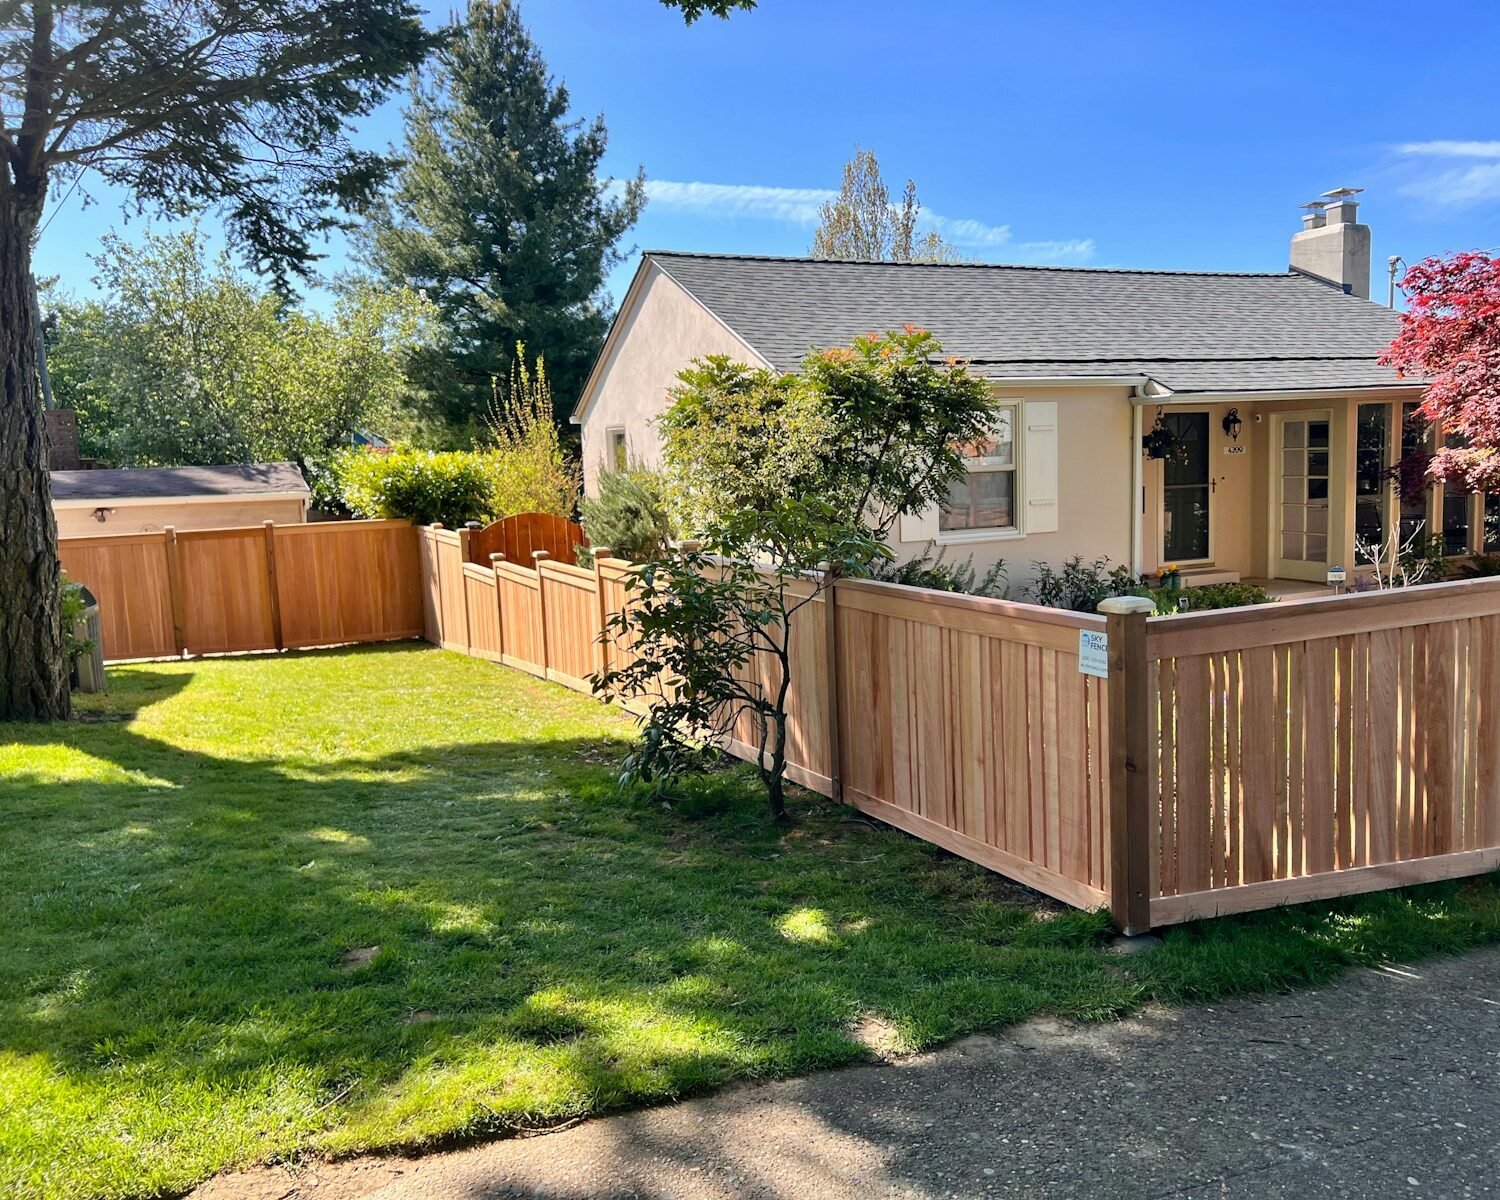
I’ve installed and repaired more cedar fence panels than I can easily count suburban backyard privacy screens, long runs along property lines, and modern horizontal designs that clients specifically requested for their clean lines. Cedar has a way of making a fence feel intentional rather than purely functional. It weathers gracefully, smells good when you cut it, and holds up better than most people expect when you treat it with a bit of respect. This guide shares what I’ve learned from building with it, watching it age in different climates, and fixing the mistakes that show up years later.
Table of Contents
- Why Choose Cedar for Fence Panels
- Key Benefits of Cedar Fence Panels
- Popular Cedar Fence Panel Styles
- Cedar vs. Pressure-Treated Pine and Other Options
- Planning Your Fence Project
- Tools You’ll Actually Need (with Honest Comparisons)
- Step-by-Step Installation Tips
- Finishing, Staining, and Long-Term Care
- Common Installation and Maintenance Mistakes
- Cost Considerations and Value Over Time
- Emerging Trends in Cedar Fencing
- Frequently Asked Questions
- Final Thoughts
Why Choose Cedar for Fence Panels
Western Red Cedar is the variety most often used for fencing in North America. It contains natural oils and compounds that resist rot, decay, and many insects without the need for heavy chemical treatment. That natural durability is the main reason professionals and serious DIYers keep coming back to it. The wood is also relatively lightweight, easy to work with, and takes stain or clear finishes beautifully. Left unfinished, it weathers to a soft silvery gray that many people prefer.
Cedar fence panels come ready-made in standard heights (usually 6 feet) or can be built on-site from individual boards and rails. Pre-assembled panels speed up installation; custom-built ones give more control over style and board spacing.
Key Benefits of Cedar Fence Panels
Natural resistance to decay and insects
The oils in cedar discourage many wood-boring insects and slow fungal growth. In moderate climates with good air circulation, a well-installed cedar fence can last 15–25 years or longer with basic care. Some well-maintained examples exceed 30 years.
Attractive appearance
Cedar has a warm reddish-brown tone when new and a distinctive grain. It accepts both transparent and solid stains well, so you can keep the natural look or match it to your home’s exterior.
Dimensional stability
Compared with many softwoods, cedar shrinks and expands less with moisture changes. That means fewer warped boards and tighter joints over time if the fence is properly constructed.
Workability
It cuts cleanly, accepts nails and screws without splitting as readily as denser woods, and is lighter to handle on the job site.
Environmental profile
When sourced from responsibly managed forests, cedar is a renewable material. It does not require the chemical pressure treatment that pine often needs for ground contact.
The main trade-off is higher upfront cost compared with pressure-treated pine. Many homeowners find the longer lifespan and lower maintenance requirements make cedar the better long-term value.
Popular Cedar Fence Panel Styles
Vertical board privacy (stockade or tight board)
Boards placed side-by-side with little or no gap. This is the classic full-privacy look. Tongue-and-groove versions eliminate visible gaps entirely.
Board-on-board
Boards overlap on alternating sides of the rails. This creates full privacy from both sides while allowing some air movement and a more substantial appearance.
Shadowbox or alternating board
Boards are staggered on opposite sides of the rails. You get partial privacy, good airflow, and an attractive look from both directions. It is a popular compromise between solid privacy and openness.
Horizontal board or modern slat
Boards run horizontally, often with consistent spacing or tight joints. This style has become very popular for contemporary homes. It requires careful attention to post strength because the boards can catch more wind.
Picket and decorative styles
Shorter or spaced boards for front yards or decorative boundaries. Cedar works well here because the finer details stay crisp longer than with cheaper woods.
Custom panel designs
Many suppliers offer panels with lattice tops, arched tops, or mixed board widths. These add visual interest without complicating the basic structure.
I lean toward board-on-board or well-built horizontal styles for most residential privacy needs. They balance looks, durability, and privacy effectively.
Cedar vs. Pressure-Treated Pine and Other Options
Pressure-treated pine costs less initially—often 30–50% less per linear foot installed. It resists ground contact rot well because of the chemical treatment. However, it typically lasts 10–15 years in fence applications (sometimes up to 20 with excellent care), while cedar commonly reaches 20–25 years or more. Pine also tends to warp, twist, and check more noticeably as it dries.
Vinyl and composite fences require less ongoing maintenance and never need staining, but they lack the natural appearance many people want and can look dated or plastic in certain settings. Metal options (aluminum or steel) offer longevity but a completely different aesthetic.
For most homeowners who want a natural wood look and plan to stay in the house for more than a decade, cedar usually wins on total cost of ownership when you factor in replacement frequency and maintenance.
Planning Your Fence Project
Start with local regulations. Check height limits, setback requirements, and whether a permit is needed. Confirm property lines—never assume the existing fence or a neighbor’s claim is accurate. A professional survey is worth the cost on disputed boundaries.
Decide on height (commonly 6 feet for privacy), style, and whether you want pre-assembled panels or a site-built fence. Calculate linear footage carefully, including gates. Factor in slope: fences on hills need stepped or racked panels, which affects material quantities and installation method.
Call utility locating services before digging post holes. Hitting a gas or electric line is dangerous and expensive.
Tools You’ll Actually Need (with Honest Comparisons)
Post-hole digger or power auger
A manual clamshell digger works for a few holes. For longer fences, a gas or electric auger saves enormous time and effort. Renting one is usually smart.
Circular saw
Essential for cutting posts, rails, and boards to length. A cordless model with a good blade is convenient on the job site. A miter saw is helpful for precise crosscuts if you have power available.
Level (4-foot and post level)
A post level that straps on is extremely useful for keeping posts plumb while the concrete sets. A long spirit level checks rails and overall alignment.
Drill/driver and impact driver
For screws. Many installers now prefer exterior-rated screws over nails because they hold better as the wood moves and are easier to remove for repairs.
Pneumatic nailer or siding nailer
Speeds up attaching boards significantly. An 18-gauge or 16-gauge nailer with exterior nails works well. Some prefer screws exclusively for easier future maintenance.
String line, tape measure, and marking tools
Critical for straight lines and consistent post spacing (usually 6 or 8 feet on center).
Concrete mix and mixing tools
For setting posts. Pre-mixed bags are convenient for smaller jobs.
Honest verdict on fasteners: Stainless steel or hot-dipped galvanized screws and nails are worth the extra cost. Ordinary bright nails will stain and eventually fail in exterior conditions. I have replaced too many fences where cheap fasteners were the first thing to go.
Step-by-Step Installation Tips
- Layout and post placement
Mark the fence line with stakes and string. Dig holes to the proper depth (typically one-third the post height above ground, deeper in frost areas or high-wind zones). Set posts in concrete, bracing them plumb and aligned. Allow concrete to cure fully before attaching rails. - Install rails
Attach horizontal rails (usually two or three) to the posts. Keep them level and evenly spaced. For horizontal board fences, the framing may differ. - Attach panels or boards
If using pre-assembled panels, set them between posts and secure according to the manufacturer’s method. For site-built fences, start at one end and work systematically, checking for consistent gaps or overlaps. Leave a small gap at the bottom for drainage and air circulation—boards sitting in soil or constant moisture will fail faster. - Gates
Build or hang gates with heavy-duty hinges and sturdy latches. Ensure posts on either side of a gate are especially well-set; gates put extra stress on the structure. - Caps and trim
Add post caps and any top rails or decorative elements. These details improve both appearance and weather resistance.
Work in manageable sections. Keep materials off the ground and covered if rain is expected. Cedar is more forgiving than some woods, but prolonged wet storage still causes problems.
Finishing, Staining, and Long-Term Care
Cedar can be left to weather naturally to gray. Many people prefer this low-maintenance look. If you want to retain the original color longer or add protection, apply a high-quality exterior stain or clear sealer. Penetrating oil-based products often perform well. Reapply every 2–4 years depending on sun exposure and climate.
Clean the fence periodically with a mild detergent and soft brush. Avoid high-pressure washing; cedar is relatively soft and can be damaged by aggressive blasting. Inspect annually for loose boards, failing fasteners, or early signs of rot, especially near the ground and at joints.
Trim vegetation away from the fence so air can circulate. Good airflow is one of the best defenses against moisture-related problems.
Common Installation and Maintenance Mistakes
- Setting posts too shallow or without proper concrete.
- Using interior-grade or non-corrosion-resistant fasteners.
- Allowing boards to touch the soil continuously.
- Ignoring drainage and creating areas where water pools against the fence.
- Skipping the string line and ending up with a wavy fence line.
- Applying finish to wet or dirty wood.
- Neglecting gates—weak gate posts are a frequent failure point.
Cost Considerations and Value Over Time
Cedar materials typically run higher than pressure-treated pine. Installed costs vary widely by region, style, and whether you DIY or hire out, but expect a noticeable premium for cedar. Over a 20-year period, the longer service life and reduced need for full replacement often close or reverse the gap. Factor in your timeline: if you plan to move in five years, the cheaper option may make more sense. If the fence is a long-term investment in the property, cedar usually pays off.
Emerging Trends in Cedar Fencing
Horizontal board and modern slat designs continue to grow in popularity for contemporary architecture. Mixed materials—cedar panels with metal posts or frames—are appearing more often. Sustainable sourcing and clear chain-of-custody documentation matter to more buyers. Some manufacturers offer pre-finished or factory-stained panels that reduce on-site labor. Better hidden fastener systems and improved gate hardware are also making higher-end installations cleaner and more durable.
Frequently Asked Questions
How long does a cedar fence last?
15–25 years is common with basic care; 25–40 years is possible with excellent installation and maintenance in favorable climates.
Do I need to stain cedar fence panels?
No. Many people let them weather naturally. Staining or sealing extends color retention and adds a layer of protection.
Can I install cedar fence panels myself?
Yes for shorter runs if you are comfortable with basic carpentry, digging, and concrete work. Longer fences or those on slopes are more demanding.
What is the best height for a privacy fence?
Six feet is the most common residential privacy height and is allowed in many jurisdictions. Always verify local rules.
How far apart should posts be?
Typically 6 to 8 feet on center, depending on panel or board style and local wind loads. Closer spacing increases strength.
Is cedar good for ground contact?
The boards themselves should not sit in soil. Posts can be cedar, but many installers prefer pressure-treated posts for the below-ground portion or use post anchors.
Final Thoughts
A well-built cedar fence does more than mark a boundary. It adds privacy, defines outdoor rooms, and contributes a natural texture that synthetic materials struggle to match. The key is respecting the material: set the posts properly, use good fasteners, allow for drainage and airflow, and give the wood periodic attention. When those basics are handled, cedar rewards you with years of solid performance and a look that improves as it settles into the landscape.
I’ve walked past fences I installed a decade ago and still felt satisfied with how they hold up. That quiet durability is why I continue to recommend cedar when the budget and the project goals align. Measure carefully, build straight, and choose quality materials you’ll end up with a fence that feels like it belongs.
Author Bio
Daniel Reeves is a residential outdoor structures specialist with over fifteen years of hands-on experience designing, building, and maintaining wood fences across varied climates. He has worked extensively with Western Red Cedar and other premium woods, focusing on practical construction methods that balance durability, appearance, and long-term value. His approach emphasizes proven techniques over trends and clear guidance for both homeowners and professional installers.