




I’ve lost count of the times a beautiful sofa or dining table arrived only to discover it wouldn’t fit through the doorway, blocked a window, or left the room feeling cramped. Early in my career I once measured a living room quickly, ordered a sectional that looked perfect on paper, and then spent an afternoon arguing with delivery guys who couldn’t get the pieces past a tight hallway corner. That expensive lesson taught me that measuring a room properly is half science and half practical foresight. Done right, it saves money, time, and the frustration of returns. This guide walks through exactly how I measure rooms today—whether I’m helping a client plan a full redesign or just figuring out if a new armchair will work in my own space.
Table of Contents
- Why Accurate Room Measurements Matter More Than You Think
- Essential Tools and Honest Comparisons
- Preparing the Room Before You Start
- Step-by-Step: Measuring the Basic Dimensions
- Capturing Doors, Windows, and Architectural Features
- Recording Ceiling Height, Outlets, and Obstacles
- Creating a Simple Scale Floor Plan
- Measuring Existing Furniture You Want to Keep
- Checking Clearance Paths and Delivery Access
- Common Mistakes and How to Avoid Them
- Digital Tools and Future-Friendly Approaches
- Frequently Asked Questions
- Final Thoughts
Why Accurate Room Measurements Matter More Than You Think
Furniture looks smaller in a showroom or on a website. Once it arrives, every inch counts. Accurate measurements prevent the classic problems: pieces that won’t fit through doorways, sofas that leave no walking space, or dining tables that make chairs impossible to pull out. They also help you judge scale and proportion so the room feels balanced rather than overcrowded or sparse.
Beyond fit, good measurements let you plan traffic flow, electrical access, and natural light. I’ve seen rooms where a perfectly sized sofa still failed because it blocked the only path to a balcony door or sat directly under a low-hanging light fixture. Measuring thoroughly turns those surprises into non-issues.
Essential Tools and Honest Comparisons
You don’t need a professional toolkit, but the right tools make the difference between reliable numbers and guesswork.
Steel Tape Measure (25–30 foot)
This remains the most reliable everyday tool. A good 1-inch-wide tape stays rigid longer when extended and has clear markings. I prefer brands with a strong locking mechanism and a magnetic tip for solo measuring against metal surfaces. Honest verdict: Still the most accurate and trustworthy option for most homeowners. Laser tools can fail in bright light or on reflective surfaces; a quality tape rarely does.
Laser Distance Measurer
Devices like the Bosch GLM series or Leica DISTO are excellent for long walls and solo work. They calculate area and volume quickly and many pair with apps for floor plans. They shine in empty rooms or when measuring high ceilings. Limitations: Accuracy can drop on very dark or highly reflective surfaces, and bright sunlight outdoors makes the laser hard to see. Best used as a complement to a tape, not a complete replacement.
Graph Paper or Notebook + Pencil
Simple but essential. Graph paper helps keep sketches roughly to scale. I always carry a small notebook dedicated to room measurements.
Smartphone Apps and Digital Helpers
Apps that use the phone’s camera and AR (augmented reality) can create rough floor plans. They’re improving, but I still verify critical dimensions with a physical tool. Useful for quick visualization, less reliable as the sole measuring method.
Other Helpful Items
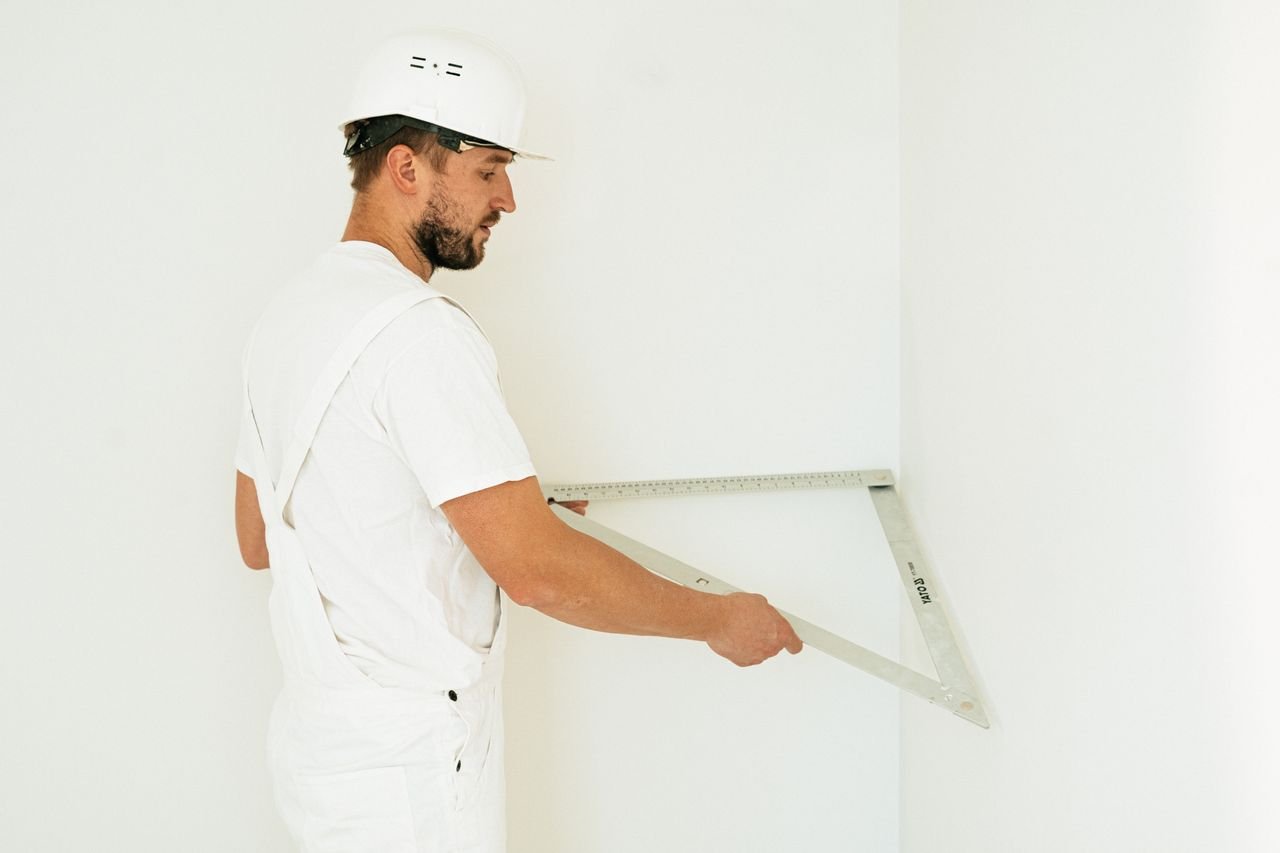
Painter’s tape (for marking furniture footprints on the floor), a notepad for notes, and a helper if the room is large or irregular. A level is useful if walls appear out of square.
My current preference for most residential work: a quality 25-foot tape as the primary tool, backed by a mid-range laser measurer for ceilings and long runs.
Preparing the Room Before You Start
Clear as much floor space as practical. Move small furniture and rugs out of the way so you can run the tape straight along the walls. Note any fixed items you cannot move—built-in cabinets, radiators, or large appliances. Good lighting helps you see the tape markings and any wall irregularities.
If the room has baseboards, decide whether you will measure to the face of the baseboard or to the wall surface. Consistency matters. I usually measure to the wall surface for furniture placement and note the baseboard depth separately.
Step-by-Step: Measuring the Basic Dimensions
Start with a rough sketch of the room shape on paper. It doesn’t need to be perfect—just a rectangle, L-shape, or whatever the room resembles, with approximate door and window locations marked.
- Measure the length of each wall. Place the tape at one corner and extend it to the opposite corner along the floor or at about waist height. Record the number in both feet-and-inches and total inches (for easier math later).
- Measure the width the same way. On longer walls, take readings at three heights: near the floor, at mid-wall, and near the ceiling. Walls are rarely perfectly parallel or straight. Always use the smallest measurement as your “safe” working dimension for furniture that must fit between those walls.
- Note any recesses, alcoves, or bump-outs. Measure their depth and width separately and mark them clearly on your sketch.
Repeat for every wall. Label each measurement directly on the sketch so you don’t mix them up later.
Capturing Doors, Windows, and Architectural Features
These details determine both furniture placement and delivery access.
- Measure the width and height of every door opening (the clear opening, not the door itself). Also note which way the door swings and how far it opens.
- For windows, record the width, height, and the distance from the floor to the bottom of the sill. Also note the distance from the nearest corner or adjacent wall.
- Measure the distance from corners to the edges of openings so you know exact placement along the wall.
- Record any other fixed features: fireplace opening and mantel depth, built-in shelves, columns, radiators, or HVAC vents.
I mark these on the sketch with simple symbols and write the dimensions next to them. This prevents ordering a tall bookcase that blocks a window or a sofa that interferes with a door swing.
Recording Ceiling Height, Outlets, and Obstacles
Ceiling height affects lighting, tall furniture, and visual proportion. Measure in several places—rooms are not always consistent, especially in older homes. Note the lowest height if there are beams or soffits.
Locate and measure the height of electrical outlets, floor outlets, TV cable points, and light switches. This helps with furniture placement so you don’t block access or create awkward cord runs.
Identify and measure any permanent obstacles: floor vents, radiators, support columns, or low-hanging fixtures. Note their exact positions relative to the walls.
Creating a Simple Scale Floor Plan
A scale drawing turns numbers into something usable. A common and easy scale is ¼ inch = 1 foot (or 1:50 in metric). On graph paper, each square can represent 6 inches or 1 foot depending on the paper.
Transfer your wall lengths accurately. Add doors with swing arcs, windows, and other features. Once the room outline is correct, you can cut out paper rectangles representing potential furniture pieces at the same scale and move them around. This low-tech method still works better than many apps for understanding real traffic flow and spacing.
Many people also use free online floor-plan tools or simple design software once they have the measurements. The key is starting with accurate field data.
Measuring Existing Furniture You Want to Keep
If you’re keeping any current pieces, measure their length, width (or depth), and height. Note how much space they need to function—dining chairs need pull-out clearance, sofas need walking space in front, and beds need room on the sides.
Record the path those pieces currently take through doorways if you plan to rearrange. Sometimes existing furniture that “fits” the room still causes delivery problems if it has to move again.
Checking Clearance Paths and Delivery Access
This is the step many people skip and later regret. Measure every doorway, hallway, stair, and corner the furniture must pass through from the street or elevator to the final room. Note the tightest clear width and any low ceilings or overhead obstacles.
For large pieces, also consider the diagonal measurement of the item and the turning radius needed at corners. Delivery teams appreciate (and sometimes require) this information.
Painter’s tape is excellent here: mark the footprint of proposed furniture on the floor and live with it for a day or two. Walk the paths. Sit where the sofa will be. You’ll quickly learn if the scale feels right.
Common Mistakes and How to Avoid Them
- Measuring only once and assuming walls are straight. Always check multiple points and use the smallest dimension for critical fits.
- Forgetting door swings and clearance. A 36-inch door does not give 36 inches of clear passage if the door itself takes space.
- Ignoring baseboards, radiators, or trim when calculating available wall length.
- Using only the manufacturer’s overall dimensions without checking packaging or delivery dimensions (some items ship partially assembled and are larger in the box).
- Failing to measure the path into the room.
- Rounding measurements too aggressively. Keep numbers precise and round only at the final decision stage, always in the conservative direction.
Digital Tools and Future-Friendly Approaches
Smartphone AR apps and dedicated laser measurers with Bluetooth continue to improve. Some can generate basic 3D models or export to design software. For most people they work best as a second check rather than the primary method. Professional designers often combine laser data with traditional verification.
Looking ahead, more integrated tools that combine accurate measuring with real-time furniture catalogs and traffic-flow simulation are becoming available. Even so, the fundamental skill of careful physical measurement remains essential. Technology helps, but it still relies on good input data.
Frequently Asked Questions
How precise do my measurements need to be?
To the nearest quarter-inch or half-inch is usually sufficient for furniture. Greater precision helps with built-ins or tight custom pieces.
Should I measure in feet and inches or all inches?
Both. Feet and inches are intuitive; total inches simplify addition and scale conversions.
What if the room is not a perfect rectangle?
Break it into measurable rectangles or triangles. Measure each section and note the relationships on your sketch.
How much clearance should I leave around furniture?
Allow at least 30–36 inches for main traffic paths, 18–24 inches for secondary paths, and enough space to pull out chairs or open drawers fully.
Can I rely solely on a laser measure?
For many situations yes, but verify critical dimensions (especially doorways and tight clearances) with a tape measure.
What scale should I use for a floor plan?
¼ inch = 1 foot works well for most residential rooms on standard graph paper. Adjust if the room is very large or small.
Final Thoughts
Measuring a room properly is one of the highest-return tasks in any furniture project. It takes less than an hour for most spaces yet prevents weeks of hassle and potential returns. The process becomes second nature after a few rooms: sketch, measure systematically, note the details, and double-check the access path. Once you have solid numbers, choosing and arranging furniture becomes far more confident and enjoyable. The room starts working with you instead of against you.
I’ve refined this approach through plenty of trial and error—and more than a few pieces that had to go back. Take the time to measure carefully, and you’ll spend your energy on the fun part: creating a space that actually fits the way you live.
Author Bio
Lena Torres is an interior planning consultant and measurement specialist with more than twelve years of experience helping homeowners and designers avoid costly furniture-fit mistakes. She has developed practical measuring protocols used in residential redesigns and small-scale commercial projects, with a focus on clear, actionable methods that work for both beginners and professionals. Her guidance emphasizes real-world accuracy over theoretical perfection.