



My first attempt at drying lavender turned into a small science experiment in mold. I’d harvested a huge armful right at full bloom, tied it into one thick bundle because I didn’t want to bother making several smaller ones, and hung it in a closet that seemed dry enough at the time. Three weeks later I untied a bundle that was fuzzy gray on the inside stems and smelled nothing like lavender. The outside looked fine. The middle had never actually dried.
That failure taught me the two things that actually determine whether dried lavender turns out beautiful or ruined: how you bundle it, and which drying method actually suits what you’re using it for. There’s no single “best” way to dry lavender — there’s a best way for your specific goal, whether that’s filling a sachet, building a wreath, or just getting a jar of buds for tea before the season ends. Here are five methods that actually work, along with which one I’d reach for depending on what you’re making.
Table of Contents
- When to Harvest Lavender for Drying
- Method 1: Air-Drying in Hanging Bundles
- Method 2: Food Dehydrator
- Method 3: Low-Heat Oven Drying
- Method 4: Microwave and Silica Gel
- Method 5: Silica Gel Without a Microwave
- How the Five Methods Actually Compare
- How to Tell When Lavender Is Fully Dry
- Storing Dried Lavender So It Actually Lasts
- Mistakes Worth Avoiding
- A Note on Freeze-Drying
- FAQs
- Final Thoughts
When to Harvest Lavender for Drying
Every drying method starts the same way: with the harvest, which matters more than people expect. Cut lavender in the morning after the dew has evaporated but before the heat of the day sets in — this is when the essential oils in the buds are most concentrated, and it’s also simply more pleasant to be out in the garden.
Timing on the stem matters just as much as timing in the day. For color, fragrance retention, and general drying success, harvest when roughly a quarter to half of the buds on each spike have opened, not once the whole stem is in full bloom. Wait too long and you’ll lose flowers to shattering during the drying process itself; cut too early and the fragrance will be noticeably weaker once dry.
Use clean, sharp snips and cut the stems just above a set of leaves, taking the longest usable length you can — long stems give you options later, whether that’s a bundle for hanging, a wreath, or just extra length to trim down. Cut on a dry day if at all possible; harvesting wet lavender is the single fastest way to end up with the mold problem I described above.
Method 1: Air-Drying in Hanging Bundles
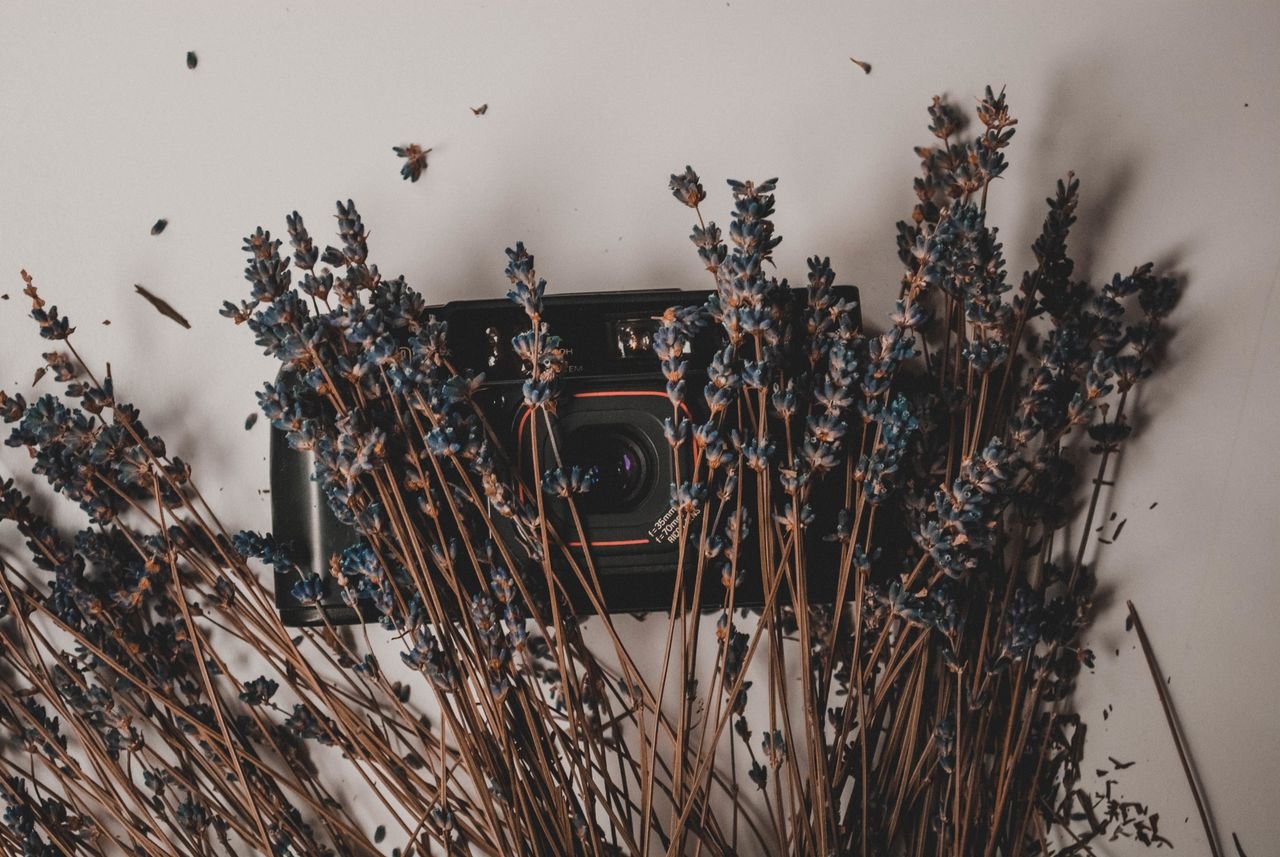
This is the method most people picture when they think of dried lavender, and for good reason — it needs no equipment beyond string and a place to hang things.
- Gather stems into small bundles, no more than 20–30 stems each. This is the part I got wrong the first time; a bundle any thicker traps humidity in the center and won’t dry evenly, especially in a humid climate.
- Secure each bundle with a rubber band rather than twine. As the stems dry, they shrink slightly, and an elastic band tightens with them where string just goes loose.
- Hang the bundles upside down somewhere cool, dark, dry, and well-ventilated — a closet, an attic, or a covered porch out of direct sun all work. Sunlight fades the purple color and breaks down fragrance compounds faster than almost anything else in this process.
- Leave them for one to two weeks, checking periodically. Humid climates may need closer to three weeks, and a small fan aimed nearby (not directly on the bundles) can help move stagnant air in a particularly damp house.
This method is genuinely hard to beat for volume — it’s how commercial lavender farms dry the vast majority of their crop — and it preserves fragrance well since there’s no heat involved. The trade-off is time and a small mold risk if you rush the bundle size or dry in a humid space without airflow.
Method 2: Food Dehydrator
If you’ve got a dehydrator sitting in a cabinet from a fruit-leather phase, it’s a genuinely good tool for lavender, and it solves the humidity problem that plagues air-drying in damp climates.
Following the same low-and-slow logic recommended by extension services for drying herbs generally, the National Center for Home Food Preservation advises preheating a dehydrator to 95–115°F, going as high as 125°F only in especially humid conditions. Strip the buds from the stems or lay whole small sprigs in a single layer on the trays without overlapping, and check every hour or so — most batches finish in one to four hours depending on your machine and how densely you’ve loaded the trays.
I use mine specifically when I’ve harvested more than my hanging space can handle, or when a stretch of humid weather makes me nervous about mold. A basic countertop dehydrator handles this fine; you don’t need anything as elaborate as an Excalibur, though if you’re already dehydrating produce regularly, lavender is a low-effort addition to a normal batch as long as you don’t mix it with something aromatic enough to cross-flavor, like onions or garlic.
Method 3: Low-Heat Oven Drying
This is the method for when you need lavender dry today and don’t own a dehydrator. It’s also the one I trust the least, because home ovens are notoriously bad at holding a genuinely low, steady temperature, and lavender’s delicate essential oils don’t forgive overheating.
Set your oven as low as it will go — ideally around 170–200°F, and prop the door open slightly with a wooden spoon handle to let moisture escape rather than condense back onto the flowers. Spread stems or stripped buds in a single layer on a parchment-lined baking sheet and check every 15–20 minutes; most batches are done within an hour, sometimes less. The moment the buds crumble easily between your fingers, pull the tray — a few extra minutes here is the difference between “dried” and “toasted,” and toasted lavender loses much of its scent along with its color.
Honest verdict: use this only when you’re in a genuine hurry. The color tends to dull more than with any other method here, and the fragrance loss is noticeably worse than air-drying or dehydrator drying, simply because ovens run hotter and less evenly than purpose-built dehydrators.
Method 4: Microwave and Silica Gel
This is the fastest method on this list by a wide margin, and it’s the one florists and crafters reach for when they need dried flowers that still look freshly picked — think pressed-flower crafts, resin work, or a bridal bouquet someone wants preserved quickly rather than over two weeks.
Guidance from extension resources on decorative flower drying — including University of Florida IFAS’s publication on drying and preserving plant materials and University of Missouri Extension’s guide to drying flowers and foliage — outlines the same basic process: bury the lavender in silica gel crystals inside a microwave-safe, uncovered container, place a cup of water in the microwave alongside it to prevent scorching, and heat in short bursts, typically one to three minutes at medium power, checking frequently. Once the buds hold their color and feel dry, let the whole container cool undisturbed for several hours before brushing away the gel.
Silica gel genuinely preserves color better than any heat-only method, which is the entire point of using it. The trade-off is that it’s fussier — you need the gel itself (available cheaply at craft stores), a dedicated microwave-safe container, and a bit of trial and error with your specific microwave’s power level, since ovens vary enough that extension guides consistently recommend starting conservative and adding time in small increments rather than guessing high.
Method 5: Silica Gel Without a Microwave
This is the slower sibling of Method 4, useful when you want silica gel’s superior color retention without babysitting a microwave, or when you’re drying a larger batch than a microwave-safe container can hold at once.
Pour an inch or two of silica gel into an airtight container, nestle the lavender stems or sprigs into it, and gently pour more gel over and around them until fully covered — don’t press down, since crushed buds dry into crushed dried buds. Seal the container and leave it undisturbed in a cool, dry spot for two to seven days, checking periodically after the first two days. Once dry, lift the flowers out carefully and brush away any clinging gel crystals with a soft, dry paintbrush.
This is genuinely my preferred method for anything I want to look close to fresh-cut — wreaths, dried arrangements meant to sit somewhere visible, or lavender destined for a keepsake rather than tea or sachets. It costs more upfront for the silica gel, but the gel is reusable for years if you dry it out again between batches, which meaningfully offsets the initial cost over time.
How the Five Methods Actually Compare
| Method | Time needed | Equipment | Best for | Honest verdict |
|---|---|---|---|---|
| Air-drying bundles | 1–3 weeks | String or rubber bands, hanging space | Bulk drying, sachets, culinary use, everyday dried lavender | The default for good reason — free, low-effort, and the standard commercial method. Just keep bundles small. |
| Food dehydrator | 1–4 hours | A dehydrator | Humid climates, larger harvests, faster turnaround than air-drying | Reliable and controllable, and solves the mold risk of air-drying in damp weather. Worth owning if you dry herbs regularly anyway. |
| Low-heat oven | 30–90 minutes | A conventional oven | Emergency same-day drying | Fastest heat-based method without special equipment, but the least forgiving — easy to overheat, with the most noticeable fragrance and color loss. |
| Microwave + silica gel | Minutes to an hour | Silica gel, microwave-safe container, microwave | Crafts, keepsakes, quick color-true results | Excellent color retention and by far the fastest silica method, but fussier to dial in and limited by container size. |
| Silica gel, no microwave | 2–7 days | Silica gel, airtight container | Wreaths, display arrangements, anything meant to look close to fresh | My personal favorite for anything decorative — best color and shape retention of any method here, reusable gel, no rushing required. |
If I had to boil this down to one recommendation: air-dry your everyday lavender in small bundles, and reach for silica gel — microwave or not, depending on how much patience you have that day — for anything you want to actually look freshly cut once it’s dry.
How to Tell When Lavender Is Fully Dry
Regardless of method, the test is the same: the stems should snap rather than bend, and the buds should crumble easily between your fingers rather than feeling soft or spongy. If a stem still flexes without breaking, it’s not done, even if the buds look dry on the outside — moisture often lingers longest in the stem itself, which is exactly what went wrong with my oversized first bundle.
Storing Dried Lavender So It Actually Lasts
Dried lavender is only as good as its storage. Once fully dry, keep it in an airtight container — a glass jar with a tight lid works better than a plastic bag, which can trap residual moisture against the buds. Store it somewhere cool, dark, and dry; a cabinet or drawer beats an open shelf near a window every time, since UV light is one of the fastest ways to fade both color and fragrance in already-dried flowers. Stored well, dried lavender holds noticeable fragrance for around a year, sometimes longer for culinary-grade buds kept away from light and humidity.
Mistakes Worth Avoiding
A few specific ones, mine and otherwise:
- Bundling too many stems together. This is what ruined my first batch. Smaller bundles, more of them, dry evenly; one giant bundle traps moisture in the center no matter how good your ventilation is.
- Drying in direct sunlight because it seemed faster. It does dry faster — and it also bleaches the purple to a dull gray-brown and burns off a meaningful share of the fragrance.
- Harvesting after a rain or while dew is still on the stems. Wet lavender going straight into a bundle or dehydrator is asking for mold before drying even really starts.
- Storing dried lavender before it’s actually fully dry. Sealing slightly damp lavender into an airtight jar is a fast way to grow mold in storage instead of on the drying rack.
A Note on Freeze-Drying
Home freeze-drying has moved from a niche commercial process into something increasingly common in home kitchens, largely thanks to countertop machines from companies like Harvest Right that have made the technology accessible outside of industrial food production. Freeze-drying works on an entirely different principle than every method above — instead of using heat to evaporate moisture, it freezes the plant material and then pulls the water out as vapor under vacuum, which preserves color, shape, and aromatic compounds more completely than any heat-based method can.
It isn’t cheap, and it’s overkill if you just want a jar of lavender for tea. But as these machines get more common in home kitchens, I expect freeze-drying to become the method serious herb and flower preservationists reach for when heat-based drying — even the gentlest silica gel method — still isn’t good enough for the result they want.
FAQs
How long does it take to air-dry lavender? Typically one to two weeks in a cool, dry, well-ventilated spot, though humid climates can stretch that closer to three weeks.
Can I dry lavender in the microwave without silica gel? You can, using short bursts of low power between paper towels, but the results are inconsistent and the flowers often scorch or shatter. Silica gel gives the microwave method far more reliable, better-looking results.
Does dried lavender lose its scent? Some fragrance loss is unavoidable no matter the method, since drying removes the moisture that helps carry volatile oils. Air-drying and dehydrator drying at low temperatures retain the most scent; high heat, direct sunlight, and rushed drying all accelerate fragrance loss.
Can I use dried lavender in cooking after any of these methods? Air-dried and dehydrator-dried lavender are both fine for culinary use as long as you started with clean, pesticide-free stems. Lavender dried in silica gel should not be used for cooking, since the crystals aren’t food-safe once the flowers have been buried in them.
Why did my lavender turn brown instead of staying purple? Almost always heat or sunlight exposure during drying — either direct sun on hanging bundles or too-high a temperature in an oven or dehydrator. Lower, slower, and darker consistently preserves color better than fast and hot.
Final Thoughts
None of these five methods is universally “best” — the right one depends entirely on what you’re making and how much patience you have that week. Air-drying is the one to default to for everyday use; silica gel is the one to reach for when you want something that still looks freshly cut months later. What matters most isn’t really the method at all — it’s harvesting at the right moment and giving the lavender room to actually dry, evenly and without rushing. Get those two things right, and pretty much any of these five methods will reward you with a jar, a bundle, or a wreath that still smells like summer well into the middle of winter.
About the Author
Maya Whitfield spent four years as a soil conservation technician before shifting to garden writing, and now splits her time between a quarter-acre vegetable and cutting-flower garden and researching practical, evidence-based advice for home growers at Homenumental. Her work focuses on translating agricultural science and extension-office research into techniques that hold up in an ordinary home kitchen, not just a test lab.